Spoiler: there’s one simple rule behind all of it — and once you get it, the whole thing clicks.
You’ve seen the tutorials. Foundation, then concealer, then… wait, does blush go before or after powder? And where exactly does bronzer fit? You rewind, watch again, and somehow come out more confused than when you started.
Here’s what nobody tells you upfront: makeup order isn’t random. There’s actual logic behind it, and once you understand the rule, you’ll never have to look it up again. No more pausing tutorials at 6am or second-guessing yourself in the bathroom mirror. The right makeup steps in order come down to one principle — and everything else follows from there.
This guide is for real beginners. Not “I’ve been doing makeup for two years and want to refine my technique” beginners. I mean “I just bought my first foundation and I don’t know what goes on first” beginners. We’re starting from zero, keeping it simple, and only including what you actually need.
Key Takeaways
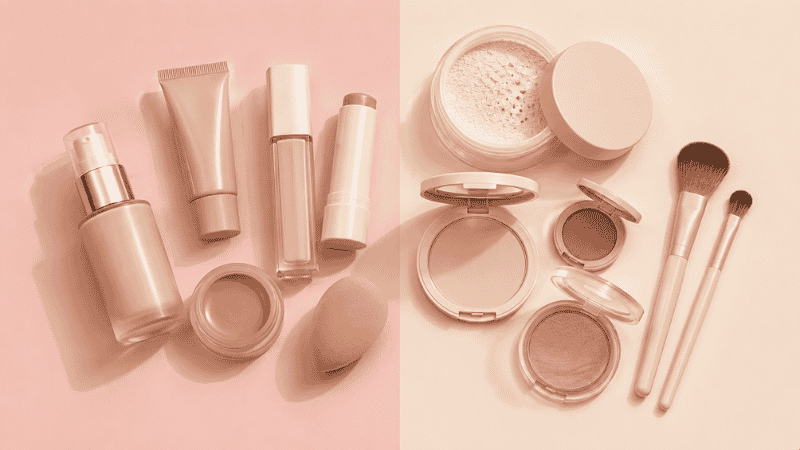
- The golden rule of makeup order: liquids and creams always go before powders
- Foundation goes before concealer for most beginners — it uses less product and looks more seamless
- Bronzer → Blush → Highlighter, always in that order
- You can absolutely skip steps you don’t have products for — a full face doesn’t require 13 products
- Setting spray goes last, always — think of it as the seal on everything you just did
The One Rule That Explains Everything
Before we get into the step-by-step, I want to give you the key that unlocks all of it:
Liquids and creams go before powders. Always.
That’s it. That’s the rule makeup artists use to decide what order products go in. Why does it matter? Because powder sets and mattifies whatever it lands on. If you apply a liquid blush after a powder, it won’t blend properly — it’ll sit on top and look patchy. But if you apply powder after liquid, it locks everything in place and extends your wear.
Think of it like this: wet paint first, then seal it. Once you’ve got that in your head, the whole order makes sense on its own.
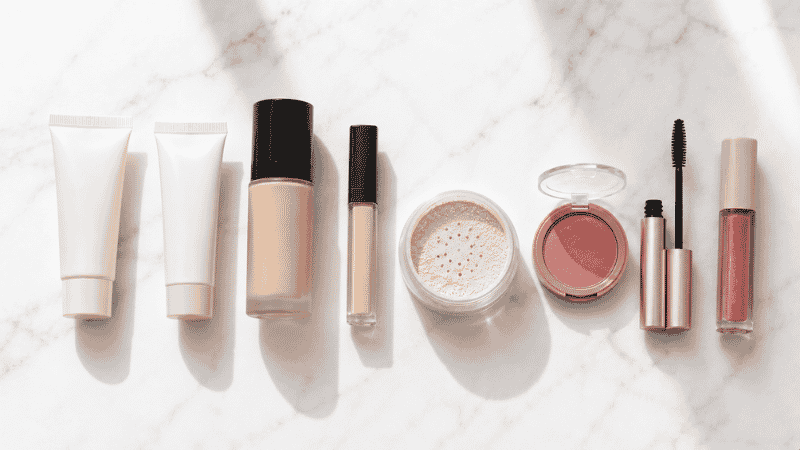
The Full Makeup Steps in Order (With the Why Behind Each One)
Step 1: Skincare — Moisturizer + SPF
Makeup doesn’t go directly onto bare, dry skin. It goes on top of a hydrated, prepped canvas. If you skip this step, even the best foundation will look patchy and settle into dry spots by midday.
You don’t need a 10-step skincare routine before makeup. You need two things: moisturizer and SPF. Apply your moisturizer, let it absorb for a couple of minutes, then layer sunscreen on top. That’s it. Give it a minute or two before moving on — rushing this is how you end up with pilling.
Editor’s note: SPF under makeup is non-negotiable, even on cloudy days. The American Academy of Dermatology recommends SPF 30 or higher daily — and yes, that counts as part of your makeup prep.
Step 2: Primer (Optional, But Worth Knowing About)
Primer is essentially a grip layer for your foundation. It fills in pores, smooths texture, and helps everything last longer. Do you need it as a beginner? No. But if your makeup slides off by noon or you have large pores that bother you, a primer makes a real difference.
Apply a pea-sized amount after your skincare, let it get slightly tacky, then move to foundation. The e.l.f. Power Grip Primer (~$10) is one of the best for the price — it’s almost sticky, which sounds weird but is exactly what you want for staying power.
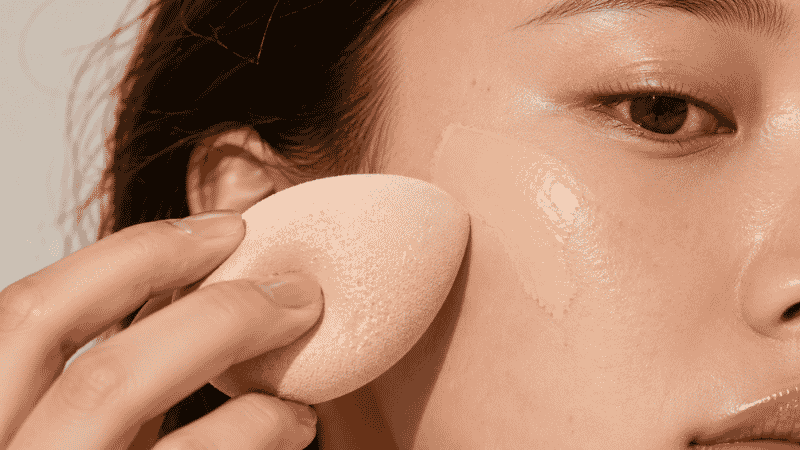
Step 3: Foundation — Your Base Layer
Foundation is your skin-evening step. Its job is to create a consistent canvas, not to cover every single imperfection (that’s what concealer is for). This distinction matters, because it changes how much product you use. Less is genuinely more here.
Apply a small amount — really, start with less than you think you need — using a damp beauty sponge. The bouncing, pressing motion gives a more natural finish than dragging or rubbing. Only cover the areas that actually need it: the center of your face, any redness, uneven patches.
Good drugstore starting points:
- Maybelline Fit Me Matte + Poreless (~$8) — for oily and combination skin
- L’Oréal True Match (~$10) — for normal to dry skin
- e.l.f. Halo Glow Liquid Filter (~$14) — for a sheer, glowy skin-tint effect
Step 4: Concealer — After Foundation, Not Before
This is the question that breaks the internet: does concealer go before or after foundation?
For beginners, the answer is after. Here’s why: once your foundation is on, you might not need as much concealer as you thought. Foundation already covers a lot. Applying concealer after means you’re only adding extra coverage where you genuinely need it — under the eyes, on blemishes, anywhere the foundation didn’t fully cover. You end up using less product and getting a more seamless result.
Use your ring finger to tap (not rub) concealer under your eyes. Go one shade lighter than your foundation for brightening. For blemishes, match your exact skin tone.
Worth trying:
- e.l.f. Hydrating Camo Concealer (~$10) — full coverage without the cakey look
- Maybelline Fit Me Concealer (~$7) — lightweight and natural-looking
Step 5: Setting Powder — Lock In Your Base Before Color
This is the step most beginners skip, and it’s the reason their makeup doesn’t last. Setting powder goes on after your foundation and concealer, before any blush or bronzer. It locks in your liquid products and gives your powder products a smooth surface to sit on.
You don’t need much — a light dusting with a fluffy brush is plenty. Focus on the T-zone and anywhere you applied concealer. For under-eyes specifically, a small amount of setting powder prevents that dreaded concealer crease.
Affordable picks:
- Coty Airspun Loose Face Powder (~$8) — a cult classic for good reason
- NYX Can’t Stop Won’t Stop Setting Powder (~$14) — great for oily skin
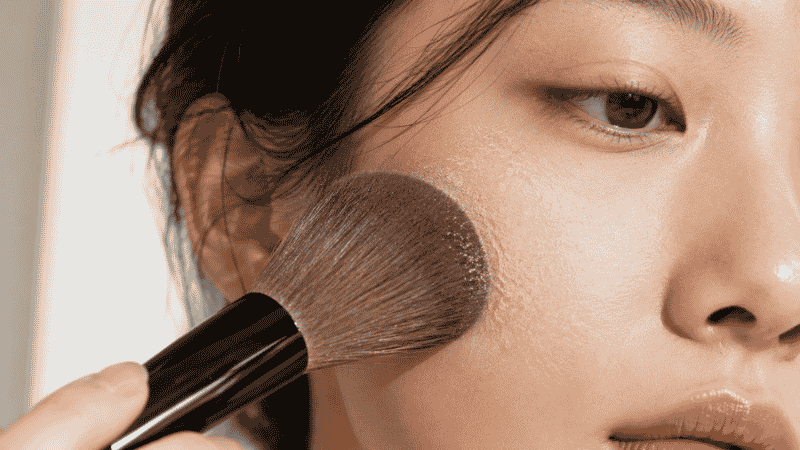
Step 6: Bronzer → Blush → Highlighter (Always in This Order)
Now that your base is set, it’s time for color. This is where a lot of beginners get confused, so let’s make it simple: bronzer first, blush second, highlighter last. Every time.
Bronzer adds warmth and dimension. Apply it where the sun would naturally hit your face — forehead, temples, sides of the nose, jawline. Use a fluffy brush and a light hand. The goal is warmth, not a muddy mask. The Physicians Formula Butter Bronzer (~$14) is practically foolproof for beginners.
Blush adds color and life back to your face after the base neutralizes everything. Apply to the apples of your cheeks and blend upward. Start light — blush is easier to build up than to tone down. The Milani Baked Blush (~$10) comes in beautiful shades and blends beautifully.
Highlighter goes last because it’s the most reflective, and you don’t want it buried under blush. Apply to the tops of the cheekbones, the inner corners of your eyes, and the tip of your nose if you like. Keep it subtle for everyday wear.
Reminder: If you’re using cream bronzer or cream blush — apply them before setting powder, not after. Cream products go on skin or foundation, powder products go on top of powder. Back to that golden rule.
Step 7: Eye Makeup — Eyeshadow, Liner, Mascara
Eyes come after your face products for a practical reason: it’s much easier to clean up eyeshadow fallout from already-done foundation than to redo your whole base because powder got everywhere.
For a beginner everyday look, you realistically only need:
- Eyeshadow — a neutral matte shade on the lid, maybe a slightly deeper one in the crease if you want more dimension
- Eyeliner — optional, but a pencil liner is the most forgiving starting point
- Mascara — non-negotiable, because it opens up your eyes more than almost anything else
Apply eyeshadow first, then liner, then curl your lashes, then mascara. Always mascara last in the eye steps.
Easy mascara wins:
- Maybelline Sky High Mascara (~$10) — everyone’s favorite for a reason
- L’Oréal Telescopic Mascara (~$11) — incredible for precise, separated lashes
Step 8: Brows
Brows frame your entire face, and filling them in — even slightly — makes your makeup look more finished and intentional. You don’t need a complicated technique. Just use a brow pencil that matches your hair color, make small, light strokes in the direction of your hair growth, and brush through with the spoolie end to soften.
The L’Oréal Brow Stylist Definer (~$10) is a near-perfect dupe for the Benefit Precisely My Brow pencil that costs three times as much. The ultra-fine tip makes it nearly impossible to over-draw.
Step 9: Lips
Lips come last so you can see how the color balances with everything else on your face. A tinted gloss or balm is the easiest starting point — no liner needed, forgiving application, and it looks polished without any effort.
When you’re ready to try a full lipstick, apply lip liner first (along and slightly inside your natural lip line), then fill in with lipstick and blot. That’s the whole technique.
Step 10: Setting Spray — The Final Seal
Setting spray goes on last. Spray it six to eight inches from your face in an “X” then “T” motion, let it dry naturally, and you’re done. It melds all your layers together, extends wear, and gets rid of any powdery look.
The e.l.f. Mist & Set (~$8) is a great basic option. If you have oily skin, the Urban Decay All Nighter (~$33) is worth the splurge — but not necessary when you’re starting out.
What If You Only Have 10 Minutes?
Life happens. Here’s the abbreviated version that still looks put-together:
- Moisturizer — while multitasking with something else
- Tinted moisturizer or BB cream — one product instead of primer + foundation
- Concealer under your eyes only
- One swipe of blush
- Mascara
- Tinted lip balm
That’s a complete, polished look in under 10 minutes. Come back to the full routine on days when you have time.
What If Your Makeup Still Looks Off?
Foundation looks cakey or patchy: Too much product, or skin wasn’t moisturized first. Use a damp sponge and start with half the amount you used.
Blush disappears after an hour: You didn’t set your base with powder before applying blush. The powder gives blush something to grip onto.
Concealer creases under your eyes: Set it with a small amount of translucent powder immediately after applying. Don’t skip this.
Everything looks flat and muddy: You might be using too many products too heavily. Try doing one light layer of everything before building up.
Makeup slides off completely: Primer is usually the answer. The e.l.f. Power Grip Primer genuinely changes the game for longevity.
FAQ
Does concealer go before or after foundation?
After, for most beginners. Foundation covers a lot on its own, so applying concealer after means you only add extra where you truly need it. You’ll use less product and get a more natural result.
Does bronzer go before or after blush?
Bronzer always goes before blush. Apply bronzer first for warmth and dimension, then blush on top for color. Highlighter goes last of the three.
Do you apply blush before or after powder?
If you’re using powder blush, it goes after your setting powder. If you’re using cream blush, it goes before your setting powder — directly onto foundation. Cream before powder, always.
What goes on first: primer or moisturizer?
Moisturizer first, always. Let it absorb for a minute or two, then apply primer on top.
Can I skip steps I don’t have products for?
Absolutely. Foundation, concealer, mascara, and a lip product is already a full face. Add the rest as you build your collection over time.
You Don’t Need to Memorize Every Step — Just Remember the Rule
Once it clicks that liquids go before powders and the order moves from base → color → eyes → lips → seal, the whole thing becomes intuitive. You won’t need to look it up anymore.
Start with what you have. Do one step at a time. And give yourself permission to get it slightly wrong for a while — that’s genuinely how everyone learns.
Ready to keep going? Here’s what to read next on MyColorKiss:
- Makeup Tutorial for Beginners: Your Easy Step-by-Step Guide — the full beginner walkthrough, from zero
- Best Drugstore Foundation for Beginners — how to find your shade and what actually works
- 5-Minute Commute Makeup Routine — for mornings when life genuinely only gives you 10 minutes
And remember — the makeup artists whose routines you admire spent years figuring this out through trial and error. You just got a shortcut.