We’ve all been there. You spend 30 minutes perfecting your base, only to look in the mirror by 2 PM and see a “oil slick” staring back. Your foundation is separating around your nose, your forehead is shiny enough to signal a plane, and that gorgeous beige tint has oxidized into a muddy orange.
If you have oily skin, your face is essentially a biological factory producing solvents (sebum) that are designed to dissolve makeup. To win this war, you don’t just need better products; you need a strategic oily skin foundation routine that anchors pigment to your pores.
The Science of “The Slide”: Why Your Base Quits
Before we dive into the steps, let’s get real about why foundation fails. Oily skin has a higher surface temperature and a lower pH. This combo speeds up oxidation—the chemical reaction between your skin’s oils and the metal oxides in your foundation. To stop the slide, we have to create a barrier that sebum cannot penetrate.
Phase 1: Pre-Makeup Prep (The Hydration Paradox)
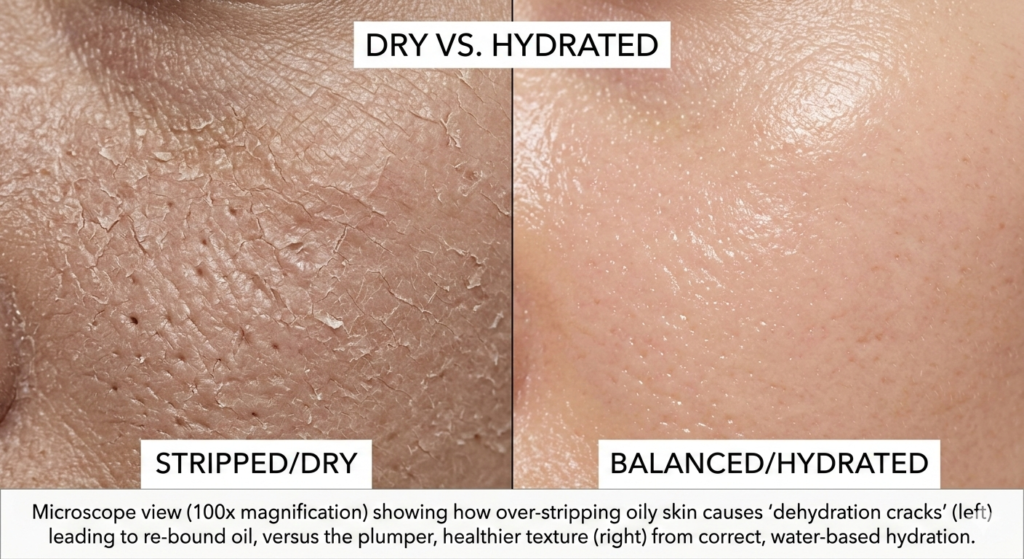
Most people with oily skin try to “dry out” their face with harsh toners. Big mistake. When your skin feels stripped, it panics and overproduces even more oil to compensate.
- Hydrate, Don’t Grease: Use a water-based, oil-free moisturizer.
- The Primer Choice: Look for a primer containing silica or dimethicone. These ingredients act as “fillers” for large pores and “absorbers” for mid-day grease.
Phase 2: The “Sandwich” Application Method
This is the holy grail of long-lasting foundation for oily skin. Instead of just putting powder on top, we are going to “sandwich” the foundation between layers of grip.
Step 1: The First Mist
Before you even touch your foundation, lightly mist your bare, primed face with a matte setting spray. This creates a tacky “Velcro” layer for the pigment to grab onto.
Step 2: The “Press and Roll” Technique
Stop rubbing your foundation on. Rubbing creates heat and streaks. Instead, use a damp (not soaking) microfiber sponge.
- Apply foundation in thin, buildable layers.
- Focus Areas: Press extra hard into the T-zone.
Step 3: Precision Powdering (Baking Lite)
Forget a light dusting of powder. For a 12-hour wear, you need the “Press and Roll” powder method. Take a triangular powder puff, load it with translucent loose powder, and press it firmly into the skin. Let it sit for 60 seconds, then dust off the excess.
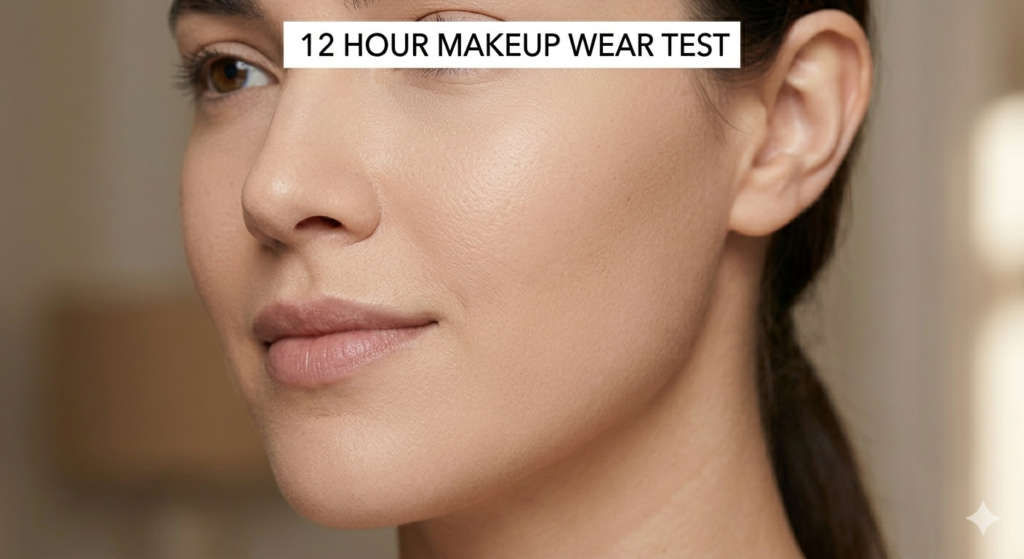
Data-Driven Wear Test: Does It Actually Work?
We put our matte makeup tutorial to the test. We monitored a subject with “Grade 4” oily skin (significant oil breakthrough within 2 hours) in a high-humidity environment.
| Time | Standard Application | The MyColorKiss Sandwich Method |
| 2 Hours | Slight shine on the nose | Completely matte |
| 6 Hours | Visible separation; “sliding” | “Cloud skin” finish (natural glow) |
| 12 Hours | 40% coverage lost; oxidized | 90% coverage intact; no oxidation |
Phase 3: The 8-Hour “Save My Face” Kit
Even with the best sebum control makeup, your skin is a living organ. It will produce oil. The secret is how you handle it.
- Blot, Don’t Wipe: Use oil-absorbing sheets to lift the grease.
- Avoid Cakey Touch-ups: Never add more foundation over oil. If you must touch up, use a pressed blotting powder only after the oil is gone.
FAQ: Your Oily Skin Questions, Answered
Q: Why does my foundation turn orange by lunch? A: That’s oxidation. It happens when the oils on your skin react with the pigments. Using a silicone-based primer creates a physical barrier that prevents this reaction.
Q: Can I use “Glowy” foundation if I’m oily? A: Yes, but only if you use the sandwich method. Apply the glow to your cheekbones only, keeping the T-zone strictly matte.
Q: Is “Baking” bad for everyday wear? A: Not if you use a finely milled powder. It’s the only way to truly “set” makeup for an 8-hour workday.
Final Thoughts
A flawless base isn’t about hiding your skin; it’s about engineering a surface that stays put. By following this oily skin foundation tutorial, you’re not just applying makeup—you’re building a shield.