
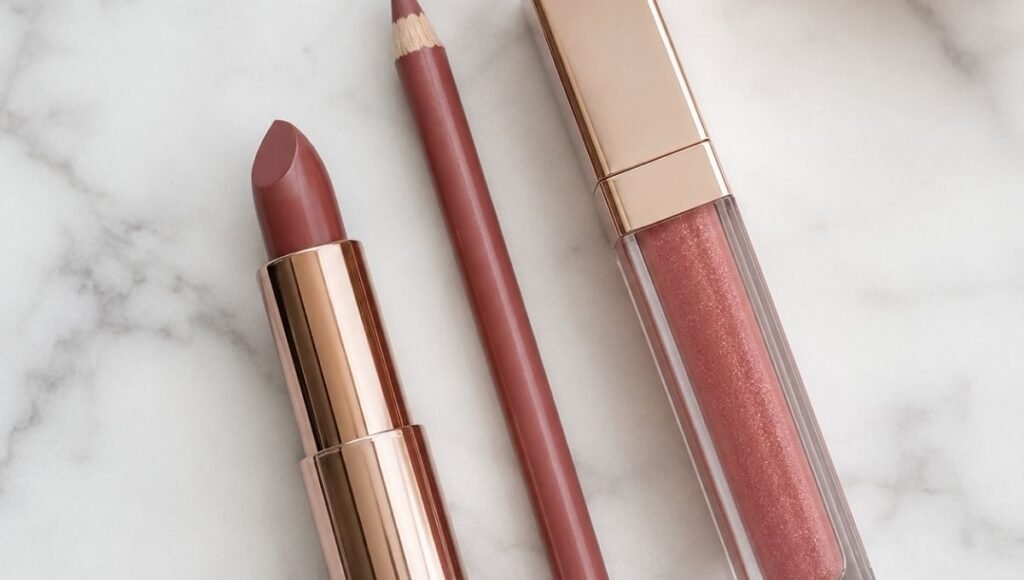
The technique that keeps it on your lips instead of your teeth, how to make it last, and which formula is actually easiest to start with.
You applied your lipstick. You looked in the mirror — it looked great. You smiled, and immediately noticed that some of it had migrated onto your teeth. You wiped it off your teeth, which also removed half the lipstick from your lips. You reapplied. By the time you got to wherever you were going, the color had faded from the center of your lips and gathered in the corners, which is not the look anyone is going for.
Lipstick sounds like the simplest makeup step. It’s literally just coloring your lips. But getting it to stay where you put it, look even, not bleed outside your lip line, and last more than an hour — that requires a few specific techniques that most people figure out through years of trial and error rather than anyone actually explaining them.
This guide is the explanation. How to apply lipstick correctly, how to make it last significantly longer, how to keep it off your teeth, which formula is easiest for beginners, and the complete lipstick color guide so you stop buying shades that don’t work on you.
Key Takeaways
- Lip liner applied before lipstick is the single most impactful thing you can do for lasting power and clean edges — but it’s not required for every formula
- The “finger blot” technique removes the waxy surface layer of lipstick and makes it last significantly longer
- Matte lipstick lasts the longest but is most drying; cream lipstick is the most comfortable; liquid lipstick is the most long-lasting but least forgiving to apply
- Putting your index finger in your mouth and pulling it out after applying lipstick removes the excess that would otherwise end up on your teeth
- The correct lipstick shade for your skin tone depends on your undertone, not your foundation shade
How to Pick a Lipstick Color for Your Skin Tone
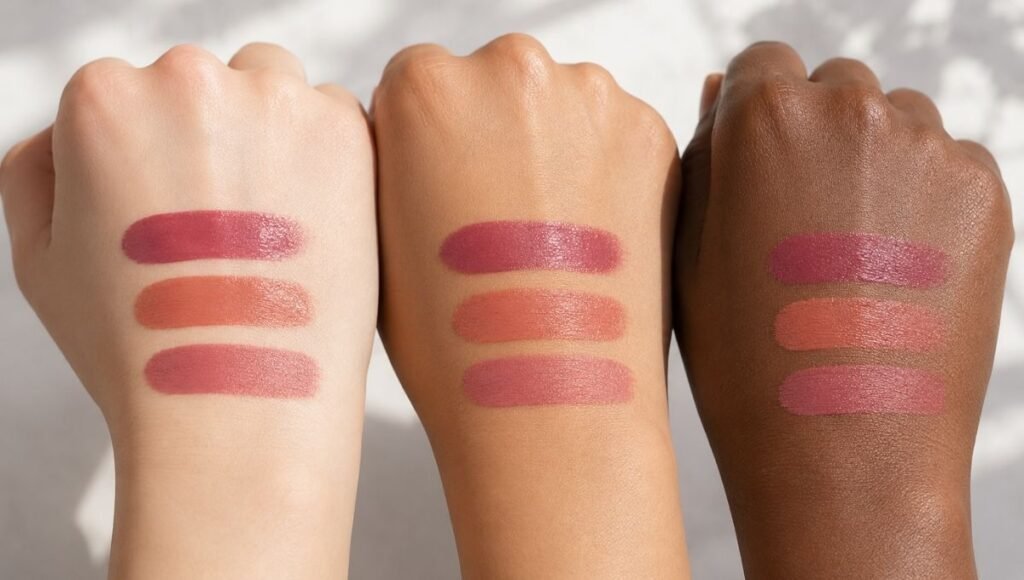
Before technique, you need the right shade — because even perfect application looks wrong if the color fights your complexion.
The undertone rule: Your lipstick should complement your skin’s undertone, not clash with it.
Cool undertones (pink/bluish veins on wrist): Cool-toned reds, berries, plums, and pinks. Avoid very warm, orange-adjacent shades — they can make cool skin look washed out. Classic blue-red and raspberry are universally flattering on cool undertones.
Warm undertones (green/olive veins on wrist): Warm peachy nudes, coral, brick red, and terracotta shades. Avoid very cool, blue-toned pinks — they can look harsh against warm skin. Golden-brown nudes and warm reds are particularly flattering.
Neutral undertones (blue-green veins, mix of both): The most flexibility of any undertone. Most shades work — neutral pinks, berries, classic reds, and warm nudes all tend to look good.
For your first lipstick: A your-lips-but-better nude — one that’s close to your natural lip color but slightly more defined and pigmented — is the most universally useful first purchase. It’s impossible to over-apply, requires no liner, and works with every other makeup look.
Drugstore starting picks:
- Maybelline SuperStay Matte Ink Liquid Lipstick (~$9) — enormous shade range, excellent lasting power
- NYX Soft Matte Lip Cream (~$7) — comfortable matte finish, very wide shade range, excellent for beginners
- L’Oréal Colour Riche Lipstick (~$10) — classic cream formula, extremely comfortable, great for everyday wear
What Type of Lipstick Is Easiest for Beginners?
Just like eyeliner, the format matters more than the brand.
Cream Lipstick: Start Here
Traditional bullet lipstick in a cream formula is the most forgiving for beginners. It glides on smoothly, allows you to reposition if you go slightly outside the lines, and feels comfortable throughout the day. The finish is satin to slightly glossy.
Downside: Doesn’t last as long as matte or liquid formulas. Needs reapplication after eating and drinking.
Best for: Everyday wear, first-time lipstick users, anyone who finds matte formulas uncomfortable.
Matte Lipstick: High Impact, Drier Feel
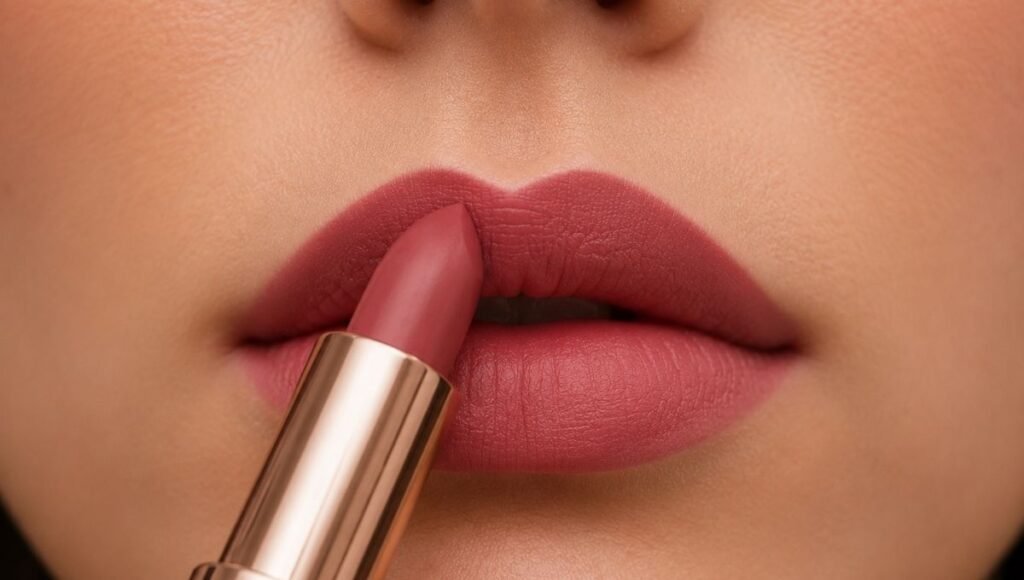
Matte formulas give the most color impact and photograph beautifully — the flat finish shows off the true color without reflection. They also tend to last longer than cream formulas because they don’t have the slippery, waxy texture that migrates.
Downside: Can be drying, especially on dry or chapped lips. Emphasizes dry patches and texture. Requires well-prepped lips to look good.
How to make matte lipstick comfortable: Exfoliate your lips gently (a soft toothbrush works), apply a thin layer of lip balm, let it absorb for a minute, then apply your matte lipstick. The balm underneath keeps lips hydrated without significantly affecting the matte finish on top.
Liquid Lipstick: Most Lasting, Least Forgiving
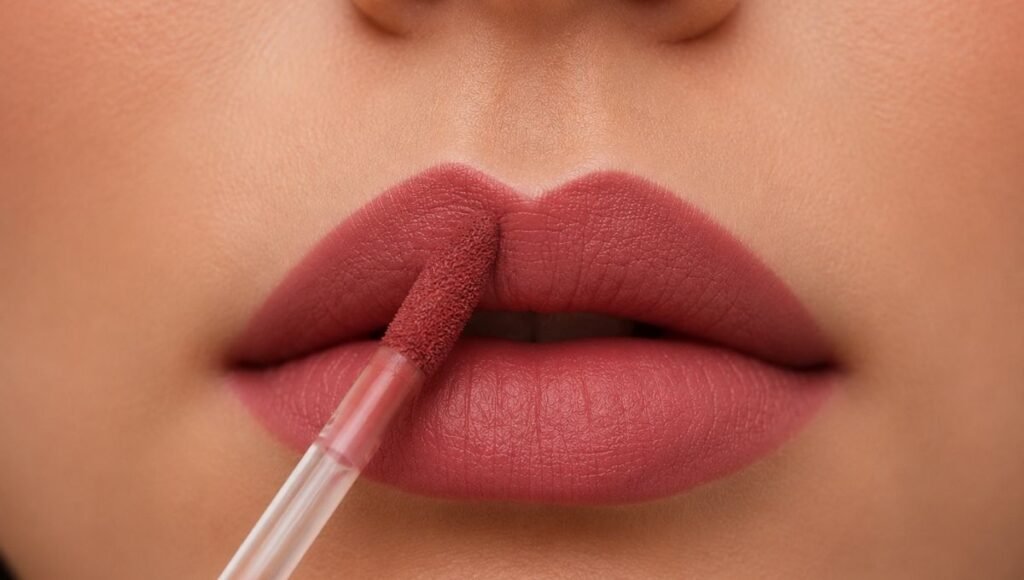
Liquid lipstick applied with a wand gives the most long-lasting result — many formulas genuinely last 8+ hours — but it dries down to a transfer-proof finish within seconds, meaning you can’t fix mistakes once it’s set. It also tends to be the most drying formula.
For beginners: Practice with cream or matte bullet lipstick first. Move to liquid lipstick when you’re confident in your application. The payoff (incredible lasting power) is worth learning eventually.
How to Apply Lipstick for Beginners: Step by Step
Step 1: Prep your lips
Even great lipstick looks patchy on unprepared lips. Quickly exfoliate with a soft toothbrush or a damp washcloth to remove any flakiness. Apply a thin layer of lip balm and let it absorb for 30-60 seconds before applying anything on top. If you’re using matte lipstick, blot the balm lightly with a tissue — you want the moisture but not the slip.
Step 2: Apply lip liner (optional but highly recommended)
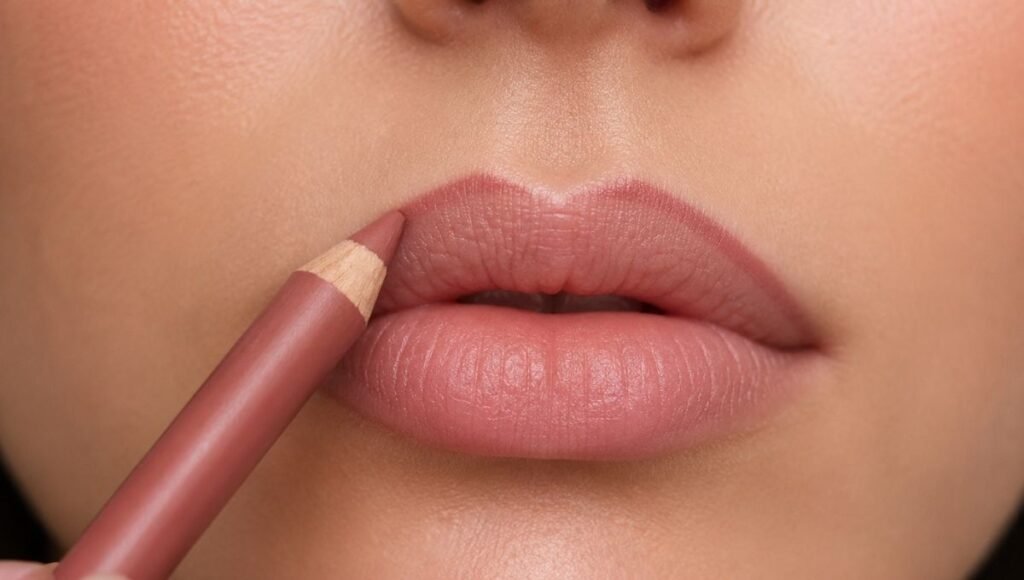
Lip liner does three things: defines the edge of your lips so color doesn’t bleed, gives lipstick something to grip (extending wear), and fills in your lips so the color underneath prevents fading from the center outward.
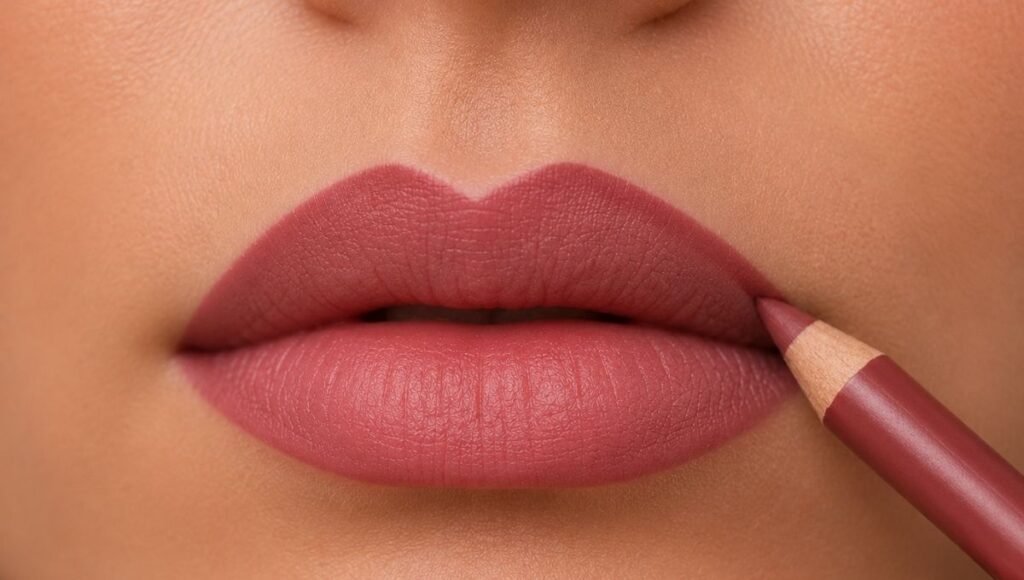
Apply liner to your natural lip line — you don’t need to overline unless you specifically want a fuller lip look. Work from the cupid’s bow downward on the upper lip, and from the corners inward on the lower lip. Fill in the entire lip lightly with liner before applying lipstick on top.
Shade match: Your lip liner should match your lipstick shade, or be one shade darker. A liner that’s too different in color creates a visible outline.
Step 3: Apply lipstick from the center outward
Start at the center of your upper lip — the cupid’s bow — and work outward toward the corners. Then apply to the lower lip, again from center to corners. This ensures the most pigmented coverage where you need it most and blends naturally toward the edges.
For cream lipstick: apply directly from the bullet, pressing lightly. Don’t drag or swipe aggressively — the formula glides, so let it.
For liquid lipstick: use the doe-foot applicator to apply to the upper lip first in a V-shape following the cupid’s bow, then fill in the rest. Apply to the lower lip last. Work before the formula starts to dry.
Step 4: Blot once
Tear a single-ply tissue (separate it from the two layers) and press it gently over your lips. This removes the outer waxy layer that would otherwise transfer onto cups, glasses, and other people — and leaves behind the pigment that actually stains your lips. This step alone doubles how long most lipstick lasts.
Step 5: The teeth test
Put your index finger in your mouth, close your lips around it gently, and slowly pull your finger out. This removes any lipstick from the inner edge of your lips — exactly the part that ends up on your teeth. It’s the oldest lipstick trick in existence and it genuinely works every single time.
How to Apply Lipstick with Lip Liner
Lip liner isn’t just for bold colors — it makes any lipstick last longer and look more precise.
The full lip liner technique:
- Apply liner to your natural lip line, or just inside it for a natural look
- Fill in the entire lip with liner — use short strokes going inward from the outline
- Apply lipstick on top of the liner base
- Blot once with a single-ply tissue
- Optional: apply one more thin layer of lipstick on top of the blotted base
The liner base underneath acts like a primer — it gives the lipstick something to grip and prevents the color from fading from the center of your lips (the most common lipstick failure point).
Do you need lip liner with every lipstick? No. For nude shades and glossy formulas, liner is optional. For bold colors, precise application, or maximum lasting power — liner makes a significant difference.
How to Apply Matte Lipstick Without It Looking Dry
Matte lipstick on unprepared lips emphasizes every dry patch and line. Here’s how to prevent it:
The day before: If you know you’re wearing matte lipstick, exfoliate your lips and apply lip balm overnight. Even one night of good hydration makes a visible difference.
The morning of: Exfoliate gently, apply lip balm, let it absorb for a full minute, then blot lightly. Don’t apply matte lipstick over wet balm — it will pill and look uneven.
If your matte lipstick still looks dry: Apply a tiny amount of clear gloss or balm to the very center of your lips over the matte color. This creates a subtle gradient effect — matte edges, slight shine in the center — that looks intentional and adds dimension without significantly reducing lasting power.
How to Apply Liquid Lipstick
Liquid lipstick requires a different approach because it dries quickly and doesn’t allow corrections.
Prep is critical: Liquid formulas sit on any texture, so dry patches show dramatically. Exfoliate and hydrate before application.
Work quickly: Once the applicator touches your lip, you have about 30-60 seconds before the formula starts to set. Apply the upper lip first (more complex shape), then the lower lip immediately after.
The upper lip technique: Apply the applicator along the cupid’s bow first — follow the V shape of your upper lip. Then fill inward toward the center. Don’t try to draw one line from corner to corner; work the shape.
Fix mistakes immediately: If you go outside the lines, wipe with a cotton swab dipped in makeup remover before the formula dries. Once it’s set, corrections require removing everything and starting over.
Don’t press lips together: Many people instinctively press their lips together to spread product after applying lipstick. With liquid lipstick, this disrupts the formula and creates an uneven, feathered edge. Let each lip dry separately.
How to Make Lipstick Last Longer
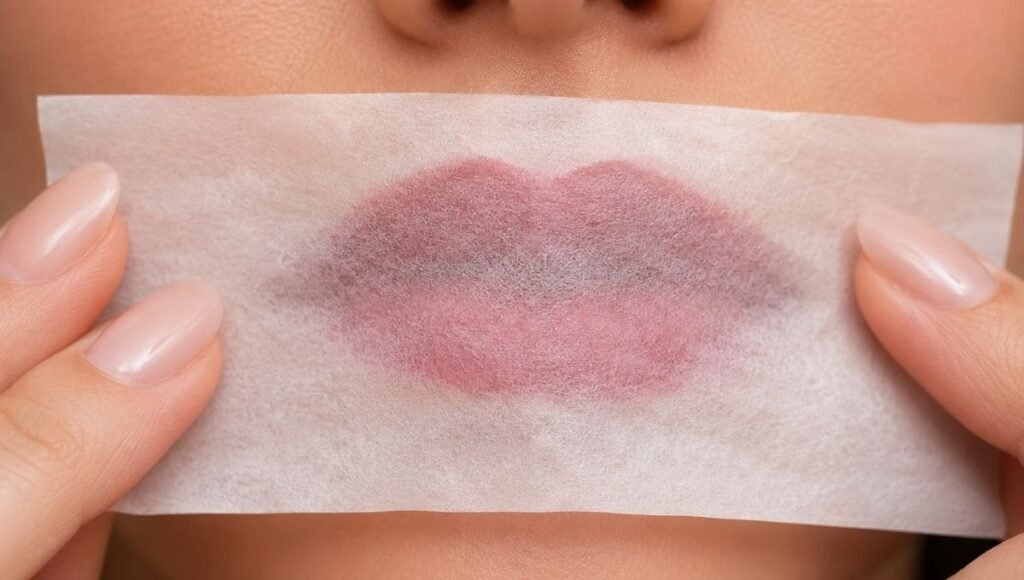
The powder method: After applying and blotting lipstick, hold a single tissue over your lips and dust a small amount of translucent powder through the tissue onto your lips. The tissue diffuses the powder so you don’t get a chalky appearance. This sets the lipstick and significantly extends wear — especially useful for cream formulas.
The double application method: Apply lipstick, blot, apply again, blot again. Two thin layers last longer than one thick one.
Lip liner base: As described above — filling in your entire lip with liner before applying lipstick creates a stain that remains even after the lipstick itself wears off, extending visible color.
Avoid touching your lips: This sounds obvious but it’s worth saying. Rubbing lips together, licking lips, and touching your mouth all remove product faster than anything else. Matte formulas are less susceptible to this than cream.
How to Keep Lipstick from Bleeding
Lipstick bleeding — migrating outside the lip line into the fine lines around your mouth — is most common with cream and gloss formulas on mature skin or when wearing bold colors.
Lip liner is the most effective fix: A precisely applied lip liner creates a physical barrier that the lipstick can’t easily cross. Apply liner at or just inside your natural lip line.
Setting powder around the lip line: Apply a tiny amount of translucent powder to the skin just outside your lip line before applying lipstick. This creates a matte surface that lipstick is less likely to migrate into.
Choose less slippery formulas: Very glossy and very creamy formulas migrate more than matte or satin finishes. If bleeding is a consistent issue, try a matte or long-wearing formula.
How to Apply Lipstick to Thin Lips
A few techniques make thin lips appear fuller:
Overline slightly: Apply lip liner just outside your natural lip line — one millimeter or less. More than this looks unnatural; a very slight overline looks like your actual lip shape.
Highlight the cupid’s bow: A tiny dot of highlighter or light concealer on the cupid’s bow (the V of your upper lip) makes lips appear fuller and more defined.
Choose the right shades: Very dark or very matte shades minimize lips. Nudes and medium tones with a slight gloss or satin finish look the fullest. Lip gloss alone, or applied over lipstick, also creates a plumping illusion.
Center your color: Apply a slightly lighter shade or a dab of gloss to the center of both lips, with your regular lipstick color toward the corners. This creates depth and dimension.
The 60-Second Version for Busy Mornings
Skip liner. Apply a tinted lip balm or cream lipstick directly from the bullet in one swipe across the center of your lower lip, then press lips together to spread color. Blot once. The finger-in-mouth trick. Done — 60 seconds, looks intentional.
FAQ
Do you need lip liner to apply lipstick?
Not always. Lip liner significantly extends lasting power and creates cleaner edges, but it’s not required for every formula. For nudes, glosses, and casual everyday wear, lipstick alone is fine. For bold colors, precise application, or maximum lasting power, liner makes a real difference.
How do I stop lipstick getting on my teeth?
Put your index finger in your mouth, close your lips around it gently, and slowly pull your finger out. This removes the lipstick from the inner edge of your lips — exactly the part that contacts your teeth. Do this every time after applying lipstick.
How do I make lipstick last longer?
Apply lip liner as a base, blot after application, apply a second layer, blot again. Setting with translucent powder through a tissue also significantly extends wear. Matte and liquid formulas naturally last longer than cream formulas.
How do I apply matte lipstick without it looking dry?
Exfoliate your lips before application and apply a thin layer of lip balm, letting it absorb for a minute before applying lipstick. If it still looks dry, add a tiny amount of clear gloss to the center of your lips — the matte color around the edges with a hint of gloss in the center looks intentional and adds dimension.
What lipstick color suits me?
Match your lipstick undertone to your skin’s undertone. Cool undertones (pink veins on wrist): cool reds, berries, pinks. Warm undertones (green veins): peach, coral, warm reds, nude browns. Neutral undertones: most shades work. When in doubt, a neutral pink or your-lips-but-better nude is the most universally flattering starting point.
Lipstick Is the Finishing Step That Ties Everything Together
A well-applied lipstick — even a simple nude — pulls a whole look together in a way that’s disproportionate to the effort it takes. The prep (balm, liner) and the technique (center outward, blot, finger trick) become automatic within a week of practice.
Start with a cream formula in a shade close to your natural lip color. Get comfortable with the technique. Add bold colors once you’ve mastered the basics.
Keep building your full makeup look on MyColorKiss:
- How to Apply Eyeliner for Beginners — the eye step that pairs with lipstick for a complete look
- Natural Makeup Look Tutorial — where lipstick fits in a minimal everyday routine
- Charlotte Tilbury Pillow Talk Dupe — the most universally flattering lip shade, duped at the drugstore
- Makeup Steps in Order — where lipstick fits in your full routine
And remember — lipstick is the one makeup product you can reapply anywhere, anytime, without a mirror. Master the application once, and the touch-up becomes completely effortless.