The type that’s actually easiest to start with, the shaky-hand trick that changes everything, and why your eyeliner keeps disappearing by noon.
You bought an eyeliner. You sat in front of the mirror, steadied your hand, and tried to draw a line across your eyelid. What came out was not a line. It was a series of unconnected dots, a slight wobble that somehow went upward instead of following your lash line, and one attempt that actually got into your eye. You wiped it off and started over four times. By the time you gave up, both eyes looked different from each other, your eyeshadow was ruined, and you were late.
Eyeliner has this reputation for being the makeup skill that separates beginners from everyone else. And honestly? That reputation is somewhat earned. It requires a steadiness and a spatial awareness that takes practice to develop. But here’s what the intimidating tutorials don’t tell you: the reason most beginners struggle isn’t technique — it’s that they started with the wrong type of eyeliner. Liquid liner on a first attempt is like learning to drive in a Formula 1 car. Start with the right format and the whole thing becomes dramatically easier.
This guide covers how to apply eyeliner at every level — which type to start with, how to handle shaky hands, why it keeps smudging, and how to get a clean wing even when you’re still figuring it all out.
Key Takeaways
- Pencil eyeliner is the easiest type for beginners — most forgiving, most blendable, easiest to fix mistakes
- Gel eyeliner applied with a brush gives the most control for precise lines — better than liquid for most beginners
- Liquid eyeliner is the hardest and should come after you’ve practiced with pencil or gel
- The most common reason eyeliner smudges is oily eyelids — a primer or setting powder underneath fixes this
- Resting your elbow on a hard surface (not your hand) eliminates most of the shakiness that makes eyeliner difficult
What Type of Eyeliner Is Easiest for Beginners?
Before getting into technique, you need the right tool. This decision alone changes everything.
Pencil Eyeliner: Start Here
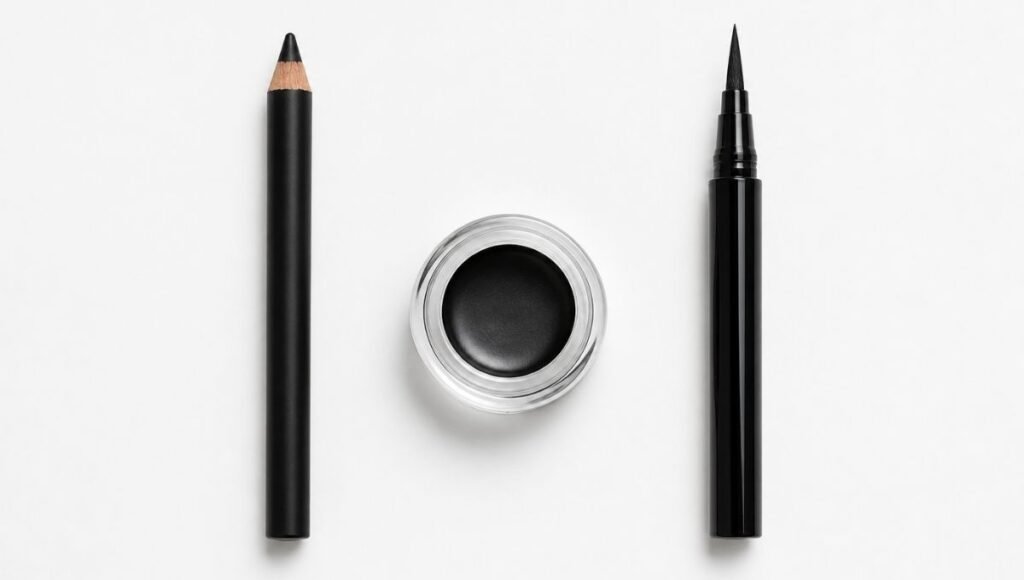
Pencil eyeliner is the most beginner-friendly format for two reasons: it’s slow (you can build a line gradually rather than committing to one stroke) and it’s forgiving (you can smudge it with your finger to soften harsh lines or fix placement errors).
The texture is waxy, which means it glides rather than drags. Most pencil liners can be smudged deliberately for a smoky effect, or blended out if you go somewhere you didn’t mean to go.
Best for: Learning the motion, everyday lower lash line, tightlining, creating a soft smoky effect.
Drugstore picks:
- NYX Professional Makeup Retractable Liner (~$9) — twist-up, no sharpening needed, smooth formula
- L’Oréal Le Liner Signature Mechanical Eyeliner (~$10) — precise tip, long-lasting, doesn’t skip
- Maybelline Eyestudio Master Precise Ink Pen (~$9) — slightly more precise than most pencils, great for beginners
Gel Eyeliner: The Underrated Middle Ground
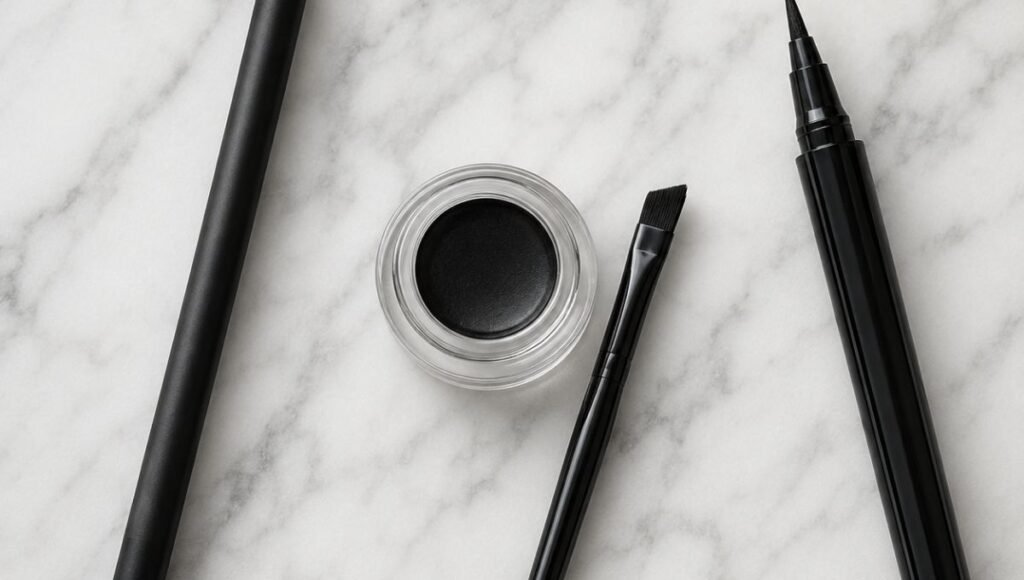
Gel eyeliner — either in a pot (applied with an angled brush) or in a twist-up pencil format — is actually easier to control than liquid despite being less talked about. The formula is creamier than pencil but more pigmented and precise, and it dries to a long-lasting finish without the unforgiving snap-dry of liquid liner.
The pot-and-brush version gives you the most control because you can load exactly as much product as you want and adjust pressure as you go. It takes a little practice to work with a brush, but far less practice than liquid liner.
Best for: Precise lines, everyday wear, anyone with slightly unsteady hands, building toward a wing.
Drugstore picks:
- e.l.f. Intense Ink Eyeliner (~$7) — gel pencil format, great pigment, long-lasting
- Maybelline EyeStudio Lasting Drama Gel Eyeliner (~$10) — pot format, excellent formula, widely available
Liquid Eyeliner: Learn This Last
Liquid liner gives the sharpest, most defined lines and the cleanest wing — but it requires a steadiness and confidence that comes from practice. The formula dries almost immediately, meaning you can’t fix mistakes without removing the whole thing and starting over.
If you’re brand new to eyeliner, come back to liquid liner after you’ve practiced with pencil or gel for a few weeks. The skill transfers — once you know the motion, liquid just gives you a cleaner version of it.
Drugstore picks (when you’re ready):
- e.l.f. H2O Proof Eyeliner Pen (~$10) — flexible felt tip, easier to control than a brush-tip
- NYX Professional Makeup Epic Ink Liner (~$12) — precise tip, very black, long-lasting
- Maybelline Eye Studio Master Precise Liquid Liner (~$10) — flexible micro-brush tip, good for beginners transitioning from pencil
How to Apply Eyeliner for Beginners: The Technique That Actually Works
Regardless of which type you’re using, the foundational technique is the same.
The elbow trick (this changes everything):
Most people try to steady their hand by tensing it. This makes shakiness worse, not better — tense muscles vibrate more than relaxed ones. Instead: rest your elbow on a hard surface (your bathroom counter, a desk, a table), then bring the liner to your eye. Let your elbow be the anchor, not your hand. The difference in stability is significant.
Step 1: Prep your eyelid.
Apply a light dusting of translucent setting powder or an eyeshadow primer to your eyelid before liner. This gives the product something to grip and dramatically reduces smudging throughout the day. Skip this and even the best eyeliner will migrate on oily lids.
Step 2: Start from the outer corner, not the inner.
This is the reverse of what most people instinctively do. Starting at the outer corner gives you more control over the most visible part of the line. Work inward from there — the inner corner can be filled in last and with less pressure.
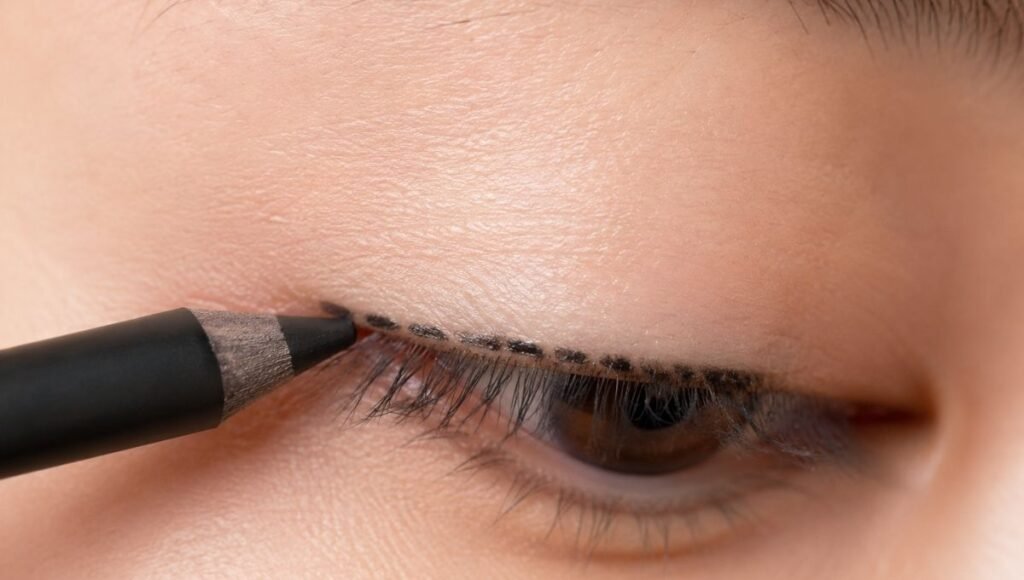
Step 3: Use small connected strokes, not one long line.
Unless you’re very experienced, trying to draw one continuous line from inner to outer corner usually produces a wobbly result. Instead, make small connected dashes — each one a few millimeters long — that connect to form a line. Work from the outer corner inward, connecting each dash to the previous one. When you step back, it looks like one continuous line.
Step 4: Pull your eyelid slightly taut.
Use your non-dominant hand’s index finger to gently pull the outer corner of your eye slightly outward and upward. This flattens the lid and makes the lash line easier to see and follow.
Step 5: Look straight ahead, not up.
Looking up at the mirror tilts your eyelid and makes the line uneven. Look straight ahead — or even slightly downward — while applying. This keeps the lid flat and visible.
How to Apply Pencil Eyeliner Step by Step
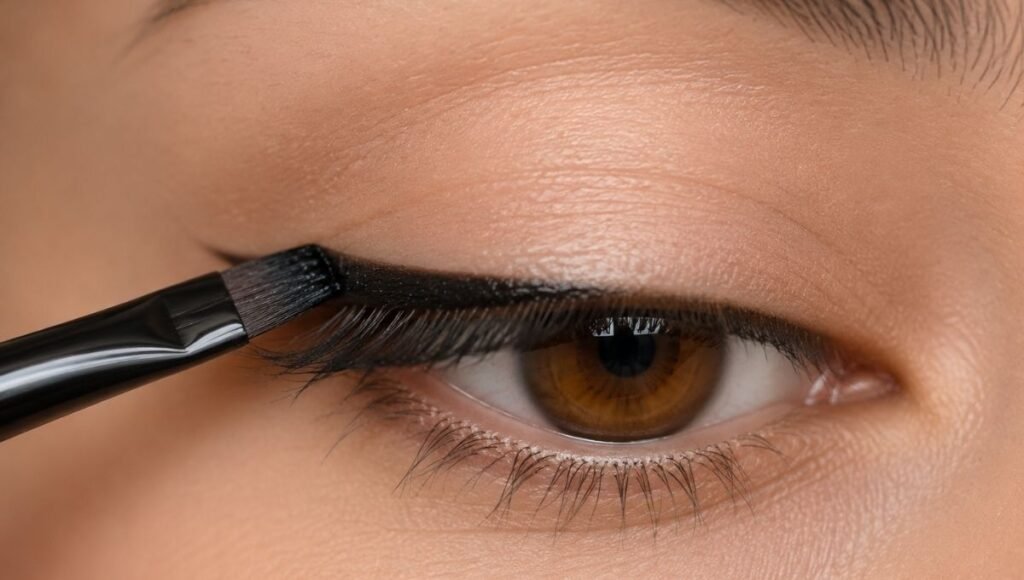
Upper lash line: With your elbow anchored, start at the outer corner of your upper lash line. Work in small strokes along the base of your lashes, as close to the root as possible. The goal is to fill in the space between your lashes rather than drawing a line on top of your lid.
Lower lash line: Apply pencil to your lower waterline (the inner rim of your lower lid) for a more intense look, or just below your lower lashes for something softer. For a natural look, lower liner should be softer and more smudged than upper liner.
Smudging for a softer look: While the pencil is still slightly tacky, use a small smudge brush or your fingertip to blend the edges. This softens any unevenness and creates a smoky effect that’s very wearable for everyday.
How to Apply Gel Eyeliner
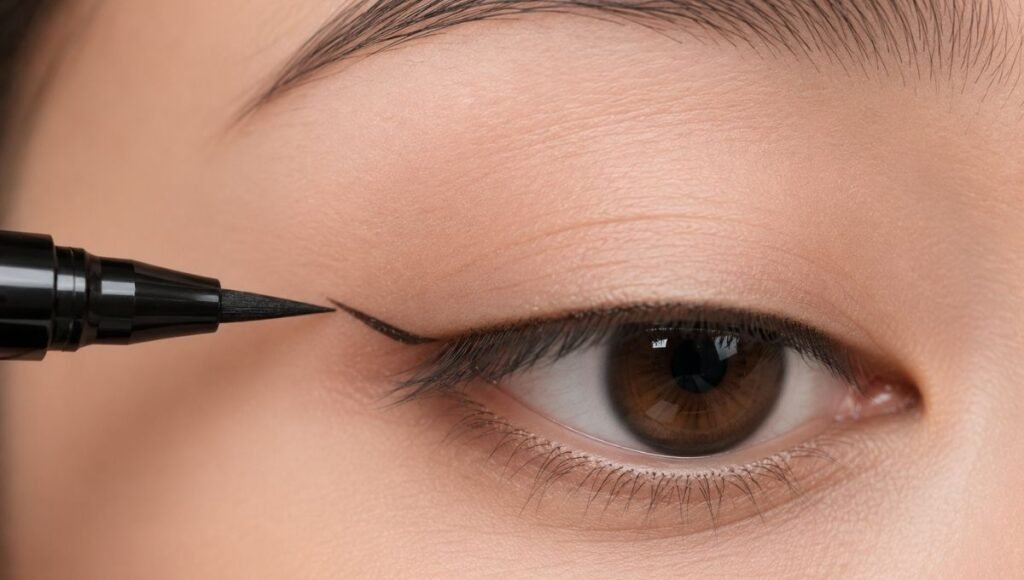
Pot formula with brush: Dip an angled liner brush into the gel, wiping off excess on the rim of the pot. You want a small, controlled amount of product on the brush — too much and the line will be thick and uncontrolled.
Apply using the same small-strokes technique as pencil, working from outer corner inward. Gel has a short window before it starts to set — work relatively quickly, especially once the product is on your eye. Don’t go back to fix once it’s dried.
Gel pencil: Apply exactly like a pencil eyeliner — the format is the same, just with a creamier, more pigmented gel formula. Often easier for beginners than pot-and-brush gel.
How to Apply Liquid Eyeliner for Beginners
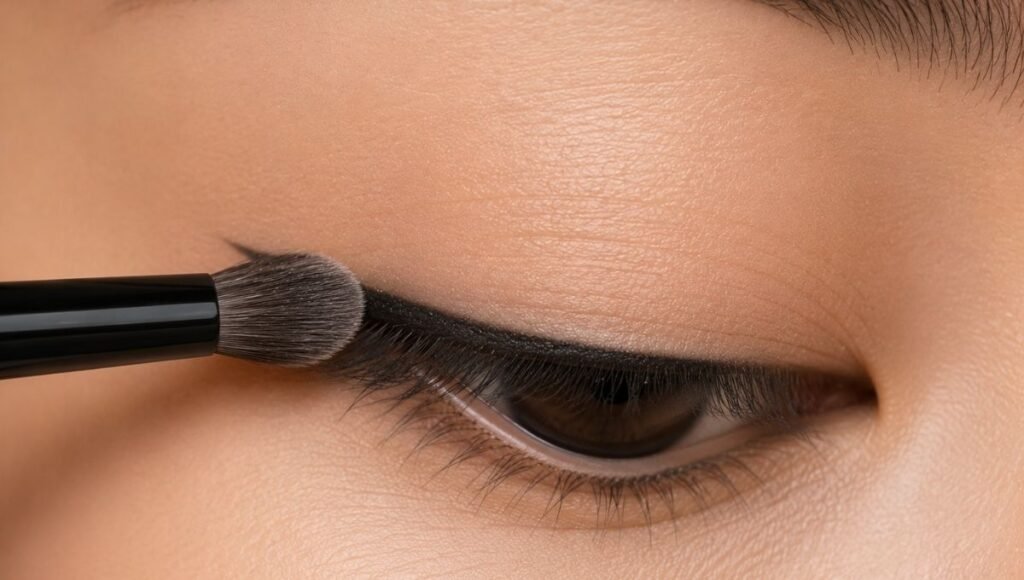
The stamp method for winged liner:
Instead of trying to draw a line from the middle to the corner and then extend it into a wing, try this:
- Draw the flick first — a small diagonal stroke from the outer corner of your eye upward, at roughly the angle your lower lash line would naturally extend to if it kept going
- Connect the flick back to your upper lash line to create the triangular “wing” shape
- Fill in the triangle
- Work inward from the wing toward the inner corner
This builds the wing from the outside in, which gives you more control over the most prominent part of the liner.
How to Do a Winged Eyeliner for Beginners
The wing (or “cat eye”) is the most searched eyeliner look — and the most frustrating to achieve asymmetrically.
The angle guide: Hold a straight object (a pencil, a credit card, a makeup brush handle) against the outer corner of your eye, angling it upward toward the tail of your brow. The angle this creates is where your wing should point. This eliminates the guesswork about direction.
Making both sides match: Do both wings simultaneously rather than completing one side and then the other. Draw the outer flick on each side, check that they match in the mirror, then work inward on both sides. This gives you constant comparison rather than finishing one eye and then trying to replicate it.
The tape hack: Press a small piece of sellotape or a torn piece of a sticky note along the outer corner of your eye at the desired wing angle. Apply liner up to the tape edge, remove the tape, and you have a perfectly straight outer edge to work from.
How to Stop Eyeliner from Smudging
Smudging is the most common eyeliner complaint — and it almost always comes down to one of three causes.
Oily eyelids: The most common cause. Oil from your skin migrates into the liner and breaks it down throughout the day. The fix: apply a thin layer of translucent powder or eyeshadow primer to your lid before liner. This absorbs oil and gives liner something to grip. The difference is significant — some people find their liner lasts 10+ hours with primer and smudges within two hours without it.
Wrong formula for your skin type: Some eyeliners just aren’t designed for oily lids. Look for “long-wearing,” “waterproof,” or “smudge-proof” on the label if this is a consistent issue. Gel and liquid formulas tend to last longer than soft pencil formulas on oily skin.
Applying to wet or moisturized skin: Eye cream or moisturizer that hasn’t fully absorbed will make liner slide immediately. Let your skincare absorb for 5-10 minutes before applying any eye makeup.
The powder seal trick: After applying liner, use a small brush to dust a tiny amount of matching eyeshadow or translucent powder directly over the liner. This sets it and significantly extends wear without changing the look.
How to Make Eyes Look Bigger with Eyeliner
A few placement changes make a significant difference:
Inner corner highlight: Instead of extending liner into the inner corner of your eye (which closes the eye down), leave the inner corner bare or apply a light shimmer or highlighter there. This opens the eye up.
Tightlining only: Applying liner only to the upper waterline (the inner rim of your upper lid, between your lashes) rather than on top of your lid makes lashes look thicker and eyes more defined without the heaviness of visible liner on the lid. This is a great everyday technique.
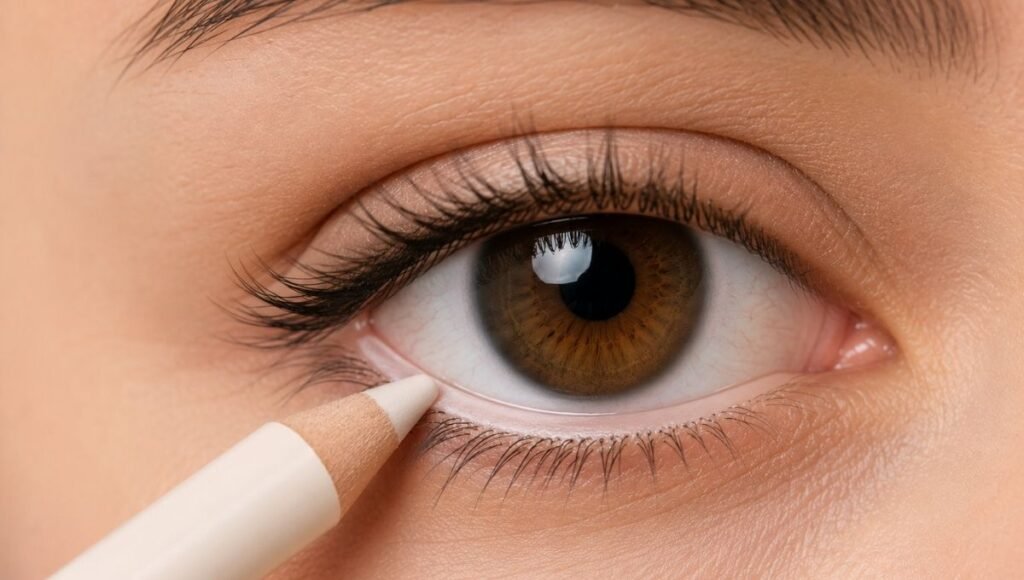
White or nude waterline: Applying a white or nude pencil to your lower waterline (the inner rim of your lower lid) makes eyes look larger and more awake. The NYX Jumbo Eye Pencil in “Milk” (~$5) is the classic recommendation for this.
Avoid lower liner on small eyes: Dark liner on the lower lash line pulls the eye down and makes it look smaller. If you want lower definition, keep it very soft and smudged, or use a light brown rather than black.
Eyeliner for Sensitive Eyes
If your eyes water, itch, or react to eyeliner, the issue is usually the formula — specifically fragrance, certain preservatives, or glitter particles.
What to look for: “Ophthalmologist tested,” “fragrance-free,” “hypoallergenic.” These aren’t regulated terms, but brands that invest in eye safety testing tend to use them.
What to avoid: Glitter eyeliners (particles can migrate into eyes), waterproof formulas with heavy solvents (more irritating to remove), anything with fragrance listed in the ingredients.
Best options for sensitive eyes:
- Almay All Day Intense Gel Liner (~$10) — specifically formulated for sensitive eyes, ophthalmologist tested
- Neutrogena Nourishing Eyeliner (~$9) — very gentle formula, good for contact lens wearers
How to sharpen eyeliner pencil safely: Use a clean sharpener dedicated to eye pencils — don’t use the same sharpener you use for lip liners, as cross-contamination can introduce bacteria near your eyes. Sharpen away from your face and wipe the tip clean before using.
The 2-Minute Eyeliner Version for Busy Mornings
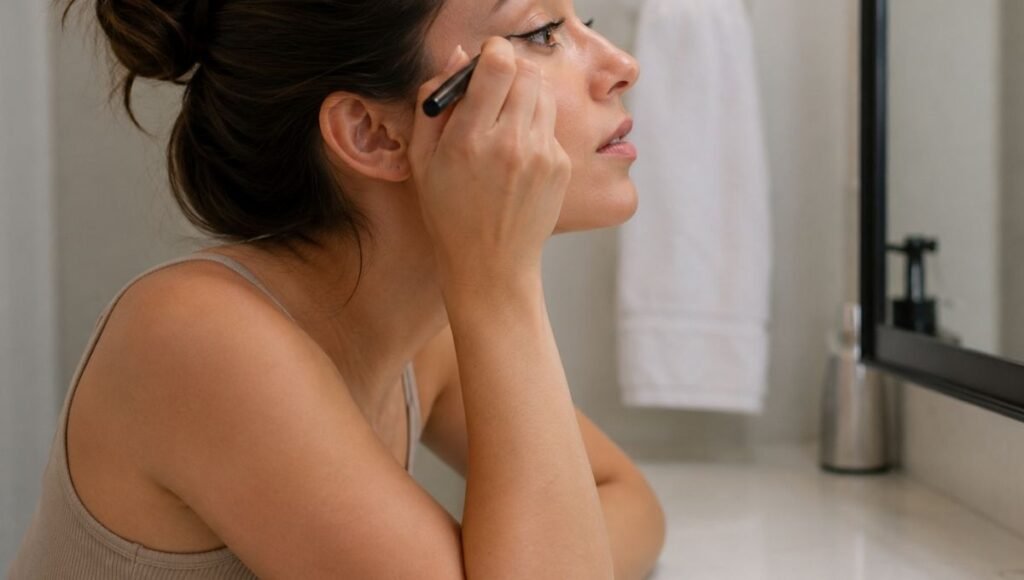
Skip the wing. Apply pencil liner in small strokes along only your upper lash line, as close to the roots as possible, from the middle of your eye to the outer corner only. Leave the inner half bare. Set with a tiny amount of dark eyeshadow. That’s it — 90 seconds, looks intentional, wearable everywhere.
FAQ
What is the easiest eyeliner for beginners?
Pencil eyeliner is the most forgiving because it goes on slowly, can be smudged to fix errors, and doesn’t require a single precise stroke. Gel eyeliner in pencil format is a close second. Liquid liner should be practiced after you’ve built confidence with the other two.
Why does my eyeliner smudge under my eyes?
Oily skin is usually the cause. Apply a thin layer of translucent powder or eyeshadow primer to your lids before liner, and look for formulas labeled “waterproof” or “long-wearing.” Setting your liner with a matching eyeshadow pressed over the top also significantly extends wear.
How do I apply eyeliner without it being shaky?
Rest your elbow on a hard surface rather than trying to steady your hand alone. Use small connected strokes rather than one long line. Work from the outer corner inward. Pulling your eyelid slightly taut with your other hand also helps stabilize the application surface.
How do you do a winged eyeliner for beginners?
Draw the flick first — a small diagonal stroke from your outer corner upward — then connect it back to your lash line to form a triangle, and fill in. Use a straight object to guide the angle of the flick. Do both sides at the same time rather than completing one before starting the other.
How do I apply eyeliner to my waterline?
Your waterline is the inner rim of your eyelid — the moist, skin-colored area between your lashes and your eye. For upper waterline (tightlining): look down, gently lift your upper lid, and apply pencil liner to the inner rim. For lower waterline: look up and apply to the inner rim of your lower lid. Use a pencil, not liquid — it’s safer near the eye.
Eyeliner Takes Practice — But Not as Much as You Think
The first few attempts will look wrong. That’s normal and expected. The motion becomes muscle memory faster than most beginners expect — usually within a week of daily practice, the application becomes automatic.
Start with pencil. Master the lash-line application before attempting a wing. And remember that even slightly imperfect liner — applied with confidence — looks significantly better than no liner at all.
Keep building your eye makeup skills on MyColorKiss:
- How to Apply Mascara for Beginners — the step that pairs with eyeliner for complete eye definition
- How to Fill in Eyebrows for Beginners — brows and liner work together to frame the eyes
- Makeup Steps in Order — where eyeliner fits in your full routine
- Makeup Essentials for Beginners — the complete guide to building your kit
And remember — the people whose eyeliner looks effortless have done it hundreds of times. You’re not bad at eyeliner. You’re just new at it.