
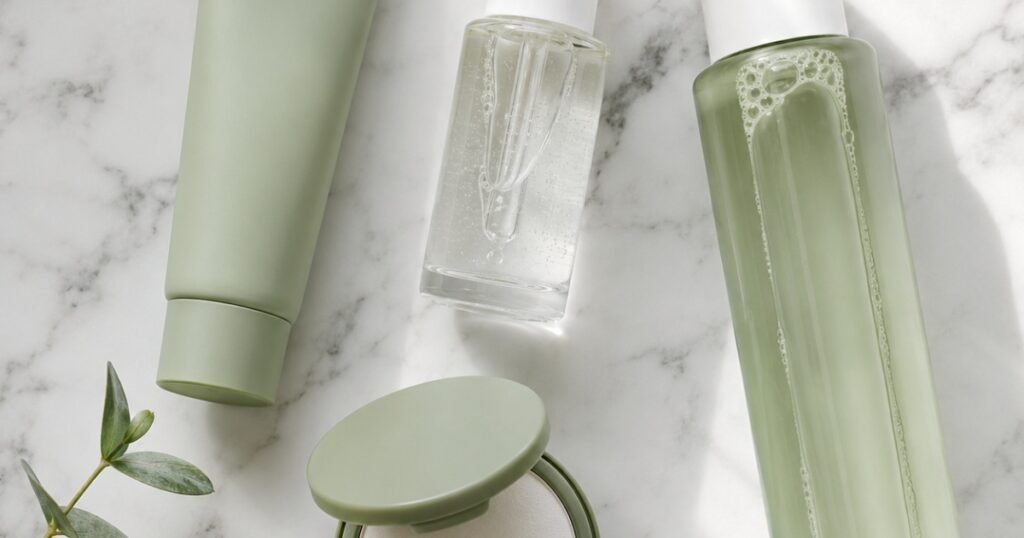
No, you can’t shrink pores with a face mask. But you can make them invisible — and here’s exactly how.
You just finished your makeup. You’re feeling good. You lean in to the mirror to check, and there they are — your pores, somehow looking more obvious than before you started. The foundation has settled into them like little craters. Your nose looks like a strawberry. You’ve spent twenty minutes making your skin look worse.
Here’s the thing your favorite influencer didn’t tell you: pores don’t have muscles. They physically cannot open and close. That $40 “pore-minimizing toner” that promised to shrink them? It’s not shrinking anything. What it might be doing is temporarily reducing the appearance of pores — which is real, achievable, and something you can do with affordable drugstore products once you know the actual techniques.
This guide covers the makeup mistakes that make pores look worse (stop doing these immediately), the three-step budget technique that makes pores visually disappear, the ingredients that genuinely improve pore appearance over time, and the simplified nighttime routine that makes your morning makeup look dramatically better.
Key Takeaways
- Pores cannot physically shrink — but their appearance can be dramatically minimized with the right products and techniques
- The #1 cause of cakey, pore-emphasizing makeup is too much product — less is genuinely more
- Niacinamide is the most evidence-backed ingredient for reducing pore appearance — and it costs under $10
- Applying powder with a pressing motion (not sweeping) blurs pores more effectively than any other finishing technique
- A mattifying primer applied only to the T-zone and nose, not the whole face, makes the biggest difference for the least effort
Why Are My Pores So Big? (The Honest Answer)
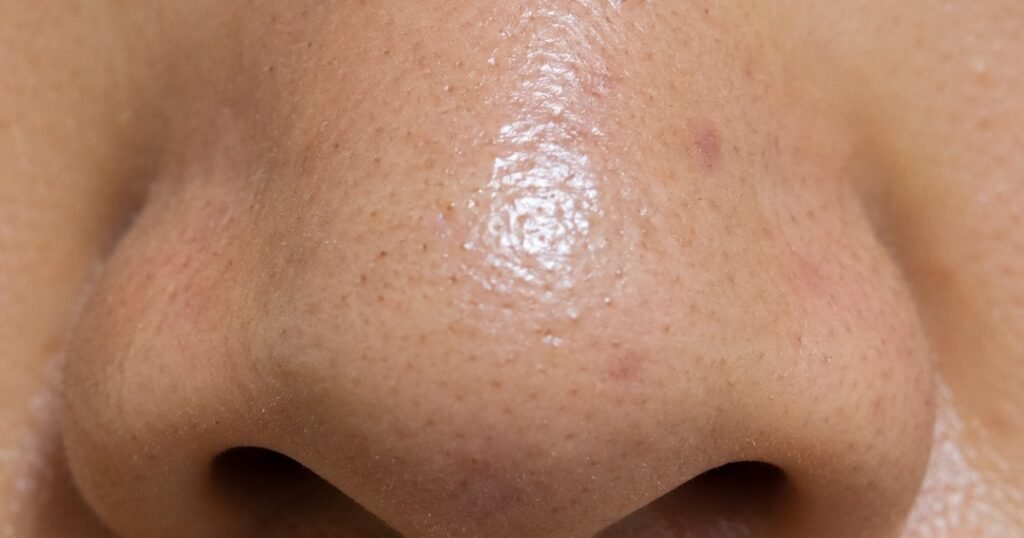
Before getting into solutions, it helps to understand why pores look the way they do — because most pore advice is based on a misunderstanding of what’s actually happening.
Genetics is the primary factor. Pore size is largely determined by your DNA. If your parents have visible pores, you probably do too. This isn’t something skincare can change at a fundamental level.
Oily skin makes pores more visible. Sebum production stretches pores and keeps them looking open. This is why pores tend to be most visible on the nose, forehead, and chin — the oiliest areas of most faces.
Aging makes pores appear larger. As skin loses collagen and elasticity over time, the walls of pores lose their firmness and the pores appear to expand. Sun damage accelerates this process significantly.
Clogged pores look bigger. When a pore is filled with sebum, dead skin cells, and debris, it stretches the pore opening. Keeping pores clear — through regular cleansing and gentle exfoliation — keeps them looking smaller.
What causes large pores isn’t poor hygiene. This myth needs to go. Pores don’t get “dirty” from skipping one wash. But consistent buildup over time does stretch pores, which is why a simple, consistent cleansing routine matters.
Editor’s note: Most of the anxiety around pores comes from looking at our own faces in magnifying mirrors, in bathroom fluorescent lighting, from two inches away. This is not how other people see you. At normal social distance, in real lighting, your pores are not what anyone is looking at. Keep this in perspective while building your routine.
Makeup Mistakes That Make Pores Look Worse (Stop These First)
Before adding products, eliminate the habits that are actively making your pores more visible.
Mistake 1: Too Much Foundation
The instinct when you see pores is to layer more coverage on top. This is exactly backwards. Foundation that’s applied too thickly settles into pores rather than sitting over them — creating the “moon surface” effect where every pore is highlighted by product that’s pooled inside it.
The fix: Use significantly less product than you think you need. A pea-sized amount of foundation for your entire face is the right starting point. Build only where you specifically need it.
Mistake 2: Using Shimmer or Glitter Products on Pore-Prone Areas
Shimmer particles — in highlighter, pearl setting powder, or luminous foundation — reflect light in all directions. On smooth skin this creates glow. On textured skin with visible pores, it emphasizes every dimple and unevenness.
The fix: Keep shimmer and highlight products away from your nose, inner cheeks, and forehead if you have visible pores in those areas. Matte products blur texture; shimmer amplifies it.
Mistake 3: Skipping or Over-Doing Moisturizer
Two opposite mistakes with the same result: cakey, pore-emphasizing makeup.
Not moisturizing: Dry skin grabs foundation unevenly, causing it to sit in patches and craters. Foundation needs a hydrated, smooth surface to sit on.
Too much moisturizer: Applying a thick, oily moisturizer immediately before foundation creates a slippery layer that causes the foundation to slide into pores rather than sitting on top of them.
The fix: Apply a lightweight, oil-free moisturizer and let it absorb for at least two minutes before applying any base products.
3-Step Budget “Pore Invisible” Technique for Everyday Wear
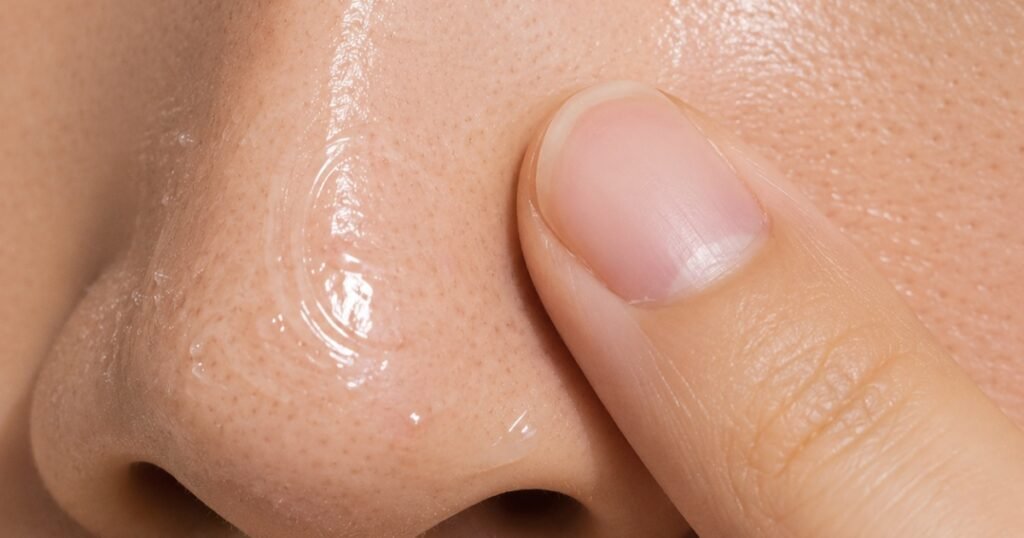
Step 1: Mattifying Primer — But Only Where You Need It
A smoothing primer fills in pores temporarily and creates a surface that foundation grips rather than slides into. But the key that most tutorials miss: don’t apply it all over your face.
Apply primer only to your T-zone and the sides of your nose — the areas where pores are most visible and oil production is highest. Using a pea-sized amount with your fingertips, press it into the skin in small circular motions, working it into the pores. Let it sit for one minute before applying foundation on top.
Applying primer everywhere makes your overall makeup feel heavier and more obvious. Targeted application gives you the pore-minimizing benefit without the cakey result.
Budget primer picks:
- e.l.f. Power Grip Primer (~$10) — sticky gel formula that grips foundation and fills pores effectively
- NYX Professional Makeup Pore Filler Primer (~$14) — specifically designed for pore minimizing, works on the nose particularly well
- Maybelline FaceStudio Master Prime (~$9) — lightweight, good for beginners, widely available
Step 2: Foundation — The Direction Matters
Here’s the technique that most tutorials skip: pore direction affects how you should apply foundation.
On your cheeks: Pores face downward. Apply foundation upward — sweeping from jaw toward cheekbone — so you’re not pushing product down into the pores.
On your nose: Pores face upward. Apply foundation downward — pressing from the bridge of the nose downward — for the same reason.
The tool matters too: A damp beauty sponge applied with a pressing/bouncing motion (not a swiping motion) pushes foundation onto the surface of your skin rather than dragging it into pores. The warmth of the sponge also helps the foundation melt into skin rather than sitting on top of it.
If you use a brush, use a stippling brush (the kind with two layers of bristles) applied with a pressing motion rather than a flat brush applied with sweeping strokes.
Foundation formula for pore-prone skin: Look for “oil-free,” “matte finish,” or “pore minimizing” on the label. Avoid anything labeled “dewy,” “luminous,” or “radiant” — these formulas enhance glow, which amplifies pore visibility.
Budget picks:
- Maybelline Fit Me Matte + Poreless Foundation (~$8) — literally in the name, specifically designed for this concern, wide shade range
- L’Oréal Infallible 24H Fresh Wear Foundation (~$13) — buildable, matte finish, good lasting power
- e.l.f. Halo Glow Liquid Filter (~$14) — for days when you want more of a skin tint than full coverage
Step 3: Matte Setting Powder — Press, Don’t Sweep
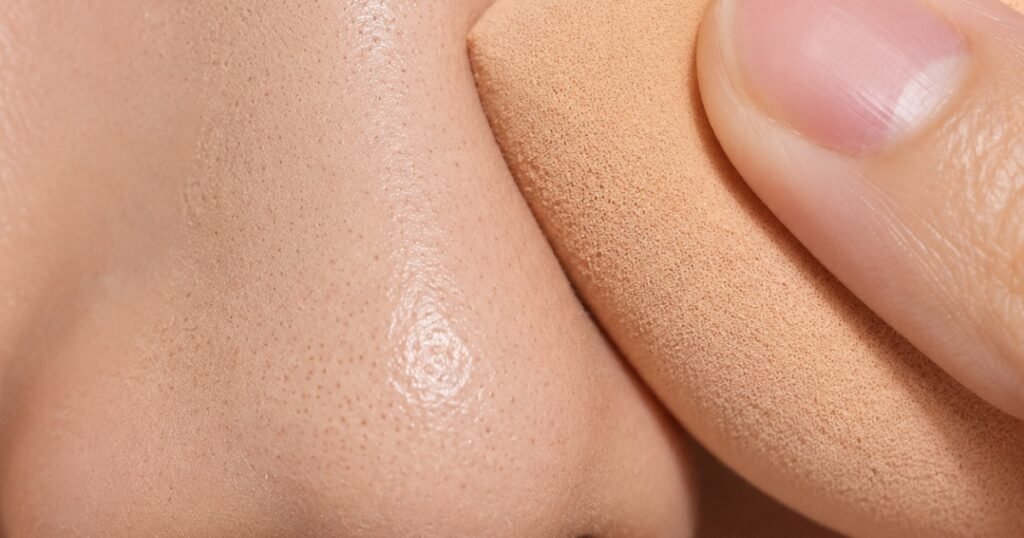
Setting powder is where most beginners go wrong with pores. The product is right; the technique is wrong.
Sweeping powder across your face with a brush spreads it unevenly and can actually emphasize pores by catching on the edges and creating lines.
Pressing powder into your skin with a powder puff creates a “blur” effect that visually fills in pores and gives skin that soft-focus, filter-like quality.
How to do it: Dip your powder puff into your setting powder, then rub it against itself slightly to distribute the product. Press the puff firmly onto your skin — nose, T-zone, cheeks — and hold for a second before lifting. Don’t rub or sweep. The pressure pushes product into the surface of your skin rather than dragging it.
Choose a completely matte, translucent setting powder for this. Any shimmer or pearl finish defeats the purpose.
Budget picks:
- Coty Airspun Loose Face Powder (~$8) — a cult classic, finely milled, excellent matte finish
- NYX Can’t Stop Won’t Stop Setting Powder (~$14) — good for oily skin, long-lasting matte
- e.l.f. Halo Glow Setting Powder (~$14) — very finely milled, blurs beautifully
How to Make Pores Less Visible with Makeup (Quick Fixes)
The pore-blurring concealer trick: Apply a tiny amount of concealer only over the most visible pore areas — typically the nose and inner cheeks — before foundation. This creates an extra layer that fills pores without making your whole face feel heavy.
Color-correcting primer for oily skin: A mattifying, slightly tinted primer in a peach or lavender shade can neutralize redness around pore-prone areas before foundation, reducing the contrast that makes pores look deeper.
The powder sandwich: For maximum lasting power on very oily skin, apply a light layer of setting powder after primer and before foundation (the “baking” principle), then set again with powder after foundation. This locks the base in place and significantly extends how long the pore-minimizing effect lasts.
Niacinamide for Pores: The Ingredient That Actually Works
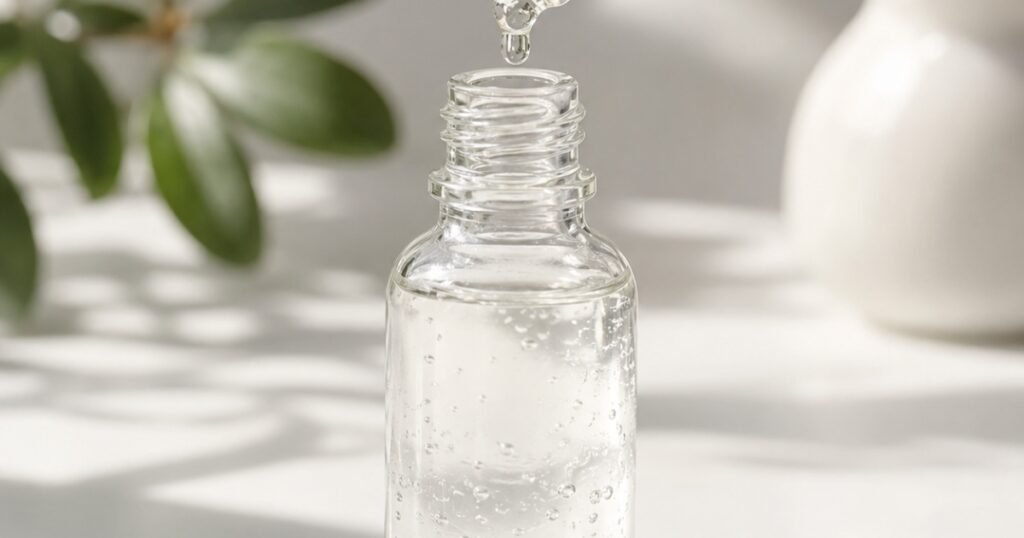
If you want long-term pore improvement — not just makeup tricks — niacinamide is the ingredient most consistently supported by research.
Niacinamide (vitamin B3) regulates sebum production at the sebaceous gland level, which means your pores gradually produce less oil over time. Less oil in the pore = pore appears smaller. Studies have also shown that niacinamide improves overall skin texture and reduces the appearance of pore size with consistent use over 8-12 weeks.
It’s also extremely well-tolerated — gentle enough for daily use on most skin types, including sensitive skin — and inexpensive.
How to use it: Apply a niacinamide serum after cleansing and before moisturizer, morning and/or night. Use consistently for at least 8 weeks before evaluating results.
Budget picks:
- The Ordinary Niacinamide 10% + Zinc 1% (~$7) — the most recommended option, excellent value
- Good Molecules Niacinamide Serum (~$8) — slightly gentler formula, good for sensitive skin
Retinol for Pores: The Long-Game Ingredient
Retinol addresses pores through a different mechanism than niacinamide: it increases cell turnover, which prevents dead skin cells from accumulating inside pores and stretching them open. Over time, consistent retinol use also stimulates collagen production, which firms the walls of pores and makes them appear smaller.
Results take longer than niacinamide — typically 3-6 months of consistent use before significant pore improvement is visible — but the effect is more dramatic and addresses the aging component of enlarged pores.
Important: Retinol goes at night only, and beginners should start with once or twice per week before building up. See our complete retinol guide for the full protocol.
Budget picks:
- Differin Adapalene Gel 0.1% (~$14) — an OTC retinoid that’s more effective than most OTC retinols
- RoC Retinol Correxion Line Smoothing Serum (~$21) — gradual release, gentler for beginners
How to Unclog Pores: The Nighttime Routine That Makes Morning Makeup Work
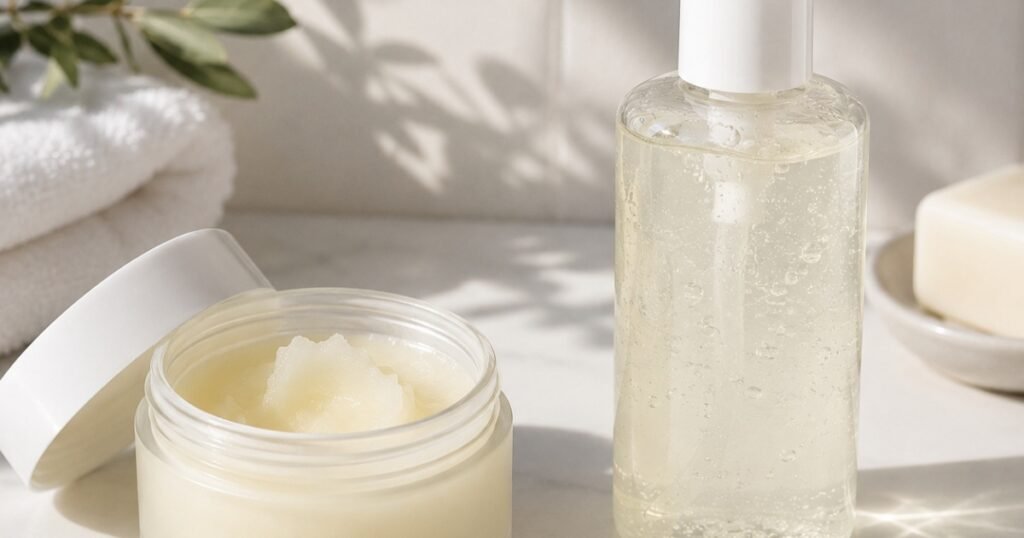
The single most impactful thing you can do for pore appearance over time is keep them clean. A clogged pore is a stretched pore — and stretched pores look large.
Step 1: Double cleanse. An oil-based cleanser first (cleansing balm or oil) dissolves sebum and makeup inside pores. A water-based cleanser second removes the dissolved residue. This two-step process is what actually clears pores, not aggressive scrubbing with a single cleanser.
Step 2: BHA exfoliant 2-3x per week. Salicylic acid (a BHA) is oil-soluble, which means it can actually penetrate into sebum-filled pores and dissolve the buildup from the inside. This is the ingredient that addresses blackheads and clogged pores most directly.
- The Ordinary Salicylic Acid 2% Solution (~$7) — budget option, effective for mild to moderate congestion
- Paula’s Choice Skin Perfecting 2% BHA Liquid (~$35) — the gold standard recommendation across skincare communities
Step 3: Oil-free moisturizer. Sealing your clean, exfoliated skin with a lightweight, non-comedogenic moisturizer prevents the dehydration that triggers compensatory oil overproduction.
How to Reduce Pores on Nose (The Specific Problem)
The nose is the most common pore concern because nose pores are larger, more prone to congestion, and more visible than pores elsewhere on the face.
Why nose pores are different: The nose has the highest density of sebaceous glands on the face, which means more oil production and more frequent congestion. The pores also face upward, making them more visible in most lighting.
The specific technique:
- Apply primer to your nose with a fingertip in small circular motions, pressing product into the pores
- Apply foundation downward (with the direction of the pores pointing up, pressing down fills them rather than pushing product away)
- Set with a powder puff using firm pressing motions
- Avoid touching your nose throughout the day — transferring oil from your hands onto your nose is one of the fastest ways to undo your makeup
The overnight nose treatment: Apply a BHA exfoliant specifically to your nose 3 nights per week. This keeps nose pores clear and reduces their visible size over time more dramatically than any other area of the face responds.
The Minimal Nighttime Routine for Better Morning Pores
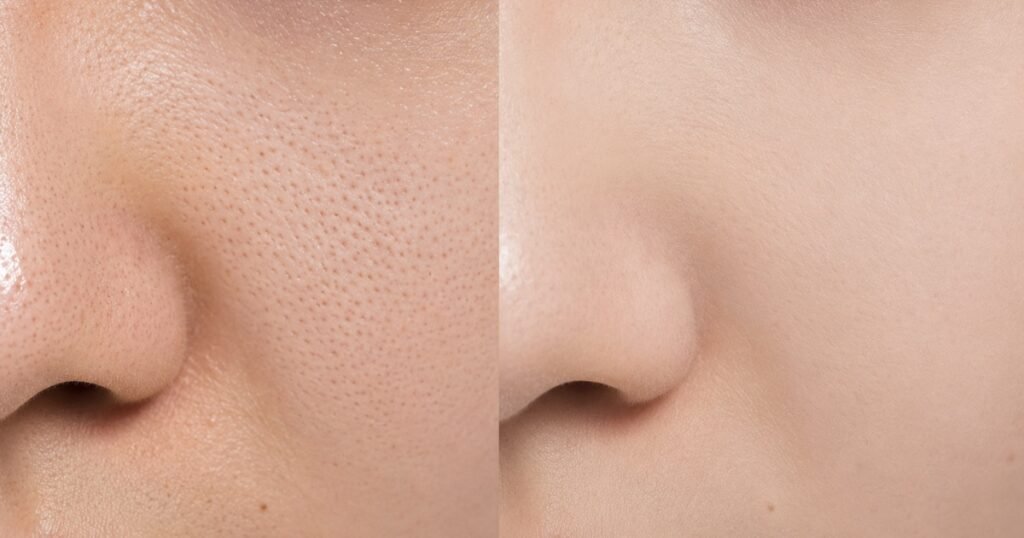
You don’t need ten steps. You need three, done consistently:
- Double cleanse — oil cleanser, then gentle gel cleanser (2 minutes total)
- BHA exfoliant on your nose and T-zone, 2-3 nights per week (30 seconds)
- Oil-free moisturizer — lightweight gel, applied to damp skin (30 seconds)
That’s it. Three steps, under five minutes, done consistently every night for 8 weeks. Your morning pore situation will be meaningfully different.
FAQ
Can you actually minimize pores?
You can significantly reduce the appearance of pores through makeup techniques (primer, matte products, pressing powder) and skincare ingredients (niacinamide, retinol, BHA exfoliation). You cannot permanently change your actual pore size, which is largely genetic. But “visually minimized” is a real and achievable result.
Why are my pores so big?
The primary factors are genetics (you inherited your pore size), skin type (oily skin has more visible pores), and age (pores appear larger as skin loses collagen). Clogged pores also look bigger — keeping them clear through consistent cleansing and exfoliation helps.
What ingredient actually minimizes pores?
Niacinamide is the most evidence-backed ingredient for reducing pore appearance — it regulates oil production, which is what keeps pores stretched open. BHA (salicylic acid) keeps pores clear by dissolving sebum inside them. Retinol improves pore appearance over time by increasing cell turnover and stimulating collagen.
Does primer actually help with pores?
Yes — a mattifying primer applied to pore-prone areas before foundation physically fills in pores temporarily and creates a smoother surface for foundation. The key is targeted application (T-zone and nose only) and letting it set for a minute before applying foundation on top.
How do I minimize pores on my nose specifically?
Apply primer with circular pressing motions into nose pores, apply foundation downward (pressing motion), and set with powder puff using firm pressing (not sweeping). For long-term improvement, use a BHA exfoliant on your nose 2-3 nights per week.
Pores Are Normal — But You Don’t Have to See Them
The right products, applied the right way, make visible pores genuinely undetectable in everyday situations. Matte primer on the T-zone. Foundation pressed in with a damp sponge. Translucent powder pressed (not swept) on top. Niacinamide underneath, consistently, over weeks.
That’s the whole system. Nothing complicated, nothing expensive, nothing that requires twenty minutes of technique.
Keep building your routine on MyColorKiss:
- How to Apply Foundation for Beginners — the complete foundation guide including application technique for textured skin
- Oily Skin Care Routine — the full routine for oil control and pore management
- Night Skincare Routine — where retinol and BHA fit into your evening routine
- How to Get Clear Skin — tackling the breakouts that clog pores
And one last thing: check your makeup from a normal distance before deciding it looks bad.
Bathroom mirrors, harsh lighting, and looking two inches away from your skin will show texture that nobody else notices. Makeup is meant to look good in real life — not under a magnifying mirror.
Get the technique right, find products that work for your skin, and then stop chasing a version of skin that only exists with filters.
💗 Your Bestie’s “Science Check” — Because We Did the Research So You Don’t Have To
Okay, we keep things fun and budget-friendly around here — but the skincare and beauty science? That part we take seriously. Everything in this guide is backed by real dermatology research and expert recommendations, not just viral trends.
If you want to go full nerd mode and read the originals yourself, here you go:
- 🔬 American Academy of Dermatology (AAD) — The gold standard for skin and makeup science, written by actual dermatologists → aad.org
- 🏥 Cleveland Clinic Beauty & Skincare Hub — Expert-reviewed guides on everything from ingredients to routines → clevelandclinic.org
We read these so we could translate the sciency bits into actual human language for you. You’re welcome. 💅