
Ask five people how to start retinol, and you’ll probably get five different answers. Some swear by using it every night, others insist on the sandwich method, and plenty of people will tell you they gave up after their skin became dry or flaky. For someone just getting started, it’s easy to wonder who’s actually right.
This guide is built for beginners who want smoother, more even-looking skin without wrecking their skin barrier or their budget. We’ll walk through how to pick a beginner-friendly retinoid, build a simple routine, follow an easy 4-week schedule, and handle it if your skin gets flaky, red, or irritated along the way. If you’re dealing with persistent irritation or a serious acne concern, we’ll also point out when it’s time to loop in a dermatologist instead of troubleshooting solo.
No 10-step routines. No $80 serums required. Just a plan you can actually stick with.
Retinol for Beginners at a Glance
If you’re new to retinol, here’s what you need to know before you start:
- Start with a low-strength retinol (around 0.1%–0.3%) rather than the highest concentration available.
- Use it just once or twice a week at first, then increase gradually as your skin builds tolerance.
- Pair it with a simple moisturizer and wear broad-spectrum sunscreen every morning.
- Avoid combining retinol with strong exfoliating acids or other retinoids on the same night while you’re adjusting.
- Expect gradual results, not overnight changes. Most beginners notice improvements after several weeks of consistent use.
In this guide, you’ll learn how to choose your first retinol, build a beginner-friendly routine, avoid common mistakes, and troubleshoot irritation if it happens.
What is Retinol and Why is Everyone Obsessed With It?
The Cell-Turnover Magic: How Vitamin A Renews Your Skin
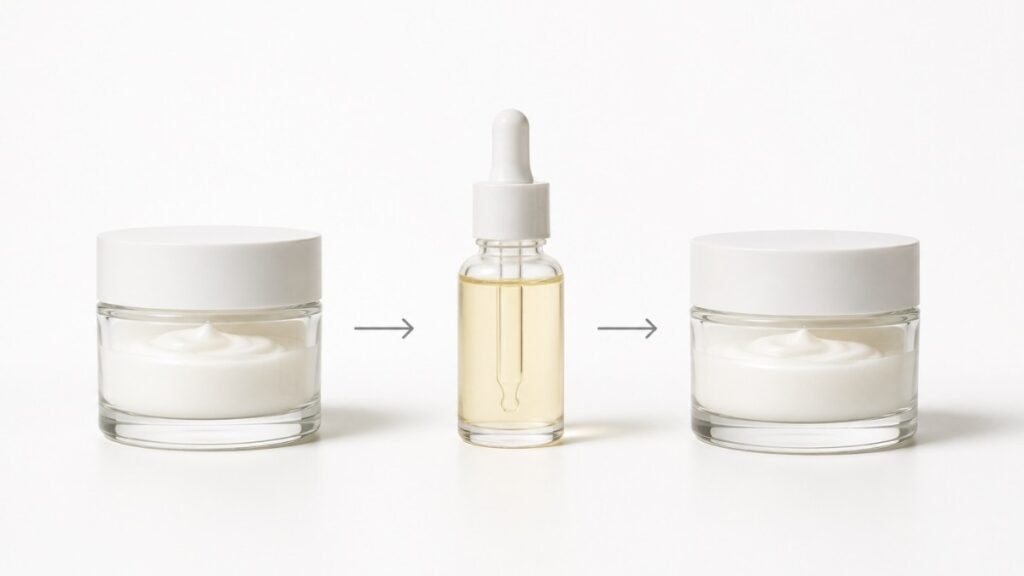
Retinol is a form of vitamin A, and it’s one of the most well-established ingredients in skincare for a reason. Once it’s on your skin, it goes through a conversion process — retinol turns into retinaldehyde, which then converts into retinoic acid, the form your skin cells can actually use.
Think of it like a delivery chain. Retinol is the package that gets dropped off, and your skin has to do some processing before it can “open” it and put it to work. That’s part of why retinol tends to be gentler than prescription options that skip straight to the active form.
What retinol does, in plain terms, is encourage your skin to turn over cells a bit faster and support collagen production. It’s not resurfacing your face overnight — it’s a slow, cumulative process. If anyone promises you baby-smooth skin in a week, that’s not how this ingredient works.
From Fine Lines to Acne: The Multi-Tasking Holy Grail
Retinol gets hyped because it’s genuinely a multitasker:
- Fine lines and early aging signs — one of its most researched uses.
- Uneven tone and pigmentation — many users notice their skin looking more even over time.
- Rough texture and clogged pores — retinol can help skin feel smoother and pores appear less congested.
- Acne-related concerns — retinol can help here, but it’s not the same as a prescription acne treatment, and it shouldn’t be expected to perform like one.
The realistic expectation: gradual improvement over weeks and months, not a dramatic before-and-after by next Friday.
Retinol vs. Prescription Retinoids: Which Problem Are You Actually Trying to Solve?
Over-the-counter retinol is designed for gradual, cosmetic-level improvement — texture, tone, mild fine lines. Prescription retinoids, like tretinoin, or acne-specific options like adapalene, are stronger and typically prescribed to treat a specific medical concern.
A simple way to think about it:
- Mostly worried about texture or early fine lines? A beginner-friendly OTC retinoid is a reasonable starting point.
- Dealing with the occasional breakout? A gentle retinol-based routine may help, but it’s not guaranteed to solve acne on its own.
- Struggling with persistent or significant acne? That’s worth a conversation with a dermatologist rather than a DIY approach.
Prescription isn’t automatically “better” for every beginner — it’s simply a different tool for a different problem.
The Retinol Alphabet Soup: Choosing the Right Type for Beginners
Retinyl Palmitate vs. Pure Retinol vs. Retinal (In Plain English)
| Ingredient | Conversion steps | General irritation potential | Best suited for | Beginner-friendly positioning |
|---|---|---|---|---|
| Retinyl palmitate | Two steps to become active | Lower | Very sensitive first-timers | Good gentle starting point |
| Retinol | One step to become active | Moderate | Most beginners | The classic starting ingredient |
| Retinal (retinaldehyde) | One step, faster acting | Higher | Beginners with some tolerance already | Consider after building up comfort with retinol |
Retinyl palmitate needs more conversion steps before it becomes active, which generally makes it milder — a solid option if your skin reacts to almost everything. Pure retinol is the most common starting ingredient, striking a balance between effectiveness and tolerability. Retinal skips a step in the conversion chain, so it tends to act faster and can also be more irritating if you jump in without any prior experience.
Why Budget-Friendly, Low-Concentration is Actually Better to Start
Here’s the myth worth busting: stronger doesn’t mean faster results, it usually just means faster irritation. Your skin needs time to build tolerance regardless of what percentage is on the label.
Starting low also protects your motivation. One mistake beginners often make is buying the priciest, highest-percentage retinol they can find, using it three nights in a row, and then quitting entirely after their face turns red and flaky. A $12 low-strength retinol used consistently for two months will do more for your skin than an $80 serum that sits in a drawer after one bad reaction.
For students and anyone watching their budget, this is actually the smarter path on both fronts — better for your skin, easier on your wallet.
Are Bakuchiol and HPR Worth Considering If You Are Scared of Retinol?
If the word “retinol” alone makes you nervous, you’ve probably heard of bakuchiol or HPR (hydroxypinacolone retinoate) as “gentler alternatives.” They can be reasonable entry points for highly sensitive skin, but it’s worth being clear-eyed here: “alternative” doesn’t mean identical in performance, and it doesn’t mean guaranteed irritation-free, either.
A simple decision guide:
- Extremely reactive skin, nervous about trying an actual retinoid → bakuchiol or HPR may be a gentler starting point.
- Normal to moderately sensitive skin, willing to go slow → traditional low-strength retinol is usually the more proven option.
Best Under-$20 Retinol Products That Won’t Ruin Your Skin (or Wallet)
The Ultimate Budget Winner Checklist: Drugstore Picks We Love
When evaluating affordable retinol options, the things that actually matter are: the type of retinoid, the concentration (when it’s disclosed), the texture, how simple the formula is, whether it includes any barrier-supporting ingredients, and the price relative to what you’re getting.
A few widely available, affordable names that consistently show up as beginner-friendly picks:
- The Ordinary — known for straightforward, no-frills retinol formulas at different strength levels, which makes it easy to start low.
- The Inkey List — simple formulas that pair retinol with supportive, non-fussy ingredients.
- Trader Joe’s — a genuinely low-cost option for anyone dipping a toe in without a big investment.
- COSRX — often praised for lightweight textures that layer easily.
- Innisfree Cica Retinol — combines retinol with cica, which some beginners find more comfortable on sensitive days.
None of these should be treated as “guaranteed gentle.” Every face is different, and even a mild formula can cause some initial adjustment.
Best for absolute beginners: the lowest-strength option you can find, applied sparingly.
Best for sensitive-feeling skin: a cica-paired or barrier-supportive formula.
Best lightweight texture: a fast-absorbing serum, not a heavy cream.
Best budget option: whichever affordable pick you’ll actually finish the bottle of.
Best for makeup compatibility: a formula that fully absorbs before bed, leaving no residue by morning.
The Makeup-Friendly Test: Retinols That Won’t Cause Your Foundation to Pill
| Product texture | Absorption speed | Next-day dryness risk | Makeup-friendliness | Best for |
|---|---|---|---|---|
| Lightweight serum | Fast | Lower | High | Most beginners |
| Lotion | Moderate | Moderate | Moderate | Combination skin |
| Cream | Slower | Moderate to higher | Moderate | Drier skin types |
| Rich balm | Slowest | Higher if overused | Lower unless well-absorbed overnight | Very dry, tolerant skin |
If your foundation pills the morning after retinol, the texture of the product is often part of the story. Flaking, over-layering, and incomplete absorption overnight are common culprits, and we’ll dig into all three later in this guide.
The $15-or-Less 1+1 Routine: Retinol Plus One Barrier-Supporting Moisturizer
You genuinely do not need ten products to start retinol. What you need is:
- A low-strength retinol.
- One straightforward moisturizer, ideally with barrier-supporting ingredients like ceramides.
That’s it. Look for a moisturizer that lists its purpose clearly — hydrating, barrier repair, fragrance-free — rather than one stacked with additional actives.
Checklist before you start:
- One beginner-friendly retinol
- One simple, ceramide-friendly moisturizer
- A gentle, non-stripping cleanser
- A broad-spectrum sunscreen for daytime
One practical way to think about this: a full shelf of actives looks impressive on camera, but it’s the simple routine — the one with only two or three steps — that beginners actually finish using consistently. Consistency is what makes retinol work, and consistency is much easier with a routine that takes ninety seconds.
The “No-Panic” Guide to Layering Retinol in Your Nighttime Routine
The Simplest Beginner Routine: Cleanse → Dry Skin → Retinol → Moisturizer
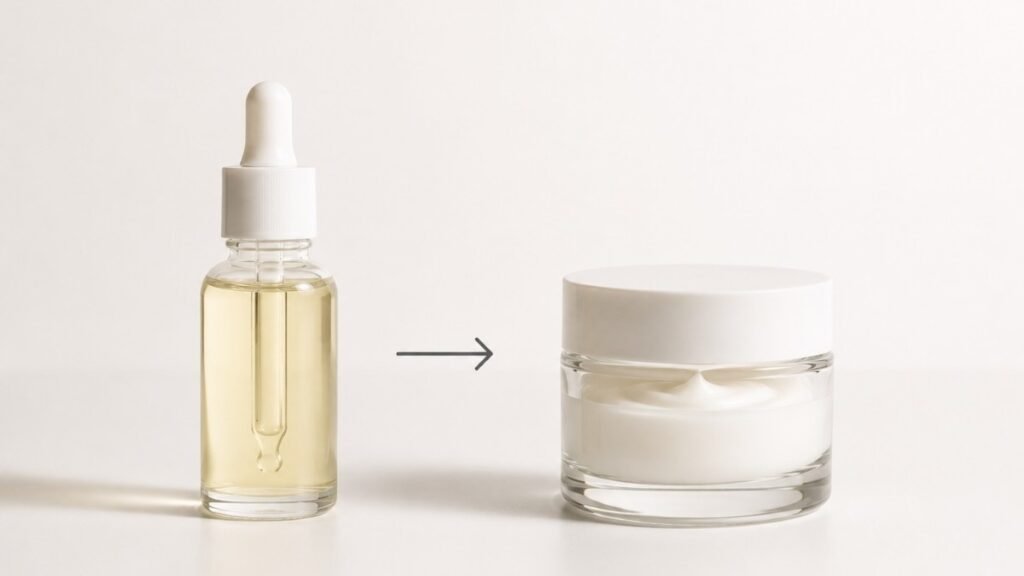
Here’s the order to follow: cleanse your face, let your skin dry completely, apply retinol, then moisturize. Applying retinol to fully dry skin — rather than damp skin — can help reduce the chance of irritation for beginners, since damp skin tends to absorb actives faster and more intensely.
Toner is optional here, not mandatory. If you already use a hydrating toner and your skin tolerates it fine, you can keep it in before the retinol step. If you’re not sure, it’s easier to leave it out while you’re still figuring out how your skin responds. Excessive layering before retinol tends to just complicate troubleshooting later.
The Sandwich Method: Your Skin’s Ultimate Shield Against Irritation
For extra-sensitive skin, or just for peace of mind in week one, try the sandwich method:
- Cleanse and fully dry your skin.
- Apply a thin layer of moisturizer.
- Apply your retinol.
- Follow with another light layer of moisturizer if your skin feels tight.
A common worry here is whether buffering makes the retinol “useless.” It doesn’t cancel out the ingredient — it just slows down how quickly it reaches your skin, which is exactly the point when you’re building tolerance. As your skin adjusts, you can gradually apply retinol closer to bare skin.
Step-by-Step Calendar: How to Build Tolerance in 4 Weeks
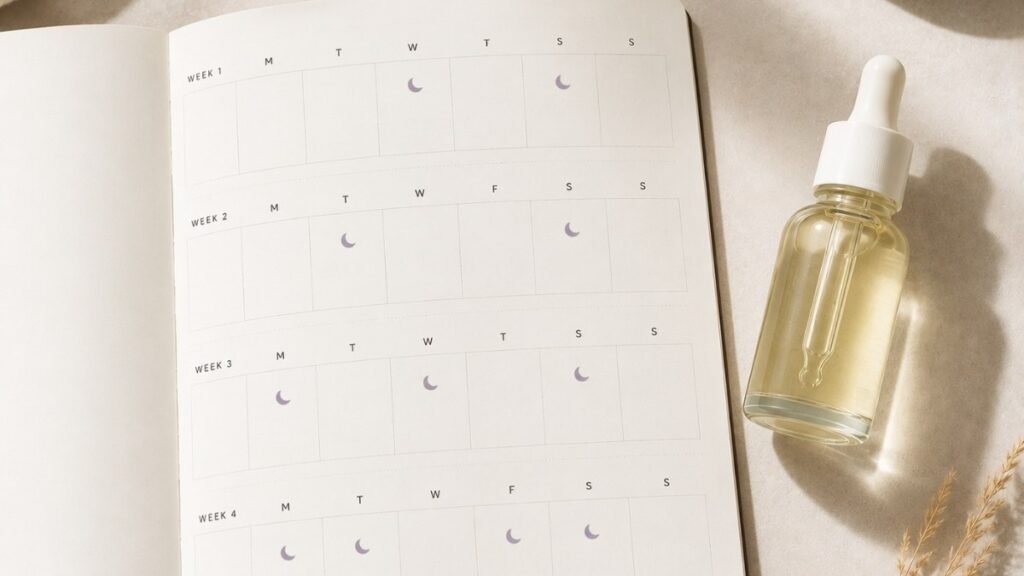
Week 1: One retinol night, with recovery nights (moisturizer only) in between. Watch how your skin responds over 48 hours.
Week 2: If skin tolerated week one, move to two non-consecutive retinol nights.
Week 3: Gradual increase only if irritation has stayed manageable — think mild, temporary dryness, not ongoing redness or discomfort.
Week 4: Continue at whatever frequency your skin is actually handling well. There’s no rule that says you must reach nightly use by week four.
Pause and step back if: you notice persistent redness, burning, or peeling that isn’t improving. Drop back to fewer nights per week, or pause entirely for a few days, before trying again.
Quick decision tree:
- Skin feels fine → continue at current frequency, consider increasing slightly next week.
- Skin feels slightly dry or tight → hold at current frequency a bit longer before increasing.
- Skin is burning or very red → pause retinol, simplify your routine, and reassess in 48 hours.
What Should You Keep Away From Retinol on Beginner Nights?
While you’re building tolerance, avoid stacking other potentially irritating actives on the same nights:
- AHA and BHA/salicylic acid — save these for separate nights, not the same evening as retinol.
- High-strength vitamin C — depending on the formulation, this can add unnecessary irritation risk when combined.
- Other retinoids — don’t casually add a cosmetic retinol on top of a prescription retinoid or acne treatment you’re already using. That’s doubling up on the same category of ingredient, not adding something new.
A simple weekly template: two or three retinol nights, a couple of recovery nights with just moisturizer, and — once your skin is more settled — one optional night for an acid, kept separate from your retinol nights.
The Beginner’s Survival Guide: What to Do If Your Skin Flakes or Purges
Dryness, Peeling, Redness, and Burning: How to Tell What Your Skin is Saying
- Mild dryness or occasional flaking — common in the early weeks, usually manageable with moisturizer adjustments.
- Persistent redness — worth cutting back frequency and watching closely.
- Burning or significant stinging — a sign to pause, not push through.
- Worsening irritation over several days — a signal to stop and consider professional advice.
Decision tree: Mild and improving → continue cautiously. Mild but not improving → reduce frequency. Getting worse → pause. Severe, painful, or not resolving after a break → talk to a dermatologist.
The 48-Hour “Skin Is Angry” Reset
When your skin is clearly unhappy, the fix isn’t more products — it’s fewer.
- Pause retinol and any other actives for at least 48 hours.
- Strip your routine down to a gentle cleanser and a simple moisturizer.
- Keep up with daytime sunscreen; irritated skin is more sun-sensitive, not less.
- Resist the urge to try a new “rescue” serum or exfoliate the flaking away — that usually makes things worse.
Emergency routine checklist:
- Gentle, fragrance-free cleanser
- Simple, barrier-supporting moisturizer
- Broad-spectrum sunscreen (AM only)
- No actives until skin calms down
Do You Need a Heavier Moisturizer During the Peeling Phase?
If your usual lightweight lotion suddenly feels like it’s doing nothing, that’s a sign your skin needs more support, not that your moisturizer is broken. During the adjustment phase, skin often needs a richer texture temporarily — something with ceramides or other repair-focused ingredients tends to be a practical switch.
One useful way to approach this: let how your skin actually feels guide the decision, rather than assuming you need to buy an entirely new, more expensive routine. A richer moisturizer for a couple of weeks is usually enough to get through the rough patch, and you can go back to your regular lotion once things settle.
Purging or a Bad Reaction? The Beginner’s Quick Check
Not every breakout after starting retinol is “purging,” even though that word gets thrown around a lot online.
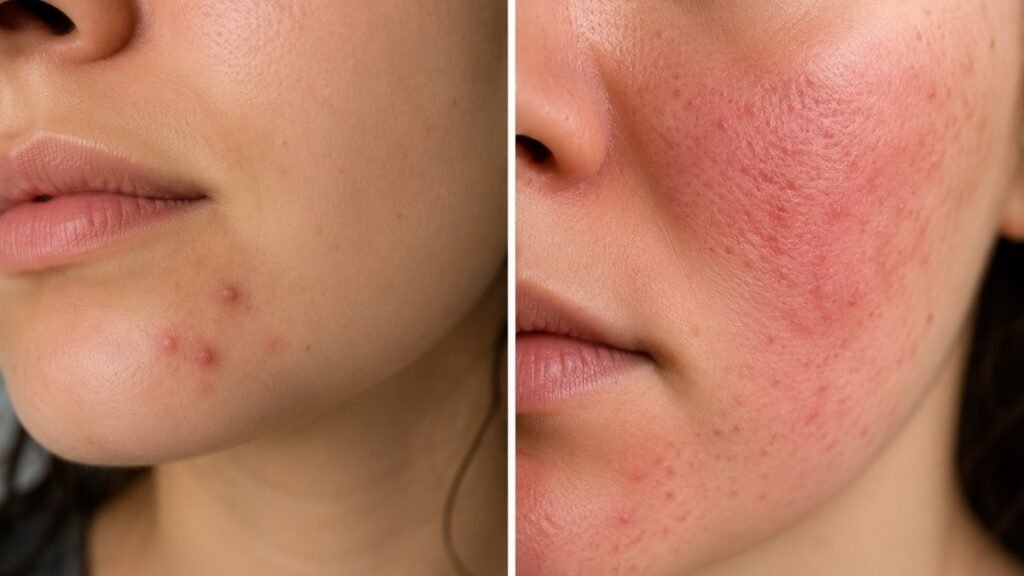
- More likely purging: breakouts appear in areas where you already tend to get congestion, and they clear up faster than a typical pimple cycle.
- More likely irritation or a bad reaction: breakouts show up in new areas, alongside widespread redness, burning, or a face that just feels increasingly uncomfortable.
If it looks like the second scenario, that’s your cue to stop and reassess rather than wait it out.
How to Wear Makeup the Morning After Retinol Without Flakes or Pilling
The 3-Step Morning Routine for a Makeup-Friendly Retinol Day
Keep mornings simple while your skin is adjusting:
- A gentle cleanse or quick water rinse.
- Moisturizer, matched to how dry your skin feels that day.
- Broad-spectrum sunscreen — every single morning, no exceptions.
This is not the time to introduce a new vitamin C serum or a trendy essence. Simple mornings make it much easier to figure out what’s actually causing any makeup issues.
Why Your Foundation May Pill After Retinol
Pilling usually comes down to one of these:
- Flaky, uneven texture on the skin’s surface that foundation can’t sit on smoothly.
- Too many layers — moisturizer, sunscreen, primer, and foundation all fighting for space.
- Rubbing products in instead of pressing them, which can ball up product on the skin.
- Texture mismatches between your moisturizer, sunscreen, and base makeup.
Quick troubleshooting checklist:
- Is my skin visibly flaky? → address dryness first.
- Am I using too many products before makeup? → simplify.
- Am I rubbing instead of pressing? → change application method.
- Do my sunscreen and foundation feel compatible in texture? → consider switching one.
The Beginner-Friendly Base Makeup Strategy During Peeling
While skin is visibly dry or flaking, hydrating or flexible base products tend to sit better than heavy, mattifying formulas. Matte finishes especially tend to cling to dry patches and highlight them.
Use less product than usual, and build coverage gradually in thin layers rather than applying one heavy coat. Press product into the skin with a sponge or fingers instead of dragging a brush across it — dragging tends to lift flakes and drag them across your face.
One practical difference worth remembering: a nighttime skincare routine only has to feel good for you, alone, in your bathroom. A morning routine has to survive getting you out the door for school or work. That’s why simplicity matters even more before 8 a.m.
How Do You Choose the Right Beginner Retinol Routine for Your Skin Concern?
If Your Main Goal is Fine Lines or Early Skin Aging
Prioritize consistency over concentration. Slow, steady use over months matters more here than reaching for the strongest product on the shelf right away.
If Your Main Goal is Texture, Clogged Pores, or Occasional Breakouts
Consider whether an OTC retinoid actually fits the concern, and avoid adding multiple acne-focused actives at once — that combination is a common source of unnecessary irritation.
If Your Skin is Easily Irritated
Start with the simplest possible routine, consider the sandwich/buffering method from day one, and only increase frequency once your current schedule feels genuinely comfortable, not just “survivable.”
If You Already Use Acids, Vitamin C, or Another Retinoid
Don’t just add retinol on top of everything you’re already doing. Take stock of your current routine, decide what stays, and build a schedule that keeps potentially irritating actives on separate nights.
Decision tree: What am I already using? → What actually needs to stay? → What should be separated or paused while I introduce retinol?
What Should Beginners Know Before Buying a Retinol Product?
Concentration Is Not the Only Thing That Matters
A lot of beginners fixate on the percentage number, but formula texture, how the product is packaged and stored, the supporting ingredients around the retinol, your own skin’s tolerance, and the price all matter just as much for whether the product actually works for you long term.
The Most Expensive Retinol Is Not Automatically the Best Beginner Retinol
Affordability and adherence go hand in hand. A product you’ll actually finish and repurchase is more valuable than a premium bottle that causes irritation, or one so expensive you can’t justify buying it again once it runs out.
The Beginner Retinol Shopping Checklist
- Is this product positioned for first-time users, not advanced skin?
- Is the strength clearly listed?
- Does the texture match the rest of my routine?
- Do I have a simple moisturizer ready to go?
- Is sunscreen already accounted for in my budget?
- Am I already using another retinoid or strong active I need to plan around?
What Real Beginners Commonly Get Wrong With Retinol
Starting Every Night Because “More Must Work Faster”
Nightly use from day one is one of the fastest routes to irritation. Gradual frequency isn’t about being cautious for no reason — it’s what actually lets your skin build real tolerance instead of just getting overwhelmed.
Adding Acids, Vitamin C, and Retinol All at Once
Introducing everything simultaneously means that if something goes wrong, you have no idea which product caused it. One new active at a time makes troubleshooting realistic.
Assuming Every Breakout is a Purge
As covered earlier, not every post-retinol breakout is purging. Widespread irritation or new breakout areas deserve a second look, not an automatic “it’s just purging, push through.”
Continuing to Use a Lightweight Moisturizer When Skin Clearly Needs More Support
If your usual moisturizer isn’t cutting it anymore, that’s a signal to size up temporarily, not a sign you’re doing something wrong.
Forgetting the Next-Morning Sunscreen and Makeup Routine
Retinol makes skin more sun-sensitive. Skipping sunscreen the morning after undoes a lot of the benefit and increases irritation risk — it’s a non-negotiable part of the routine, not an optional add-on.
The Beginner Retinol Experience: What Should the First Month Actually Feel Like?
Experience Point 1 — The First Week: Managing the Fear of “Is This Normal?”
It’s common for beginners to check the mirror obsessively after that first application, looking for any sign of a reaction. What actually matters during this week is watching for mild tightness or dryness — expected — versus burning or spreading redness, which isn’t.
Experience Point 2 — The First Makeup Morning After Retinol
A little flakiness the morning after is a realistic scenario, not a failure. Adjusting the order and amount of moisturizer and sunscreen, and choosing a more hydrating foundation for that particular morning, is usually enough to get through it without abandoning retinol altogether.
Experience Point 3 — The First Irritation Setback
It’s common for beginners to hit a rough patch — often from adding too many actives at once or increasing frequency before skin was ready. Treating this as a temporary reset rather than a reason to quit is usually the more productive path forward.
Experience Point 4 — Choosing Between a Cheap Product That Fits the Routine and a Stronger Product That Does Not
For most beginners, the simpler option is usually the more sustainable one. A lower-cost retinol that’s comfortable enough to use consistently — and easy to repurchase — tends to outperform a stronger, pricier product that gets used inconsistently out of fear of irritation.
Experience Point 5 — The Moment a Beginner Should Stop “Upgrading” the Routine
There’s often a temptation to keep adding new products once retinol starts working. What matters more, at that point, is protecting the simple system that’s already working: retinol, moisturizer, sunscreen.
Frequently Asked Questions About Retinol for Beginners
How long does it take for a beginner to see results from retinol?
Most beginners need consistent use over several weeks to months before noticing meaningful changes in texture or tone. There’s no realistic version of a 7-day transformation — results build gradually with regular, tolerated use.
Can I wear makeup the morning after using retinol?
Yes, as long as your skin is tolerating the product reasonably well. Focus on moisturizing appropriately, applying sunscreen, using gentle application methods, and choosing a more hydrating base product on days when your skin is flaking.
What ingredients should I avoid mixing with retinol?
Be cautious about combining retinol with strong exfoliating acids like AHA or BHA, and avoid layering it with another retinoid product. Exact compatibility can vary by formulation, so when in doubt, keep potentially irritating actives on separate nights.
Is it normal to break out when first starting retinol?
Some adjustment-related breakouts can happen, especially in areas where you already tend to get congestion. Widespread irritation or breakouts in new areas are a different story and shouldn’t automatically be dismissed as purging.
Can I use retinol every night from day one?
No — there’s no requirement to start nightly, and doing so is a common cause of unnecessary irritation. Begin with one or two nights a week and increase gradually based on how your skin responds.
Can I use a retinol eye cream all over my face?
Not necessarily. Eye creams are often formulated and dosed for the thinner skin around the eyes, so using one across your whole face may not match the concentration or texture your face actually needs. Check the product’s intended use before applying it more broadly.
Can I use retinol if I already use AHA, BHA, vitamin C, or adapalene?
Possibly, but review your full routine first rather than simply adding retinol on top. Keep potentially irritating actives on separate nights, and avoid using two retinoid products (like adapalene and retinol) at the same time without a clear reason.
What should I do if my skin is red, burning, or severely peeling after retinol?
Stop or significantly reduce use of retinol and other potentially irritating products. Simplify your routine to gentle cleansing, moisturizing, and daytime sunscreen. If the reaction is severe, persistent, or getting worse, it’s time to check in with a dermatologist rather than continue troubleshooting on your own.
Behind This Guide
Getting started with retinol shouldn’t feel confusing or overwhelming. Yet many beginner guides either dive too deeply into skincare science or recommend routines that are too complicated for someone using retinol for the first time.
That’s why this guide focuses on simple, practical habits that are easy to follow and realistic to maintain.
This guide is built around four essentials:
- 🧴 Choosing the Right Beginner Retinol — Understanding different retinoids and picking a formula that’s gentle enough to start with.
- 🌙 Building a Simple Night Routine — Learning when to apply retinol, what to pair it with, and how often to use it.
- 🛡️ Protecting Your Skin Barrier — Preventing irritation, managing dryness, and knowing when to slow down.
- 💰 Keeping It Affordable — Finding beginner-friendly products and routines without spending more than necessary.
Because successful retinol use isn’t about starting with the strongest product.
It’s about building a routine your skin can comfortably stick with for the long term.
Final Thoughts
You don’t need the strongest retinol on the market, and you definitely don’t need the most expensive one. What actually works is a boring-sounding formula: start low, go slow, keep the routine simple, moisturize based on how your skin feels, and wear sunscreen every single morning without exception.
Retinol rewards patience more than intensity. The beginners who see the best results over time are usually the ones who adjusted their pace to their skin, not the ones who pushed through irritation hoping for faster payoff. Give your skin the time it needs, and the rest tends to fall into place.
Continue Building Your Skincare Routine
Starting retinol is just one part of building a healthy skincare routine. These beginner-friendly guides can help you understand the products, habits, and routines that work well alongside retinol:
– [How to Get Clear Skin] — how retinol and other actives fit into a complete acne-fighting routine
– [Does Sunscreen Prevent Tanning] — why daily SPF is non-negotiable when using retinol
❤️ A Final Note
Healthy skin isn’t built overnight—it’s built through small, consistent habits that become part of your daily life.
At MyColorKiss, we believe skincare should be simple, honest, and accessible—not overwhelming or unnecessarily expensive. Every guide we publish is designed to help you understand your skin, avoid common mistakes, and build routines that are practical enough to stick with for the long term.
Our goal is simple: to help you make smarter skincare decisions with confidence, one routine, one product, and one healthy habit at a time.