Dark circles, blemishes, creasing — one guide covers all of it. No complicated techniques, no expensive products required.
You bought a concealer. You applied it under your eyes. And somehow your dark circles are still very much there, just now they have a weird white triangle underneath them. Or you covered a blemish and twenty minutes later the concealer has slid completely off, leaving the spot looking even more obvious than before.
Concealer is one of those products that looks effortless when someone else does it and completely baffling when you try it yourself. The tutorials make it seem simple — dab, blend, done. But there’s a lot happening between “dab” and “done” that nobody actually explains.
This guide on how to apply concealer covers everything: the right shade, the right order, how to stop it from creasing, how to cover dark circles, how to cover blemishes, and what to do when it all goes wrong. All of it, without the jargon.
Key Takeaways
- Concealer goes after foundation for most beginners — you’ll use less and get better coverage
- For dark circles, go one shade lighter than your foundation; for blemishes, match your exact skin tone
- Tap, never rub — rubbing moves product around instead of pressing it into the skin
- Setting powder under your eyes is non-negotiable if you want concealer that doesn’t crease by noon
- The best drugstore concealers cost under $12 and outperform many high-end options
Does Concealer Go Before or After Foundation?
Let’s get this out of the way first because it’s the most searched question about concealer — and the answer is simpler than most tutorials make it.
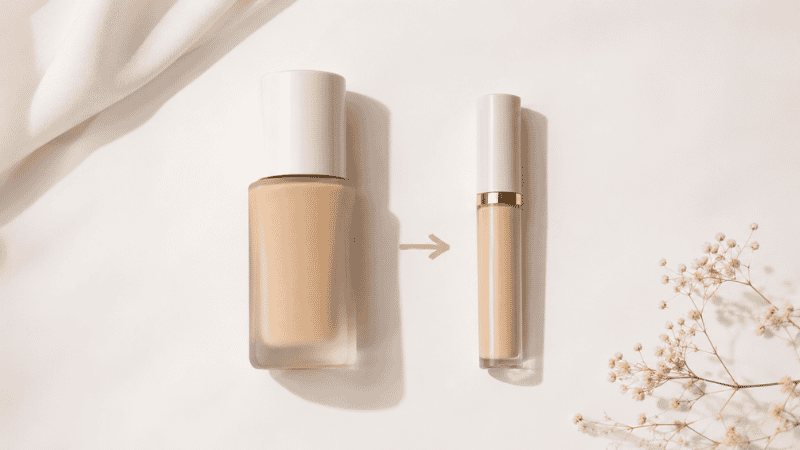
For beginners: concealer goes after foundation.
Here’s the logic. Foundation covers a lot on its own. Once you’ve applied and blended your base, you’ll often find you need far less concealer than you thought — because the foundation already handled most of the work. Concealer after foundation means you’re only targeting the specific spots that still need extra help. You use less product, get a more seamless result, and avoid that overdone, cakey look that comes from stacking too many layers.
The exception: color correctors (the peach, orange, or green products you sometimes see) go before foundation if you’re using them. We’ll get to that shortly.
How to Pick the Right Concealer Shade
This is where most beginners go wrong — and it’s not their fault, because the shade selection process is genuinely confusing when you’re standing under drugstore fluorescent lighting with 40 options in front of you.
Here’s the simple breakdown:
For dark circles under your eyes: Go one shade lighter than your foundation. Just one — not two or three. A concealer that’s significantly lighter than your skin creates a white, ashy triangle under your eyes that actually draws more attention to the area you’re trying to cover. One shade lighter brightens without looking ghostly.
For blemishes, redness, or uneven skin tone: Match your exact foundation shade. The goal here is to make the spot disappear into the rest of your skin, not to brighten — so you want an exact match.
For overall skin tone evening: Match your foundation shade exactly and use it anywhere the foundation needs a little extra help.
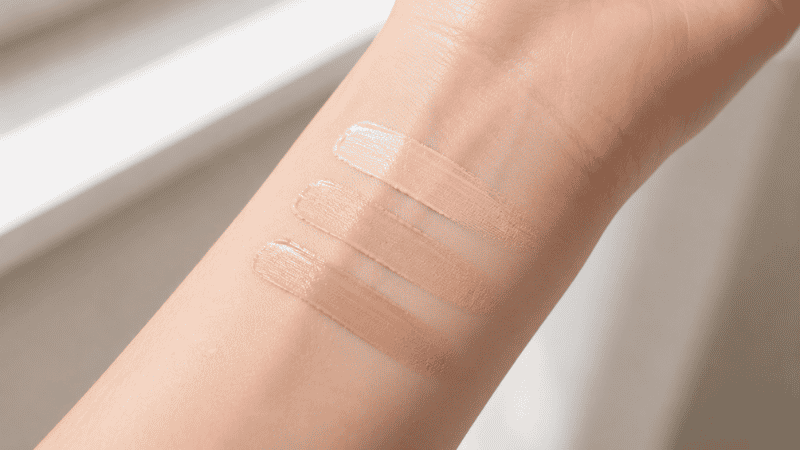
Editor’s note: When you’re at the drugstore without anyone to help you shade match, swatch two or three options on your inner wrist and check them in natural light near the entrance or outside. Your inner wrist is still not a perfect match for your face, but it’s much more accurate than the back of your hand.
Best drugstore concealer options that won’t break the bank:
- e.l.f. Hydrating Camo Concealer (~$10) — full coverage, doesn’t crease, massive shade range, genuinely excellent
- Maybelline Fit Me Concealer (~$7) — lightweight, natural finish, great for everyday use and beginners
- NYX Bare With Me Concealer Serum (~$12) — hydrating formula, great for dry skin, doesn’t settle into fine lines
What Color Concealer for Dark Circles?
If one-shade-lighter isn’t cutting it for your dark circles — especially if your circles have a very blue, purple, or brownish tone — you might want to try color correcting first.
Color correcting sounds complicated, but the concept is straightforward: you use a color opposite on the color wheel to neutralize the unwanted tone before applying regular concealer on top.
- Blue or purple dark circles → peach or salmon color corrector
- Very dark, deep circles (common on deeper skin tones) → orange or red-orange color corrector
- Redness (blemishes, rosacea, general redness) → green color corrector
Apply a tiny amount of color corrector directly on the dark area only, blend lightly, then apply your regular concealer on top. The color corrector neutralizes the tone, your concealer covers everything, and you get a finish that actually looks like skin rather than a painted-over problem.
The NYX Color Correcting Concealer (~$10) and the e.l.f. Putty Color Corrector (~$10) are both solid drugstore options if you want to try this approach.
How to Apply Concealer Under Your Eyes (Step by Step)
Under-eye concealer is the most common use case, so let’s go step by step.
Step 1: Start with moisturized, prepped skin. Dry, dehydrated under-eyes make concealer crease faster and look more obvious. A light eye cream or even just your regular moisturizer patted gently under the eyes helps a lot.
Step 2: Apply foundation first, and let it dry for about 30 seconds before moving to concealer.
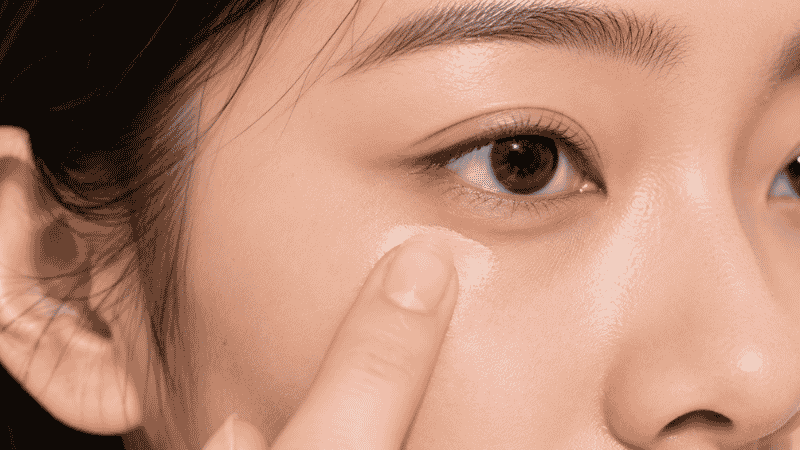
Step 3: Apply a small amount of concealer. We’re talking a dot the size of a small pea — less than you think. You can always add more. Dot it under your eye in a triangle shape (point facing down toward your cheek), or simply along the dark area.
Step 4: Tap to blend with your ring finger. Your ring finger is your weakest finger, which means you apply the lightest pressure naturally — perfect for the delicate under-eye area. Use tapping motions, not rubbing or swiping. Tapping presses the product into the skin; rubbing just moves it around.
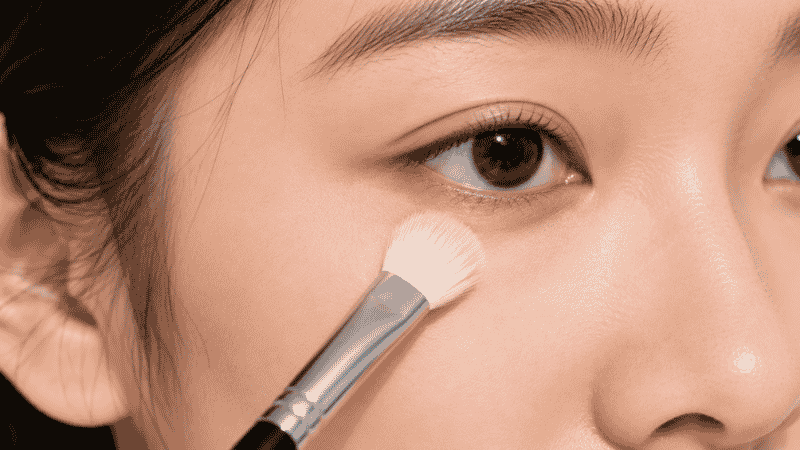
Step 5: Set immediately with translucent powder. This is the step that prevents creasing. Use a small fluffy brush and a light dusting of translucent powder directly on top of the concealer while it’s still slightly tacky. Don’t skip this — it’s the difference between concealer that lasts all day and concealer that slides into your fine lines by 10am.
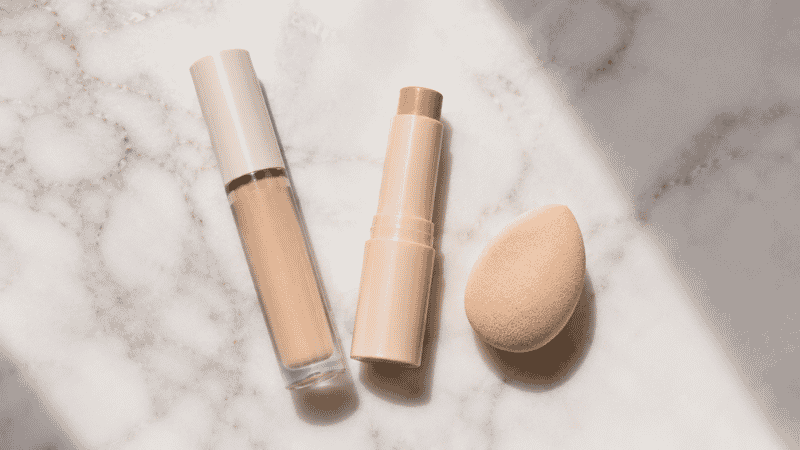
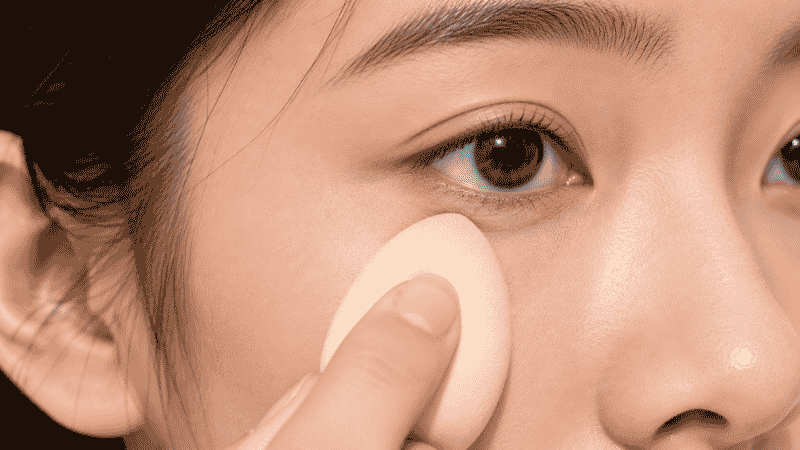
Step 6: Optional — blend the edges with a damp sponge. If you can see a visible line where the concealer meets your foundation, lightly press a damp beauty sponge over the edges to blend them together seamlessly.
How to Apply Concealer to Blemishes
Blemish concealing is a slightly different technique than under-eye coverage — mostly because the area is smaller, the skin texture is different, and you’re trying to neutralize color rather than brighten.
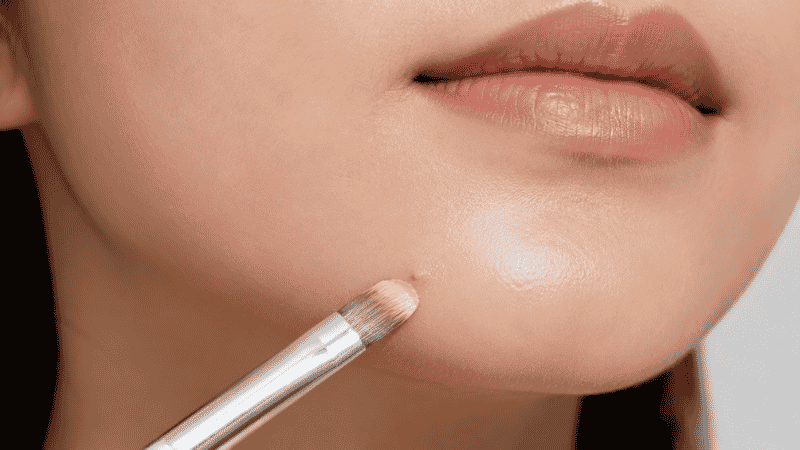
Use a small brush rather than your finger. A concealer brush gives you precision. Your finger covers too large an area and can move the product off the blemish before it has a chance to set.
Apply directly on the blemish with a small amount, then gently press outward from the center — don’t start at the edges and drag inward, because that pushes product away from the spot you’re actually trying to cover.
Build, don’t cake. One thin layer, then wait 10 seconds, then add another if needed. Multiple thin layers always look better than one heavy application.
Set with powder on top, same as under-eye coverage.
One important note: if your blemish is raised or textured, concealer will emphasize the texture if you apply too much. A thin, precisely applied layer covers the redness without drawing attention to the bump itself.
How to Stop Concealer from Creasing
Creasing under the eyes is the most common concealer complaint, and it almost always comes down to one of three things:
Too much product. This is the most common culprit. The more concealer you apply, the more product there is to fold into the natural lines under your eyes when you move your face. Use less. Genuinely, try cutting your usual amount in half and see what happens.
Skipping setting powder. Unsetting concealer under the eyes stays tacky and soft, which means it folds and creases easily. A light dusting of translucent powder — the Coty Airspun Loose Face Powder (~$8) and the Laura Mercier Translucent Setting Powder (~$40) both work beautifully, at very different price points — locks the concealer in place.
Dry under-eyes. Dehydrated skin under the eyes has more texture and fine lines, which gives product more places to settle into. Eye cream or moisturizer before concealer helps prevent this.
The quick fix if you’re already creasing mid-day: Take a clean finger and very gently press (not wipe) over the creased area. The warmth of your finger softens the product slightly and can smooth out minor creasing. Then dust a tiny bit more setting powder on top.
How to Blend Concealer Without It Looking Cakey
Cakey concealer usually means one of two things: too much product, or too little blending. Sometimes both.
The technique that makes the biggest difference: damp beauty sponge, pressing motion. A damp sponge sheers out product, blurs edges, and gives a skin-like finish that fingers and brushes often can’t achieve. The dampness is key — a dry sponge absorbs product instead of blending it.
For under-eyes specifically, the ring finger is gentler and more precise. For larger areas like the sides of your nose or your chin, a small brush or damp sponge gives more control.
If your concealer looks patchy or cakey no matter what you do, try switching to a more hydrating formula. Dry-finish concealers emphasize texture and look heavier. A formula with hydrating ingredients — anything labeled “hydrating,” “serum,” or “skin-tint” in the concealer category — tends to look more like skin.
What If You Only Have 5 Minutes?
On rushed mornings, concealer can do the heavy lifting with minimal steps:
- Skip foundation entirely — apply concealer only where you need it (under eyes, any redness, blemishes)
- Blend with your ring finger using tapping motions
- Dust setting powder on top
- Done
This “concealer only” approach is genuinely one of the best minimal makeup techniques for everyday wear. It gives you a fresher, more natural result than a full face done in a rush.
FAQ
Does concealer go before or after foundation?
After, for most beginners. Foundation covers a lot on its own, so applying concealer after means you only add extra coverage where you truly need it. You’ll use less product and get a more seamless, natural finish.
What color concealer should I use for dark circles?
For most dark circles, go one shade lighter than your foundation shade. If your circles are very blue or purple, apply a peach or salmon color corrector underneath first, then layer your regular concealer on top.
Why does my concealer crease under my eyes?
Usually because of too much product, skipping setting powder, or dry under-eye skin. Use less concealer than you think you need, always set with a light dusting of translucent powder, and moisturize the under-eye area before applying makeup.
Should concealer be lighter or darker than foundation?
For under-eye brightening: one shade lighter. For covering blemishes or redness: match your exact foundation shade. Going more than one or two shades lighter than your skin for under-eyes creates an ashy, visible triangle effect.
How do I make concealer last all day?
Three steps: moisturize first, set immediately with translucent powder, and finish your full face with a setting spray. If you have oily skin, a mattifying primer under your foundation also extends overall makeup wear significantly.
Concealer Done Right Is a Game Changer
When it works, it genuinely works. That “I look rested even though I slept five hours” feeling that good concealer gives you — that’s real, and it’s absolutely achievable with a $7 product from the drugstore once you know the technique.
The keys: go after foundation, use less than you think, tap instead of rub, and always set with powder. Master those four things and you’ve mastered concealer.
Ready to keep building your routine? Here’s what to read next on MyColorKiss:
- Makeup Steps in Order: The Only Guide Beginners Actually Need — where concealer fits in the full routine
- How to Apply Blush for Beginners — the next step after your base is done
- Makeup Tutorial for Beginners: Your Easy Step-by-Step Guide — start from the very beginning
And remember — the first time you apply concealer perfectly, you’ll wonder how you ever did your makeup without it.