Shade matching, sponge vs brush, oxidation, and everything else nobody told you — all in one place.
You spent twenty minutes picking the right shade in the store. It looked perfect on your wrist. You got home, applied it, stepped into natural light, and — orange. Or cakey. Or both. And now the foundation is sitting on your shelf making you feel like you somehow failed a basic life skill that everyone else seems to have figured out.
Here’s the truth: foundation is genuinely one of the trickier makeup products to get right, not because it’s complicated, but because there are a handful of small things — shade undertones, application tools, skin prep — that make or break the whole look. Get those things right and foundation becomes the product that changes your whole face in the best way. Get them wrong and you’re back to feeling like it’s not for you.
This guide on how to apply foundation covers all of it. The shade matching, the tools, the techniques for different skin types, and the answers to the questions you’ve been too embarrassed to Google twice. No gatekeeping, no expensive product recommendations, just what actually works.
Key Takeaways
- Skin prep is 80% of the result — dry, unprepped skin makes even a $50 foundation look bad
- Foundation shade-matching happens at the jawline in natural light, never on your wrist
- A damp beauty sponge gives the most natural, skin-like finish for beginners — more forgiving than a brush
- Oxidation (foundation turning orange) is real and fixable — it’s usually about the formula, not you
- The best drugstore foundations for beginners cost under $12 and genuinely perform
How to Find Your Foundation Shade (The Right Way)
Shade matching is where most foundation journeys go wrong before they even start. The wrist test is a myth — your wrist is almost always a different tone than your face, and the drugstore lighting makes everything look different anyway.
Here’s the method that actually works:
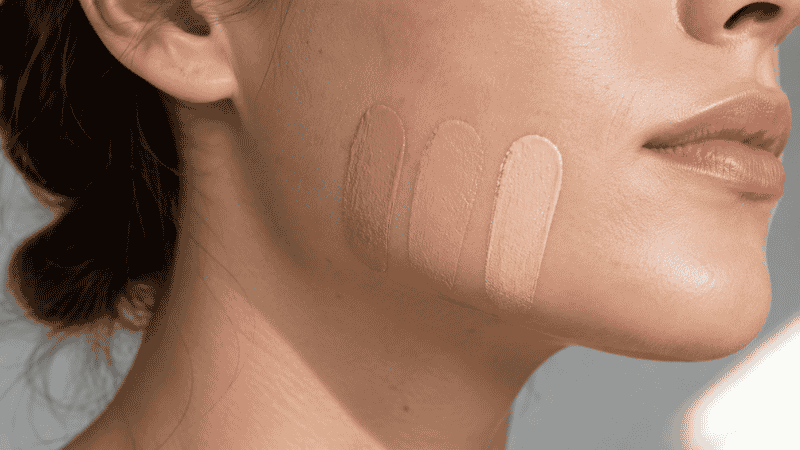
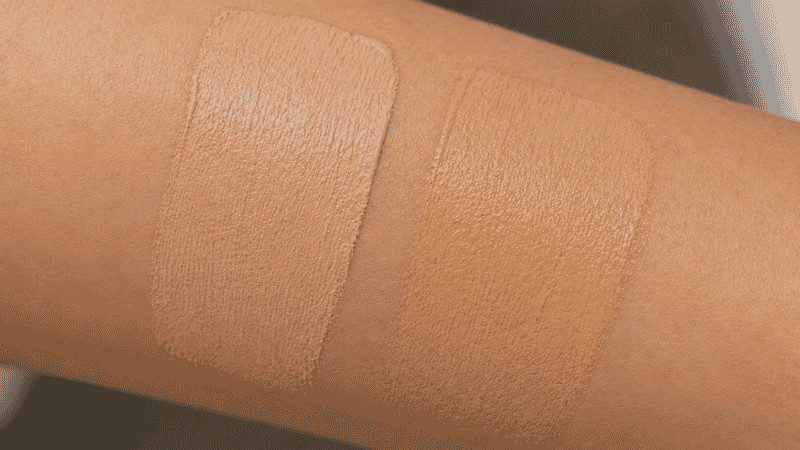
Step 1: Swatch on your jawline. Apply two or three shades in a short stripe along your jaw, right where your face meets your neck. The shade that disappears — that blends into both your face and neck without a visible line — is your match.
Step 2: Check in natural light. Walk to the store entrance, or outside. Fluorescent store lighting warms everything up and makes most foundations look like they match when they don’t. Natural daylight is the only honest light.
Step 3: Understand undertones. Even if the depth is right (light, medium, deep), a mismatched undertone will make your foundation look off. The quick way to figure out yours:
- Cool undertone — your veins look blue or purple; you burn easily in the sun
- Warm undertone — your veins look green; you tan easily
- Neutral — you can see both blue and green in your veins; most shades work
Look for “C” (cool), “W” (warm), or “N” (neutral) on foundation labels. This small detail makes an enormous difference.
Editor’s note: If you genuinely can’t tell your undertone, go neutral. Neutral-undertone foundations are the most forgiving and the hardest to get wrong on almost any skin tone.
Beginner-friendly drugstore foundations with wide shade ranges:
- Maybelline Fit Me Matte + Poreless (~$8) — 40+ shades, great for oily and normal skin
- L’Oréal True Match Super-Blendable Foundation (~$10) — specifically designed for undertone matching, labeled W/C/N
- e.l.f. Halo Glow Liquid Filter (~$14) — fewer shades but beautiful finish, more of a skin tint
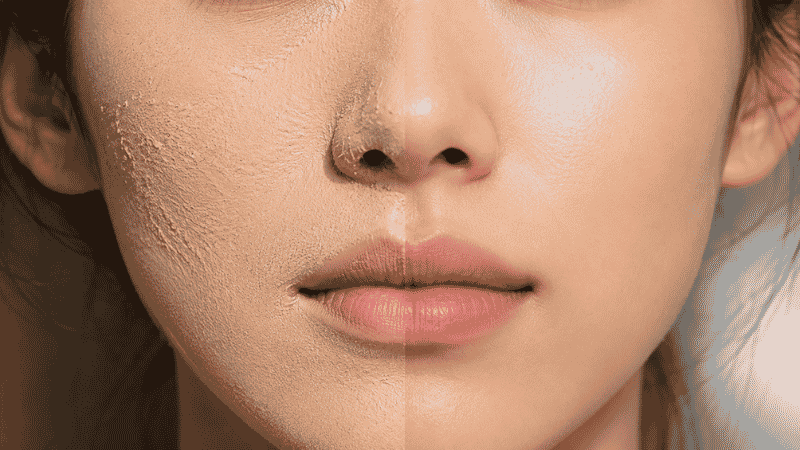
How to Prep Your Skin Before Foundation (This Is the Real Secret)

Foundation doesn’t perform on its own. It performs on top of what you’ve already put on your skin — and if that surface isn’t prepped, even the best formula will look patchy, cakey, or dull by midday.
The prep sequence is simple:
Cleanser → Moisturizer → SPF → (optional) Primer → Foundation
You don’t need every step every time, but moisturizer before foundation is genuinely non-negotiable. Dry skin grabs foundation and emphasizes texture, making every line and dry patch look more obvious. A light moisturizer — even something as basic as the CeraVe Daily Moisturizing Lotion (~$14) or the Neutrogena Hydro Boost Gel Cream (~$18) — gives foundation a smooth, hydrated surface to sit on.
Give your moisturizer two to three minutes to fully absorb before applying foundation. Rushing this step causes pilling — tiny balls of product that form when foundation meets moisturizer that hasn’t sunk in yet. If this has happened to you before, that’s almost certainly why.
About primer: Primer is optional for beginners. It smooths texture and extends wear, but if your budget is limited, a good moisturizer does a lot of the same work. Add primer to your routine once you’ve got the rest of your application technique down.
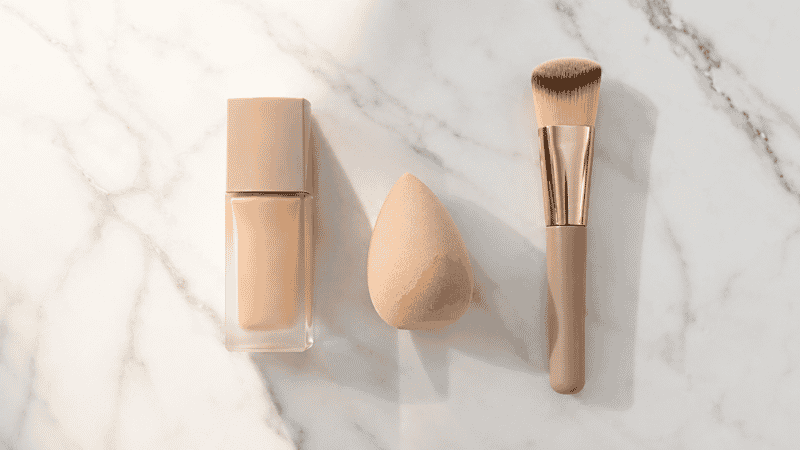
How to Apply Liquid Foundation Step by Step
Liquid foundation is the most beginner-friendly formula — it’s blendable, buildable, and widely available at every price point. Here’s exactly how to apply it.
Step 1: Dispense a small amount. We mean genuinely small — a pea-sized drop for light coverage, maybe two for more. Foundation is one of those products where more is almost always worse, not better. You can layer up; you can’t undo too much.
Step 2: Dot it on your face before blending. Place small dots of foundation on your forehead, nose, both cheeks, and chin. This distributes the product evenly before you start blending so you’re not pulling from one central point across your whole face.
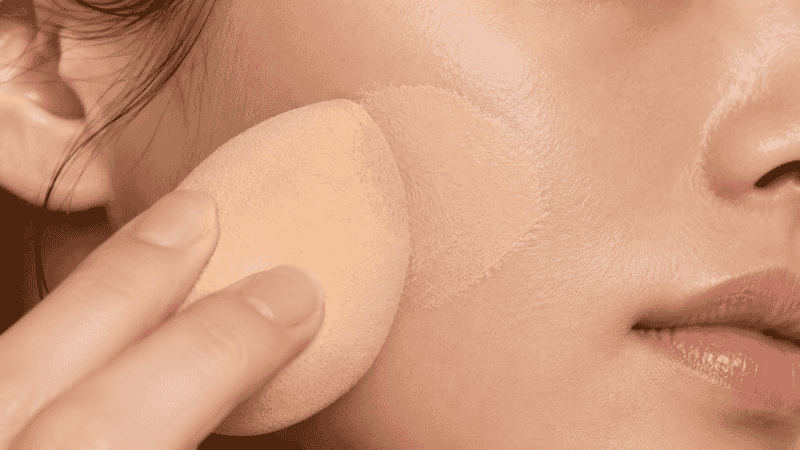
Step 3: Blend with a damp beauty sponge. Wet your sponge under the tap, squeeze out the excess water until it’s damp (not dripping), and use a bouncing/pressing motion to blend the foundation into your skin. The pressing motion pushes the product into your skin for a natural finish; dragging or wiping smears it around and can leave streaks.
Step 4: Build coverage where you need it. Let the first layer dry for about 30 seconds, then apply a second thin layer only to the spots that need more coverage — around the nose, any redness, blemishes. Don’t apply a second layer everywhere; that’s how you end up with a cakey, mask-like finish.
Step 5: Blend the edges. Pay attention to your hairline, jaw, and the sides of your nose — these are the spots where foundation most often leaves a visible line. Blend carefully into your hairline and down your neck slightly so there’s no obvious edge.
How to Apply Foundation with a Brush vs a Sponge
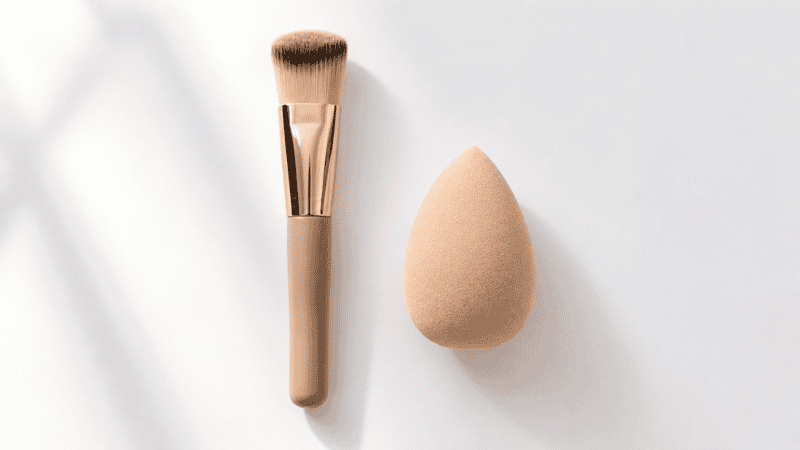
Both work. The finish is different, and the right choice depends on the coverage and effect you want.
Foundation Brush
A flat or stippling brush gives more coverage and a more polished, “done” finish. It’s good for full coverage and precise application. The technique: buff in small circular motions, starting at the center of your face and working outward.
The downside for beginners: brush streaks. If you can see brush lines after application, you’re either using too little product or pressing too hard. Always start with more product than you think you need and blend quickly before it starts to dry.
Damp Beauty Sponge
A beauty sponge — especially a damp one — gives the most natural, skin-like finish. The bouncing motion sheers out the product naturally and blurs rather than sits on top of the skin. It’s more forgiving of technique errors than a brush, which is why it’s the go-to recommendation for beginners.
The Beautyblender is the original and still excellent (~$22). The Real Techniques Miracle Complexion Sponge (~$8) is the best drugstore alternative and performs almost identically.
Fingers
Using your fingers is actually a perfectly valid technique for light coverage and skin tints. The warmth of your fingers helps emulsify the product and press it into the skin. Just make sure your hands are clean, and use tapping motions rather than rubbing.
Why Does My Foundation Look Cakey?
Cakey foundation is one of the most common beginner complaints, and it almost always comes down to one of four things:
Too much product. The single most common cause. Foundation layers multiply — two thin layers look fine, one heavy layer looks like a mask. Always start with less than you think you need.
Dry skin under the base. Dry patches grab and hold product, creating visible buildup. Moisturize before every application, and if you have very dry areas (around the nose, for example), apply a tiny amount of moisturizer to those spots specifically.
Applying powder too heavily. Setting powder is necessary but easy to overdo. Use a fluffy brush, not a flat puff, and use a light hand. Tap off excess powder before applying.
Using the wrong formula for your skin type. Matte foundations on dry skin almost always look cakey. If you have dry skin, look for “dewy,” “hydrating,” or “satin” finish foundations instead.
Why Does My Foundation Look Orange?
This is oxidation — and it’s not your fault. It’s chemistry.
Oxidation happens when foundation pigments react with your skin’s natural oils and oxygen exposure over time. The result is that the foundation shifts warmer (more orange or yellow) than it looked when you first applied it. This usually becomes noticeable about 20–30 minutes after application.
How to fix it:
- Go half a shade lighter. If your foundation oxidizes to a slightly orange tone, the shade that looks too light when you first apply it will probably end up being your actual match once it settles.
- Look for “oxidation-resistant” on the label. Some foundations are specifically formulated to resist this — the L’Oréal Infallible Fresh Wear Foundation (~$14) is a commonly recommended option for oxidation-prone skin.
- Try a different formula. Water-based foundations tend to oxidize less than oil-based ones. If your foundation consistently turns orange, switching formulas often solves the problem.
Editor’s note: This is one of the most frustrating foundation problems and also one of the most under-discussed. If you’ve been blaming yourself for not finding your shade, try going slightly lighter and see if the oxidized result lands closer to your natural skin tone.
Tinted Moisturizer vs Foundation: Which One Should You Start With?
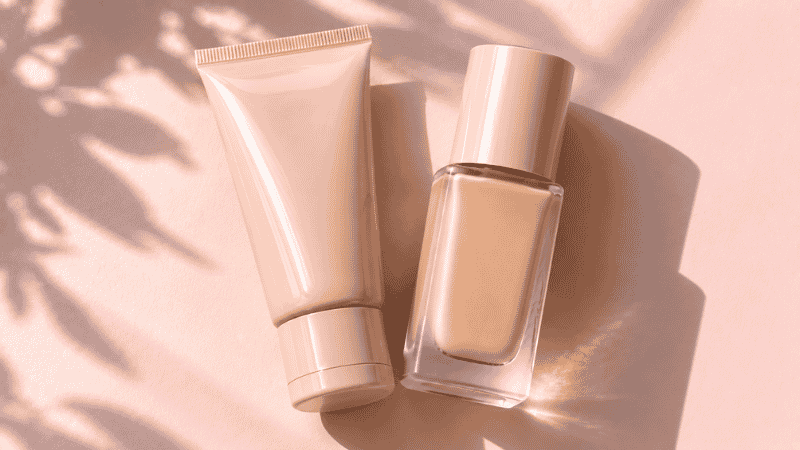
If full foundation feels like too much, tinted moisturizer is an excellent starting point — and genuinely a great everyday option even for experienced makeup wearers.
Tinted moisturizer gives sheer, skin-like coverage with a hydrating, natural finish. It evens out tone without covering texture, which makes it ideal for good-skin days when you just want a little color. The e.l.f. Halo Glow Liquid Filter (~$14) and the Neutrogena Healthy Skin Blurring Longwear Foundation (~$14) both sit comfortably in this category.
Foundation gives more coverage, comes in more finishes (matte, satin, dewy), and lasts longer. It’s the right choice when you want to cover blemishes, redness, or uneven skin tone more thoroughly.
Neither is better — they serve different purposes on different days. Start with tinted moisturizer if coverage feels scary. Upgrade to foundation when you want more.
How to Make Foundation Look Natural (Not Like a Mask)
The “mask” effect — foundation that looks like a separate layer sitting on top of your skin rather than part of it — is the thing most beginners are trying to avoid. Here’s what actually makes the difference:
Use less product. The most repeated point in this guide, because it’s the most important. Sheer, buildable coverage looks like skin. Heavy, full-coverage application in one layer looks like a mask.
Blend into your hairline and neck. Foundation that stops at your jawline or forehead looks obviously applied. Take the edges down your neck slightly and into your hairline, even if it’s just a little.
Skip foundation on areas that don’t need it. Your eyelids, ears, and hairline don’t usually need foundation. Only apply it where you actually need coverage.
Set lightly. A translucent setting powder used with a light hand sets foundation without adding more visible product. A heavy hand with powder is the fastest way to make skin look flat and powdery.
Finish with setting spray. A fine mist of setting spray at the end of your routine melds all the layers together and gives skin a more natural, lived-in finish. The e.l.f. Mist & Set (~$8) is one of the best for the price.
What If You Only Have 5 Minutes?
Skip foundation entirely and use a tinted moisturizer or BB cream instead — apply with your fingers, no tools required. Add concealer only where you need it and you have a complete, natural base in under three minutes. Come back to the full routine when you have more time.
FAQ
How do I find my foundation shade?
Swatch two or three shades along your jawline (not your wrist) and check in natural light. The shade that disappears into both your face and neck without a visible line is your match. Also check your undertone — cool, warm, or neutral — and match the undertone label on the foundation.
Does foundation go before or after primer?
Primer always goes before foundation. The order is: moisturizer → SPF → primer → foundation. Primer creates a smooth surface for foundation to grip onto, extending wear and smoothing texture.
Why does my foundation turn orange?
This is oxidation — a reaction between foundation pigments and your skin’s oils and oxygen. Try going half a shade lighter (the oxidized result will land closer to your natural tone), or switch to a water-based formula labeled “oxidation-resistant.”
How long should I wait after moisturizer to apply foundation?
Two to three minutes. This gives the moisturizer time to fully absorb so it doesn’t pill or interfere with your foundation. Use this time to do your brows or set up your other products.
Should I use a brush or sponge to apply foundation?
Both work. A damp beauty sponge gives a more natural, skin-like finish and is more forgiving for beginners. A foundation brush gives more coverage and a more polished look but requires more technique to avoid streaks.
Foundation Is the Step That Changes Everything — When It Works
When your foundation shade is right, your skin is prepped, and your application technique clicks into place, it genuinely transforms how the rest of your makeup looks. Everything sits better. Colors pop more. You look more put-together with less effort overall.
It takes a few tries. Expect to get the shade slightly wrong at first, or to use too much, or to have one cakey morning. That’s part of it. But the fundamentals in this guide will get you there much faster than trial and error alone.
Keep building your routine on MyColorKiss:
- Makeup Steps in Order: The Only Guide Beginners Actually Need — where foundation fits in the full picture
- How to Apply Concealer for Beginners — the next step after your foundation is done
- How to Apply Blush for Beginners — add color once your base is sorted
And remember — every person whose foundation looks flawless got there by getting it wrong a few times first. You’re not behind. You’re just learning.