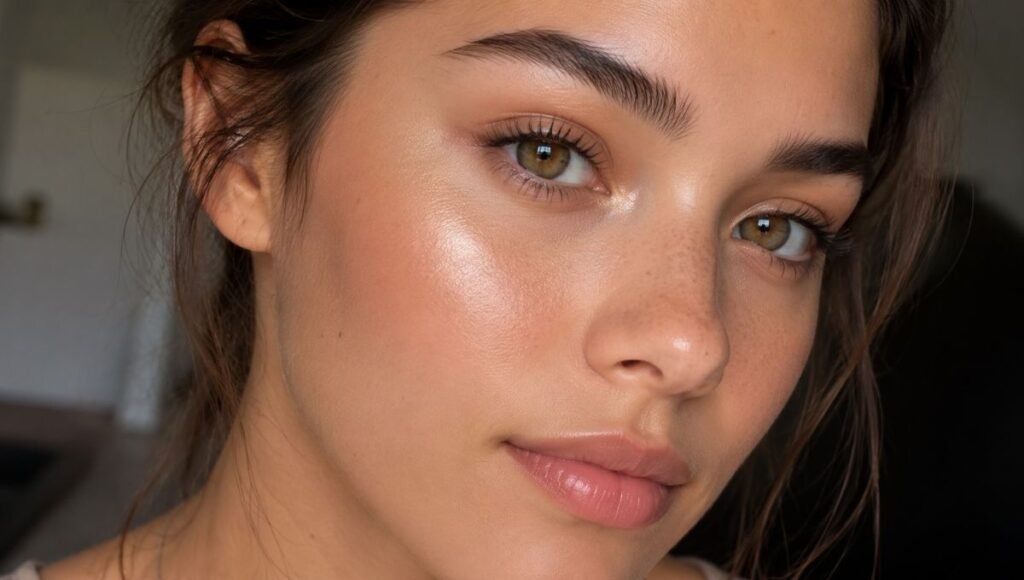
The placement rule that makes everything click — plus why yours might be looking like craft glitter instead of actual skin.
You bought a highlighter. You applied it to your cheekbones, exactly like the tutorial said. And instead of looking like you have a natural, lit-from-within glow, you look like you’ve been lightly dusted in disco ball. Or you look completely the same as before you applied it because the product is so subtle it’s doing nothing. Or the shimmer is sitting on top of your skin in patches, catching every texture and pore in a way that is not the goal.
Highlighter is one of those products that looks effortless in tutorials and confusing in real life — not because the technique is difficult, but because most guides skip the one thing that makes it actually work: understanding where light naturally hits your face. Once you know that, the whole thing becomes intuitive. You stop guessing and start placing product where it was always supposed to go.
This guide covers how to apply highlighter correctly — where exactly to put it, which formula works best for your skin type, why yours might be looking glittery instead of glowy, and how to do the whole thing in under two minutes for everyday wear.
Key Takeaways
- Highlighter goes on the high points of your face — where light would naturally hit first
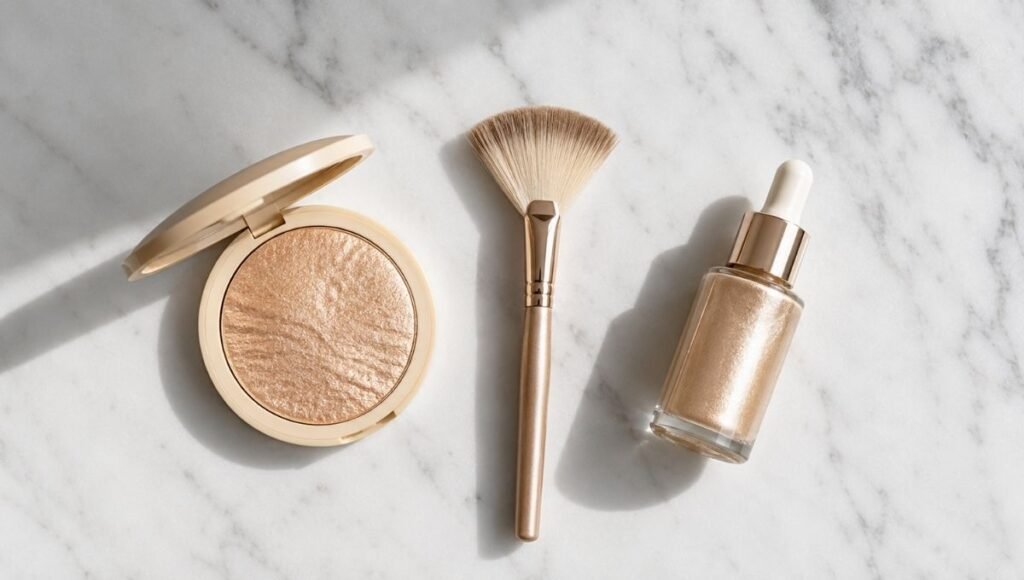
- Powder highlighter is more forgiving and easier to control for beginners; liquid gives the most skin-like glow
- The difference between glittery and glowy is almost always particle size — look for “finely milled” on the label
- Highlighter goes last in your routine, after setting powder and blush
- Less is genuinely more — the most common mistake is using too much product in too many places
Where to Apply Highlighter on Your Face: The Simple Rule
Before getting into placement specifics, here’s the principle that makes everything make sense:
Highlighter goes where light naturally hits your face.
Stand in front of a window. Notice which parts of your face catch the most light — the very tops of your cheekbones, the center of your forehead, the tip of your nose, the bow of your upper lip. These are exactly where highlighter goes, because you’re mimicking what light does naturally. Place it anywhere else and it looks wrong — not because you applied it incorrectly, but because light doesn’t actually hit there.
This is also why highlighter placement is slightly different for every face — the high points vary depending on bone structure. The general placements below work for most faces, but trust your eyes. If a spot looks naturally lit when you catch light, that’s where the highlighter goes.
The core placement areas:
Tops of the cheekbones. This is the primary highlighter spot and the one that makes the most visible difference. Apply to the very highest point of your cheekbone — not the apple of your cheek, not along the cheekbone toward your ear, but right at the top where the bone protrudes most. Run your finger along your cheekbone and feel for the highest point. That’s where it goes.
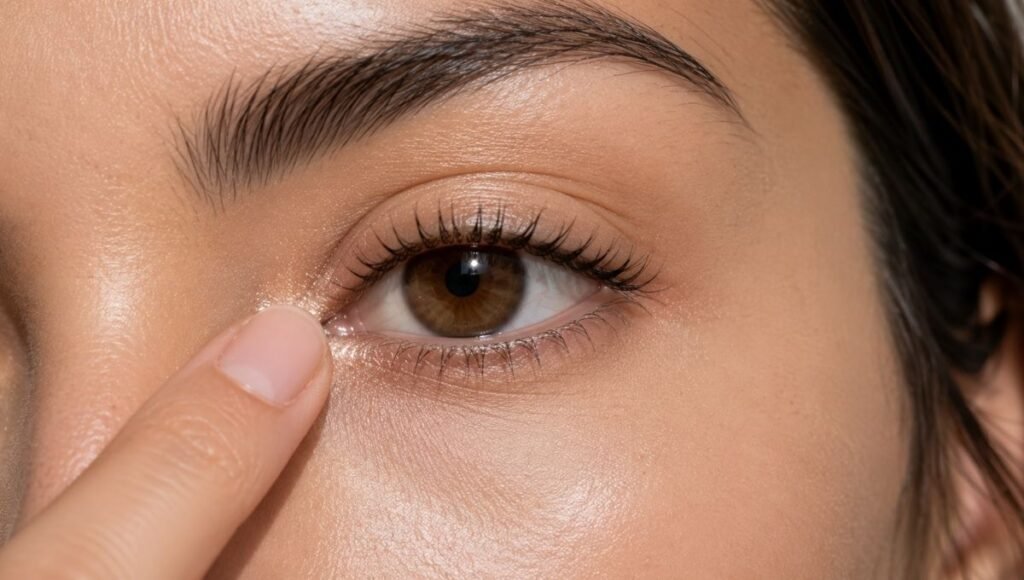
The inner corners of your eyes. A small amount of highlighter in the very inner corner of each eye (the tear duct area) makes your eyes look more open and awake. This is one of the most impactful two-second makeup moves in existence. Use the tip of your ring finger or a tiny brush.
The center of your forehead. Optional — but a small amount in the very center of your forehead adds dimension and makes the face look more three-dimensional. Skip it if you have a large forehead or if it makes you look shiny.
The bridge of your nose. A thin stripe down the very center of your nose bridge — not the sides, just the top center — elongates and lifts the nose. Use a narrow brush or your fingertip. This is subtle done well and obvious done wrong, so go extremely light-handed here.
Cupid’s bow. A tiny amount on the peaks of your upper lip makes lips look fuller and more defined. This one works best with a very finely milled, subtle highlighter rather than anything chunky or glittery.
Editor’s note: Start with just the cheekbones and inner corners. Those two placements give you 80% of the effect. Add the others only once you’re comfortable — more placement points means more opportunities for it to look overdone.
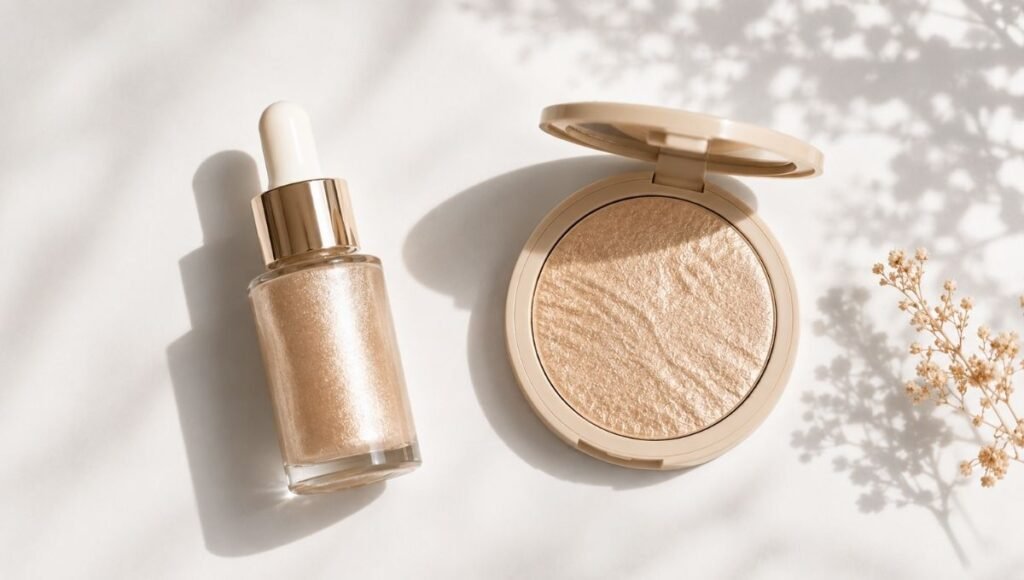
Liquid Highlighter vs Powder Highlighter: Which One Is Actually Better?
Neither is objectively better — they give different finishes and suit different skin types. Here’s how to decide.
Powder Highlighter
A pressed or loose powder applied with a brush. The most common format and the most beginner-friendly, because you can tap off excess, build gradually, and it’s easier to control exactly how much product goes on.
Best for: Oily skin (won’t slide around), combination skin, beginners who want more control, everyday wear where you want subtle definition.
The finish: Depends on the formula — ranges from a soft satin sheen to a full metallic gleam. For everyday wear, look for words like “luminous,” “pearl,” or “satin” rather than “metallic” or “chrome.”
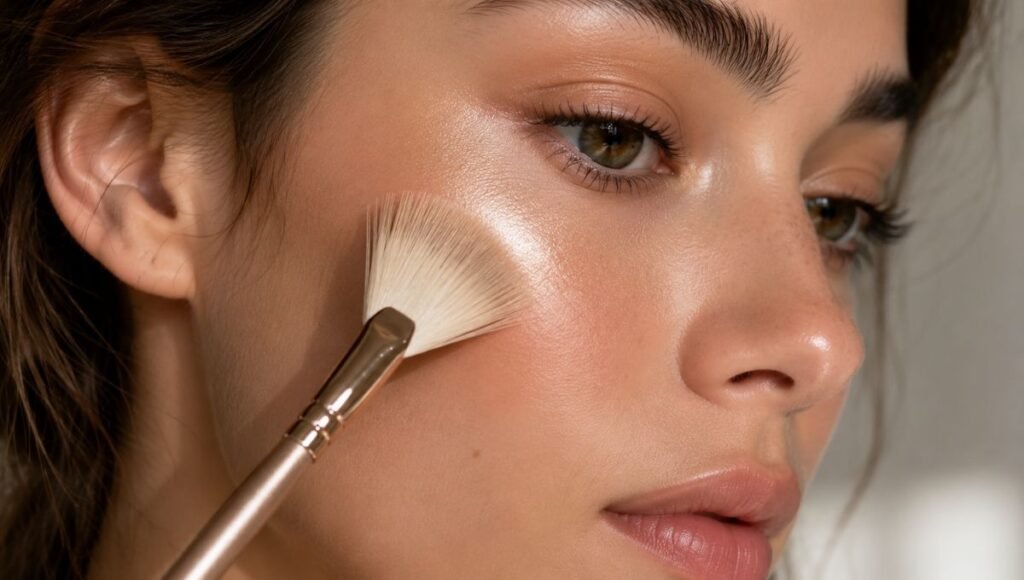
How to apply: Use a small fan brush or a fluffy tapered brush. Swirl lightly in the pan, tap off excess, and apply with a light pressing or sweeping motion to the high points. Build up gradually — one light layer first, then assess.
Drugstore powder highlighter picks:
- Wet n Wild MegaGlo Highlighting Powder (~$5) — finely milled, wide shade range, punches way above its price point
- Milani Stellar Lights Blush Highlighter (~$11) — buildable from subtle to statement, great for everyday wear
- NYX Professional Makeup Highlight & Contour Pro Palette (~$17) — multiple highlight shades in one compact, good for experimenting with placement
Liquid Highlighter
A liquid or cream formula that can be mixed with foundation, applied on top of base, or used on bare skin. Gives the most skin-like, natural-looking glow because it melts into your skin rather than sitting on top of it.
Best for: Dry skin (adds a dewy luminosity), normal skin, anyone who wants a “lit from within” look rather than an obvious shimmer.
The finish: More diffused and skin-like than powder. Less visible shimmer particles, more of an overall glow effect.
How to apply: A few drops mixed into your foundation for an all-over glow. Or applied on top of foundation with your fingertip — dab and press, don’t sweep. Or used as a first step on bare skin for a no-makeup makeup look.
Drugstore liquid highlighter picks:
- e.l.f. Halo Glow Liquid Filter (~$14) — the most-talked-about drugstore liquid highlighter, genuinely beautiful skin-tint glow
- L’Oréal True Match Lumi Glotion (~$14) — buildable, natural finish, good for beginners who want subtle glow
- Maybelline Face Studio Master Chrome Metallic Highlighter (~$9) — more intense than the above, better for evening or statement looks
Cream Highlighter
Sits between powder and liquid. Often sold as a stick or compact. Applies smoothly, blends with fingers, gives a soft glow without the intensity of a powder.
Best for: Dry to normal skin, anyone who prefers finger application, traveling (no brushes needed).
- e.l.f. Putty Highlighter (~$10) — cream stick formula, easy to apply and blend, buildable
- Maybelline Face Studio Strobing Stick (~$10) — smooth application, good for on-the-go touch-ups
How to Apply Highlighter: Step by Step
Here’s the complete technique for powder highlighter, which is the easiest starting point:
Step 1: Finish your full base — foundation, concealer, setting powder, contour, blush. Highlighter always goes last among your face products (before setting spray).
Step 2: Pick up a small fan brush or tapered highlighter brush. Fan brushes give a softer, more diffused application; tapered brushes give more precise placement.
Step 3: Lightly swirl the brush in the highlighter pan. Tap the brush handle against your hand once or twice to remove excess. You want very little product on the brush — highlighter is extremely buildable and much easier to add than to remove.
Step 4: Apply to the tops of your cheekbones with a gentle sweeping or pressing motion. Start with one light pass and assess in natural light before adding more.
Step 5: Use the very tip of your ring finger to apply a tiny amount to the inner corners of your eyes. Tap, don’t sweep.
Step 6: Optional additions — bridge of the nose, center of the forehead, cupid’s bow — using the same light-handed technique.
Step 7: Check in natural light. If it looks right in bathroom lighting, walk to a window. Highlighter that looks perfect in bathroom light can look like a disco ball outside.
How to Highlight Your Face Naturally (Without Looking Glittery)

This is the most common beginner complaint about highlighter — and it’s almost always a formula problem, not a technique problem.
The difference between glowy and glittery is particle size.
Highlighters with large shimmer particles catch light in a way that reads as glitter on the skin — you can see individual flecks of shimmer, which looks chunky and craft-supply rather than luminous and skin-like.
Highlighters with finely milled micro-shimmer particles reflect light in all directions simultaneously, which creates a glow effect rather than visible sparkle.
What to look for on labels: “finely milled,” “micro-shimmer,” “pearl,” “satin,” “luminous.” These indicate smaller particles and a more natural finish.
What to avoid for a natural look: “chunky glitter,” “festival glitter,” “body highlighter” (usually very large particles), anything described as “blinding” or “ultra-metallic” if you want everyday wear.
Other reasons highlighter looks glittery:
Too much product. Highlighter that’s applied with a heavy hand will always look chunky. Tap off excess before every application, start with one layer, and build up only if needed.
Dry or textured skin. Highlighter catches on texture — any dry patches, large pores, or uneven texture will be amplified by shimmer. Make sure your skin is moisturized before your full routine, and consider using a smoothing primer before foundation.
The wrong formula for your skin type. Powder highlighter on dry skin can look patchy and emphasize flakes. Try a liquid or cream formula instead.
Does Highlighter Go Before or After Setting Powder?

After setting powder, always.
The full order: Foundation → Concealer → Setting powder → Contour → Blush → Highlighter → Setting spray
Setting powder creates a smooth, matte surface. Highlighter applied on top of that matte base is what creates contrast — the glow pops because it’s surrounded by a more even, less reflective surface. If you apply highlighter before setting powder, the powder dulls the shimmer significantly.
The exception: liquid highlighter mixed into your foundation goes before everything, as part of your base. But applied on top as a separate step, it goes after setting powder.
How to Choose Your Highlighter Shade
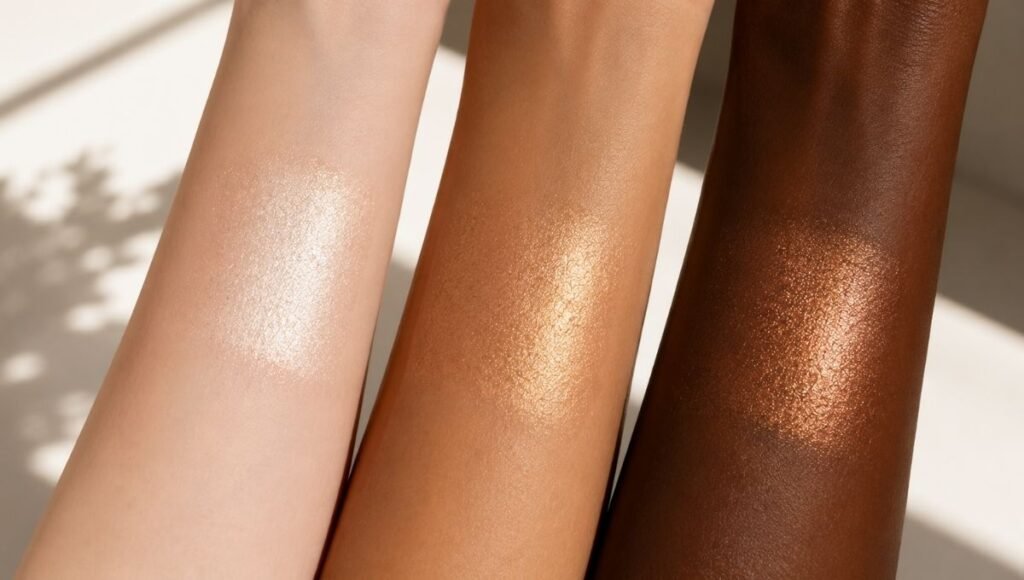
Fair to light skin: Champagne, pearl, and soft gold shades look most natural. Rose gold also works beautifully. Avoid very warm gold or bronze, which can look muddy.
Medium skin: Gold, rose gold, and warm champagne are all excellent. You have the most flexibility — both cool and warm tones tend to work well.
Tan to deep skin: Deep bronze, copper, and warm gold shades give the most beautiful glow on deeper skin tones. Cool-toned or very pale champagne can look ashy on deeper complexions. The NYX Professional Makeup Born To Glow Liquid Illuminator in “Sun Goddess” (~$10) is specifically formulated to complement deeper skin tones.
The general rule: Your highlighter should be warmer in tone than your skin’s undertone, not cooler. Cool-toned highlighters (very silver or icy white) tend to look unnatural on most skin tones.
The 2-Minute Version for Everyday Wear
You don’t need to highlight seven different points every day. Here’s the minimal version:
- Fan brush into highlighter pan, tap off excess
- Sweep across the top of each cheekbone — 10 seconds
- Fingertip tap to each inner corner of your eyes — 5 seconds
That’s it. Fifteen seconds of actual application time, and your face has visible dimension. Everything else is optional on busy mornings.
What If Your Highlighter Isn’t Doing Anything?
No glow at all: Your highlighter might be too subtle for your skin tone, or you’re applying too little. Try building up the layers, or switch to a formula with slightly more pigment.
It looks patchy: Your skin is likely dry in the areas you’re applying. Moisturize thoroughly before starting your routine, and try a cream or liquid formula instead of powder.
It looks like too much: You applied too much product or to too many areas. Scale back to cheekbones only and use a lighter hand. Also check whether your formula has chunky rather than finely milled particles.
It disappears within an hour: Set your whole base with setting spray at the end of your routine — this helps all products, including highlighter, last longer. Also try a powder highlighter over a more matte base, which gives the shimmer more to grip onto.
FAQ
Where exactly do you put highlighter on your face?
The primary spots are the very tops of your cheekbones (the highest protruding point), the inner corners of your eyes, and optionally the bridge of your nose and the center of your forehead. The rule is to apply it where light naturally hits your face — the high points of your bone structure.
Does highlighter go before or after setting powder?
After setting powder. Highlighter is applied near the end of your makeup routine — after foundation, concealer, setting powder, contour, and blush. Setting spray goes on last, after highlighter.
Why does my highlighter look glittery instead of glowy?
Usually because the formula has larger shimmer particles rather than finely milled micro-shimmer. Look for highlighters labeled “finely milled,” “satin,” or “pearl” for a more natural glow. Using too much product also contributes to a glittery look — always tap off excess and start with one light layer.
What’s the difference between liquid and powder highlighter?
Powder highlighter sits on top of your base and gives a more visible shimmer that’s easier to control. Liquid highlighter melts into your skin and gives a more diffused, skin-like glow. For beginners, powder is more forgiving; for dry skin or a natural look, liquid gives better results.
How do I choose the right highlighter shade for my skin tone?
Fair skin: champagne, pearl, rose gold. Medium skin: gold, rose gold, warm champagne. Tan to deep skin: copper, bronze, warm gold. The general rule is to choose a shade warmer than your skin’s undertone — very cool or icy highlighters can look unnatural on most complexions.
Highlighter Is the Step That Makes Everything Else Pop
It’s also the easiest step to overdo. The sweet spot is enough shimmer to catch light and create dimension without being the first thing someone notices when they look at your face.
Two placements. One light layer. Natural light check. That’s the whole system.
Keep building your routine on MyColorKiss:
- How to Contour Your Face for Beginners — highlighter and contour work together as a pair
- How to Apply Blush for Beginners — the three-step color sequence: contour, blush, highlight
- Natural Makeup Look Tutorial — how highlighter fits into a minimal everyday routine
- Makeup Steps in Order — the complete order of every product in your routine
And remember — the most flattering highlighter look is one that makes you look more awake and dimensional, not one that announces itself from across the room. Start subtle. You can always add more.