The honest guide to building your first makeup kit — without buying things you’ll never use.
The beauty industry has a vested interest in making you think you need everything. Every product launch comes with the promise that this is the one you’ve been missing. Walk into any beauty store and you’ll find hundreds of products, each one apparently essential.
Here’s the truth: you need about five products to look polished and put-together every day. Everything else is optional — genuinely useful once you’ve mastered the basics, but not required to start. This guide explains what every major makeup product actually does, which ones you can skip, which ones matter most, and what to buy at the drugstore when you’re ready.
It also links to our in-depth guides for every product category — so when you’re ready to go deeper on any individual step, you know exactly where to go.
Key Takeaways
- A complete everyday makeup look requires only 5 products — moisturizer, base, concealer, mascara, lip product
- Primer, setting powder, bronzer, highlighter, and contour are all optional add-ons, not requirements
- Every product in this guide is available at the drugstore for under $15
- The correct order matters: skincare → primer (optional) → base → concealer → powder → color → eyes → lips → setting spray
- Learn one product at a time — adding everything at once is how beginners end up overwhelmed and give up
The 5 Products You Actually Need (Start Here)
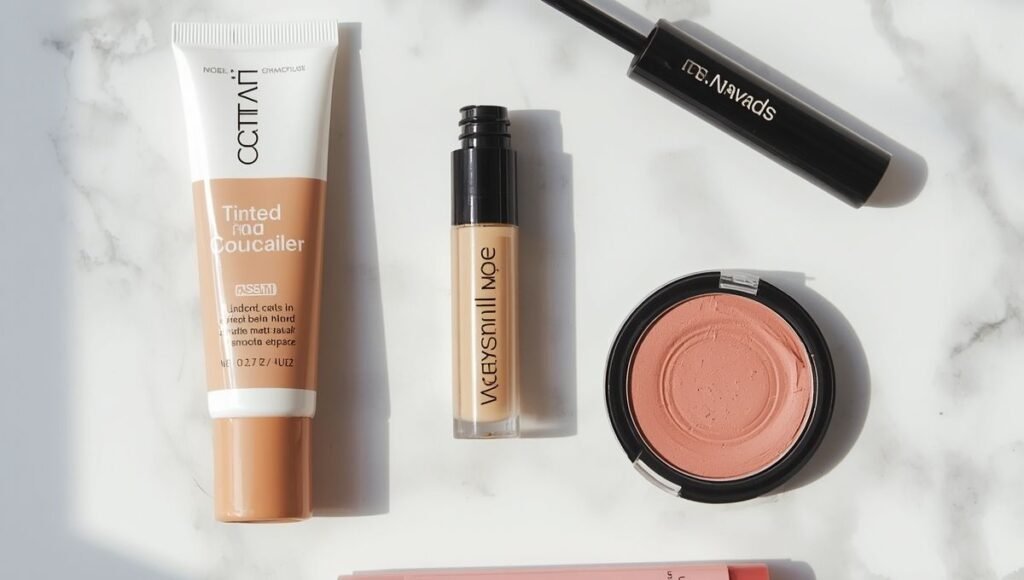
Before getting into what every product does, here’s the non-negotiable starter list. These five products give you a complete, polished everyday look without overwhelming your face, your technique, or your budget.
1. Moisturizer — not technically makeup, but the single biggest factor in how your makeup looks. Dry, unprepped skin makes everything look worse. Moisturize first, always.
2. Foundation or tinted moisturizer — evens out your skin tone and creates a consistent base. A tinted moisturizer or BB cream is the most beginner-friendly starting point; graduate to foundation when you want more coverage.
3. Concealer — targeted coverage for dark circles, blemishes, and any spots the foundation didn’t fully cover.
4. Mascara — the single product that changes your face the most in the shortest amount of time. One coat on upper lashes, 90 seconds, done.
5. Tinted lip balm or lip gloss — finishes the look in 10 seconds. No liner needed, no precise application required.
That’s it. Everything else below is useful — but it comes after you’ve got these five down.
What Is Primer Used For?
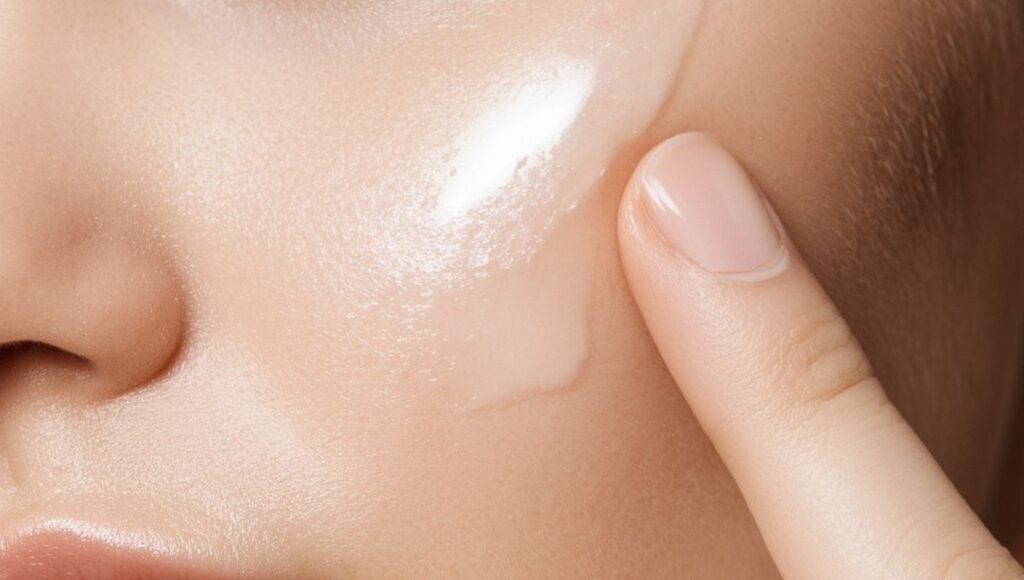
Primer is the step that goes between your skincare and your foundation. Its job is to create a smooth, even surface for your foundation to sit on — filling in pores, smoothing texture, and extending how long your makeup lasts throughout the day.
Do you need it as a beginner? Not immediately. A well-moisturized face does most of what a primer does. Add primer to your routine once you’ve been consistent with your base for a few weeks and want better staying power or a smoother finish.
When it genuinely helps:
- If your makeup slides off by noon (especially oily skin)
- If you have large pores or texture you want to smooth
- If you’re wearing makeup for an event and want it to last 8+ hours
Best drugstore primer picks:
- e.l.f. Power Grip Primer (~$10) — sticky gel formula, excellent for oily skin, extends wear significantly
- NYX Professional Makeup Pore Filler Primer (~$14) — smooths texture, good for combination skin
- Maybelline FaceStudio Master Prime (~$9) — lightweight, hydrating option for dry skin
How to Choose Foundation
Foundation is your base — it evens out skin tone and creates a consistent canvas for everything that goes on top. The most important thing about foundation isn’t which brand you buy; it’s finding the right shade and formula for your skin type.
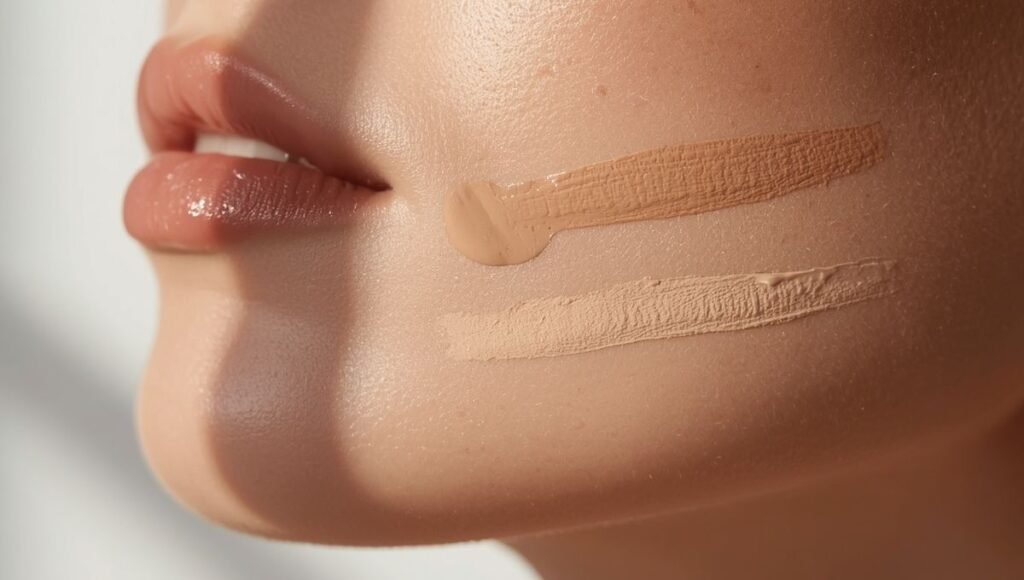
The shade matching rule: Always swatch on your jawline, never your wrist. Check in natural light. The shade that disappears — blending seamlessly into both your face and neck — is your match.
By skin type:
- Oily skin: matte or satin finish, oil-free formula
- Dry skin: dewy or hydrating finish, avoid matte formulas
- Combination skin: natural or satin finish, lightweight formula
- Sensitive skin: fragrance-free, non-comedogenic, minimal ingredients
Tinted moisturizer vs foundation: If full foundation feels like too much to start, a tinted moisturizer or BB cream gives sheer coverage with a natural finish and is significantly more forgiving to apply.
For the complete foundation guide including shade matching, oxidation fixes, and how to apply without it looking cakey: How to Apply Foundation for Beginners →
For help deciding between tinted moisturizer, BB cream, and foundation: Tinted Moisturizer vs Foundation: Which One Do You Actually Need? →
For shade matching specifically: How to Find Your Foundation Shade →
How to Choose Concealer
Concealer goes after foundation and provides targeted coverage where you need it most. There are two main uses with slightly different approaches:
Under-eye concealer: Go one shade lighter than your foundation to brighten the area. Use your ring finger to tap — never rub — and set immediately with a light dusting of translucent powder to prevent creasing.
Blemish concealer: Match your exact skin tone. Apply with a small brush for precision, press gently outward from the center of the blemish, and set with powder.
Do you need a separate concealer shade for each use? Not necessarily — many people use a single shade for both. But if you specifically want to brighten dark circles, a slightly lighter shade makes a visible difference.
Drugstore picks:
- e.l.f. Hydrating Camo Concealer (~$10) — full coverage, doesn’t crease, excellent for the price
- Maybelline Fit Me Concealer (~$7) — lightweight, natural finish, very beginner-friendly
For the complete concealer guide including color correcting, shade selection, and how to stop it from creasing: How to Apply Concealer for Beginners →
What Is Setting Powder Used For?
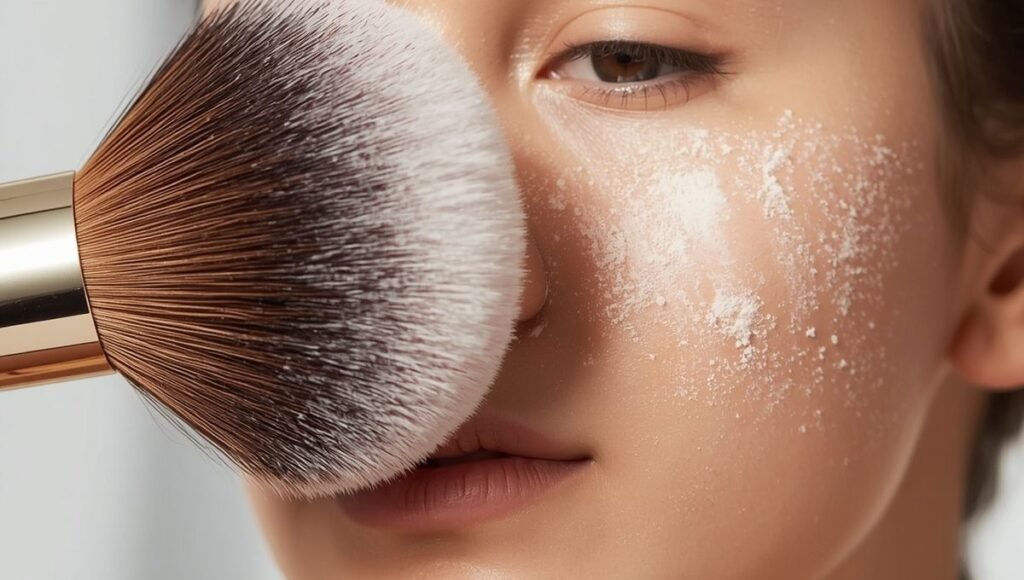
Setting powder locks your foundation and concealer in place — it’s what prevents your makeup from sliding off, creasing under your eyes, or looking shiny by midday.
Do you need it? Yes, if you want your makeup to last. No, if you’re doing a minimal 5-minute routine with tinted moisturizer and mascara.
The key rule: Apply after foundation and concealer, before blush or bronzer. Powder on top of liquid — this locks the liquid products in and gives powder products a smooth surface to adhere to.
How much to use: A light dusting with a fluffy brush. Focus on the T-zone and under-eye area. You don’t need to cover your whole face.
Drugstore picks:
- Coty Airspun Loose Face Powder (~$8) — cult classic, excellent coverage
- NYX Can’t Stop Won’t Stop Setting Powder (~$14) — great for oily skin
What Is Setting Spray Used For?
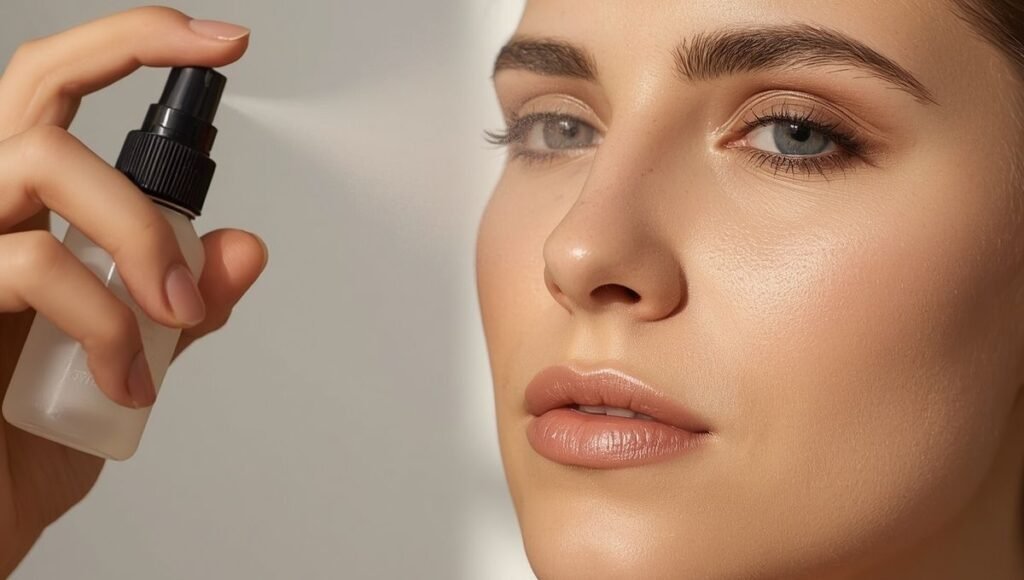
Setting spray is the last step in your makeup routine — applied after everything else, including highlighter. It melds all your makeup layers together, gives skin a more natural finish, and extends wear.
Do you need it? It’s the most optional product on this list for everyday wear. But for events, long days, or oily skin, it makes a noticeable difference.
How to apply: Hold the bottle 6-8 inches from your face and spray in an “X” then “T” motion. Let it dry naturally — don’t fan your face or touch your makeup.
Drugstore picks:
- e.l.f. Mist & Set (~$8) — dewy finish, lightweight
- NYX Matte Finish Setting Spray (~$10) — better for oily skin
How to Choose Blush
Blush adds color and life back to your face after your base has neutralized everything. It’s one of the most impactful products for making your makeup look intentional rather than flat.
Powder vs cream: Cream blush looks the most natural and skin-like; powder blush is easier to control and lasts longer on oily skin. For beginners, cream blush applied with a fingertip is the most forgiving.
Shade selection: The easiest shortcut — pinch your cheek and look at the natural color that appears. That’s the shade family you want.
Placement: Start at the apple of your cheek and blend upward toward your temple. The diagonal direction lifts the face; horizontal placement widens it.
For the complete blush guide including placement by face shape, how to fix too much blush, and formula comparison: How to Apply Blush for Beginners →
How to Contour and Highlight (Optional but Impactful)
Contouring creates shadow and dimension; highlighting adds light and glow. Neither is required for a complete everyday look, but both make a visible difference when done correctly.
The key distinction:
- Contour = cool-toned, matte, mimics shadow (not bronzer — different product)
- Highlighter = shimmer or glow, placed on the high points of your face where light hits naturally
When to add these: Once you’re comfortable with your base routine and want more dimension. Not for your first week of makeup.
For the complete contouring guide including where to place it, cream vs powder, and how to avoid the muddy look: How to Contour Your Face for Beginners →
For the complete highlighter guide including placement, formula comparison, and how to glow without looking glittery: How to Apply Highlighter for Beginners →
Makeup Tools for Beginners: What You Actually Need
The non-negotiables:
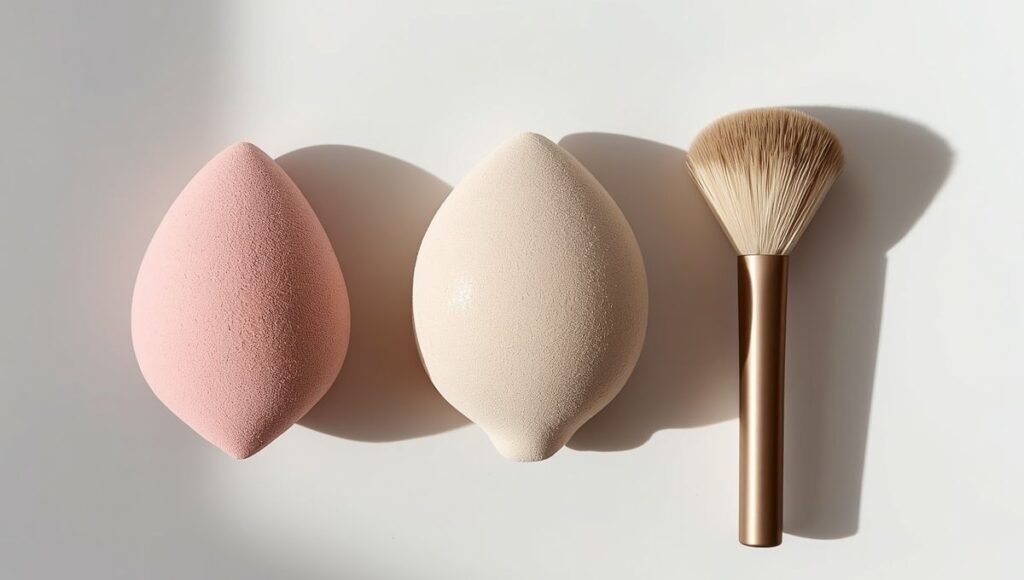
Damp beauty sponge — the most important tool for beginners. Wet it, squeeze out excess water, and use a bouncing motion to apply foundation and concealer. More forgiving than any brush, gives the most natural finish. The Real Techniques Miracle Complexion Sponge (~$8) is the best drugstore option.
Fluffy powder brush — for applying setting powder and blush. Large, dome-shaped, very soft. One brush does both jobs.
Spoolie brush — for grooming brows before and after filling them in. Usually comes attached to your eyebrow pencil.
What you don’t need immediately:
- A 24-piece brush set
- A kabuki brush
- Contour brushes, fan brushes, anything specialized
Get those three tools first. Add specialty brushes as you add the techniques that require them.
For the complete brush guide including how to clean them, how often, and which brushes do what: How to Clean Makeup Brushes: The Complete Beginner Guide →
Makeup for Sensitive Skin: What to Look For
If your skin tends to react to products — redness, burning, stinging, or breakouts after applying makeup — the product selection process is slightly different.
The main rule: Fragrance-free first. Fragrance (listed as “fragrance,” “parfum,” or essential oil names) is the most common cause of makeup-related skin reactions. Look for this on the ingredient list, not just the marketing claims.
Other ingredients to watch:
- Alcohol (ethanol, alcohol denat)
- Formaldehyde-releasing preservatives
- Chemical UV filters in sunscreen formulas
For the complete sensitive skin makeup guide including how to patch test, ingredients to avoid, and drugstore picks that won’t cause reactions: Makeup for Sensitive Skin →
Makeup Dupes: Getting the High-End Look for Less
Many of the most-coveted makeup products have excellent drugstore alternatives — same color family, comparable formula, fraction of the price. Knowing which dupes actually work saves you from spending $35 on a lip liner when a $10 version does the same job.
The Charlotte Tilbury Pillow Talk collection — one of the most copied aesthetics in modern beauty — can be recreated almost entirely with drugstore products for under $40 total.
For the complete dupe guide including lip liner, lipstick, blush, and the Flawless Filter alternative: Charlotte Tilbury Pillow Talk Dupe: The Complete Guide →
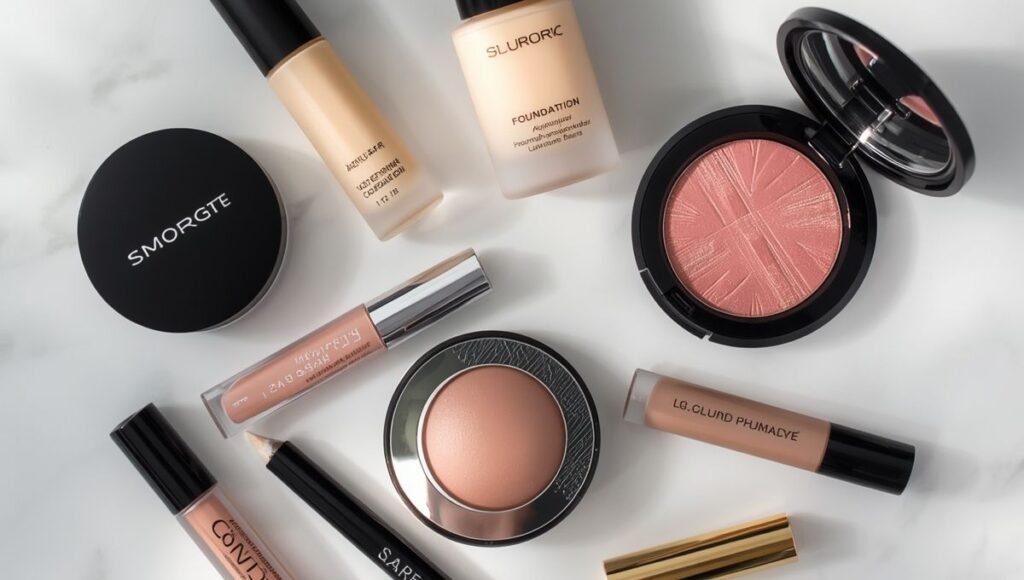
The Beginner’s Makeup Buying Order
If you’re starting from scratch, this is the order to buy things in — most essential first, most optional last:
Phase 1 — The Foundation (Week 1-2): Moisturizer + SPF, tinted moisturizer or foundation, concealer, mascara, tinted lip balm
Phase 2 — Add Polish (Week 3-4): Setting powder, cream blush, eyebrow pencil + spoolie
Phase 3 — Add Dimension (Month 2+): Primer, setting spray, contour, highlighter
Phase 4 — Personalize: Eyeshadow, eyeliner, lipstick, specialty brushes
This order isn’t arbitrary — each phase builds on the previous one. Trying to do Phase 3 before you’ve mastered Phase 1 is how you end up with a cluttered collection and no confidence.
What to Do When Nothing Seems to Work
Foundation looks cakey: Too much product, or skipping moisturizer. Start with less and apply to damp, prepped skin.
Makeup slides off: Add primer, or switch to a longer-wear formula. Also check that your moisturizer has fully absorbed before you apply anything on top.
Wrong foundation shade: Test on your jawline in natural light, not your wrist under store lighting. If it oxidizes orange, go half a shade lighter.
Concealer creasing: Set immediately with translucent powder. Don’t wait — apply powder while the concealer is still slightly tacky.
Sensitive skin reacting: Check the ingredient list for fragrance and switch to a fragrance-free formula.
FAQ
What makeup products do beginners actually need?
Start with five: moisturizer, a tinted moisturizer or light foundation, concealer, mascara, and a tinted lip balm. These give you a complete, polished everyday look. Everything else — primer, setting powder, bronzer, highlighter, contour — is useful but optional at the start.
What is primer used for in makeup?
Primer smooths skin texture, fills pores, and creates a surface that foundation grips onto better. It extends makeup wear and helps products look more even. It’s not necessary for beginners — a well-moisturized face does most of what primer does — but it’s useful once you want longer-lasting results.
What is setting powder used for?
Setting powder locks foundation and concealer in place, prevents creasing under the eyes, and controls shine. It goes on after your liquid base products and before powder products like blush and bronzer. A light dusting with a fluffy brush is all you need.
How do I choose the right makeup for my skin type?
Oily skin: look for matte, oil-free formulas. Dry skin: look for hydrating, dewy formulas — avoid anything labeled “matte.” Combination skin: gel or lightweight formulas work for both zones. Sensitive skin: fragrance-free, non-comedogenic formulas with short ingredient lists.
Do I need expensive makeup to start?
No. Drugstore brands like Maybelline, e.l.f., NYX, and L’Oréal produce products that perform comparably to high-end options for most everyday uses. Foundation, concealer, and mascara in particular don’t require a budget upgrade when you’re learning. The skill matters more than the price tag.
You Don’t Need Everything — You Need the Right Things
The makeup industry wants you to believe the next product is the one that will finally complete your look. It won’t. What completes your look is knowing how to use five products well.
Start small. Get comfortable. Add one thing at a time. And when you’re ready to go deeper on any individual product or technique, we’ve got the full guide waiting for you.
Your complete MyColorKiss Beauty Picks toolkit:
- How to Apply Foundation for Beginners →
- Tinted Moisturizer vs Foundation →
- How to Find Your Foundation Shade →
- How to Apply Concealer for Beginners →
- How to Apply Blush for Beginners →
- How to Contour Your Face for Beginners →
- How to Apply Highlighter for Beginners →
- How to Clean Makeup Brushes →
- Makeup for Sensitive Skin →
- Charlotte Tilbury Pillow Talk Dupe →
And remember — every person whose makeup looks effortless started exactly where you are: staring at products, not sure what to do first. The only difference is practice.